
Tiling the roof
Thursday, 31st May: I the day collecting materials to tile the roof.
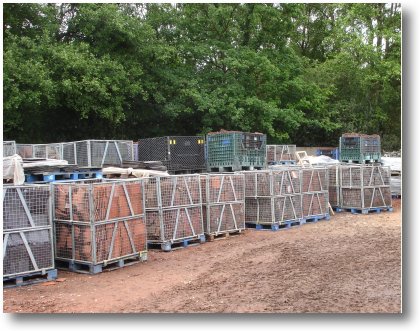
The first stop was a reclamation yard to pick up 900 reclaimed clay roof tiles. The picture on the left does not do justice to the amount of stock they have!

It took two loads to bring the tiles home - this is 420 tiles loaded in the back of my L200 pick-up.
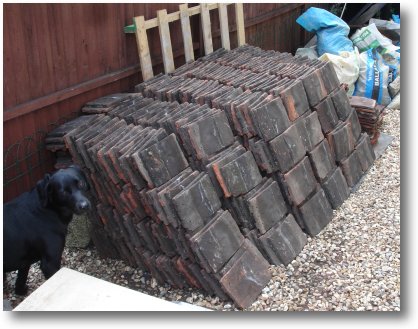
This is 900 tiles ready to go!
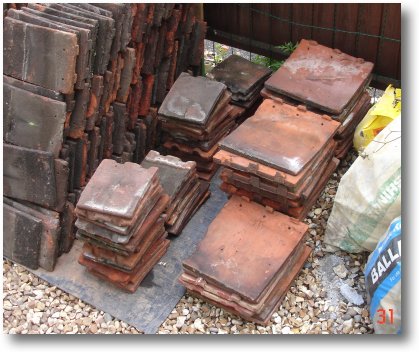
More importantly, here are the tile-and-a-halves and the half tiles for use at the eves.
The tile-and-a-halves are alternated with ordinary tiles up the edges of the roof, while the half tiles are places underneath the first full row of tiles on top of the barge board.
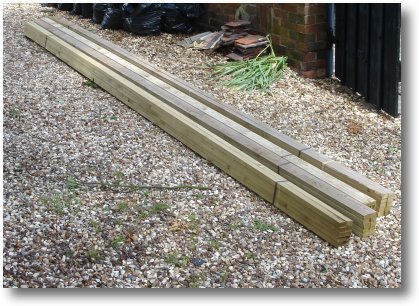
Here is 200 metre of tanalised 25 by 47mm tile battons.
I also bought the breathable membrane and all the nails I will require to fix the batons and the tiles.
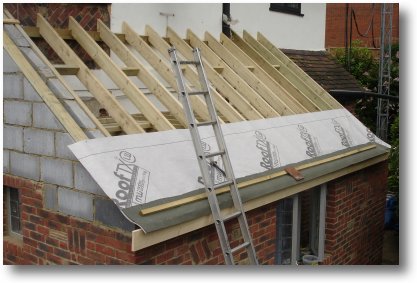
The Building Regulations Surveyor said that the breathable membrane tends to rot in sunlight over a period of time, so he recommended that I use a 12" strip of ordinary felt placed on top of the membrane along the barge board where the membrane overlaps the barge board and guttering.
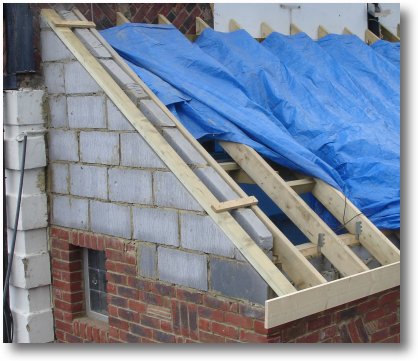
I placed a 100 by 47mm piece of wood on top of the outside gable wall to fix the battons to.
Friday, 1st June: Two months to the day since I started demolition and I've started tiling the roof!
The first task of the day was to lay the the first strip of Marley RoofTX breathable membrane. It's funny stuff as it feels like it's made of strong paper!
I added the strip of felt along the edge as mentioned by the Building Regulations Surveyor.
The first tile baton was added and was located so that the bottom of the half tile over-hanged the barge board by 50mm.
The second baton was added spaced at 110mm so the ends of the two tiles were flush.
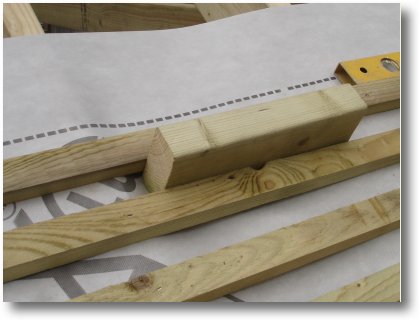
I spaced all the tile baton using a piece of 47mm thick wood, measuring the gap at every joist and nailing at every joist.
It's important to keep checking that the tile batons are horizontal and align with the wall of the house - it's easy to drift and that would be calamitous!

Batoned up to the end of the first bit of membrane.
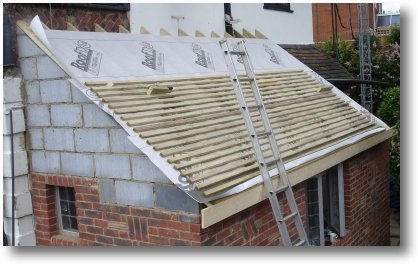
Batoned up to the second piece of membrane.
Looking at the batons at an acute angle shows them all to be aligned and evenly spaced and aligned with the wall. Phew, I'm glad that worked out!
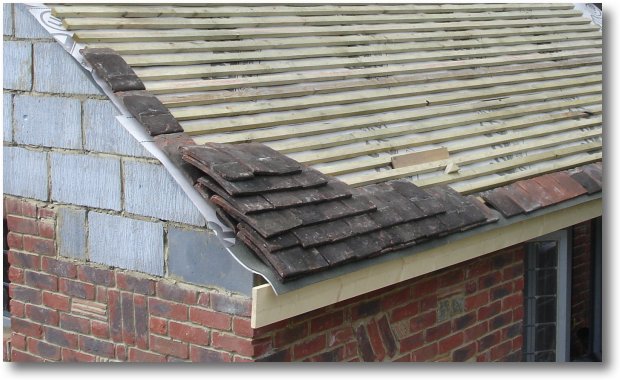
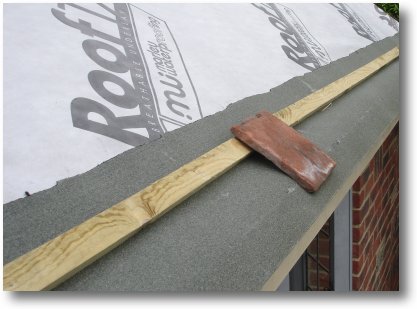
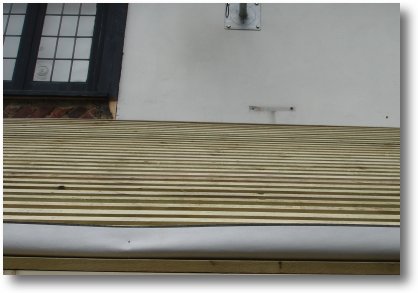
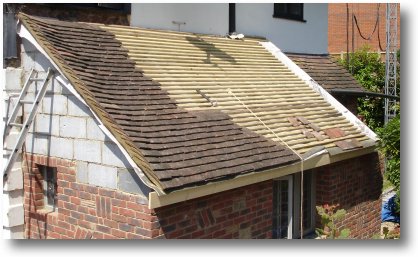
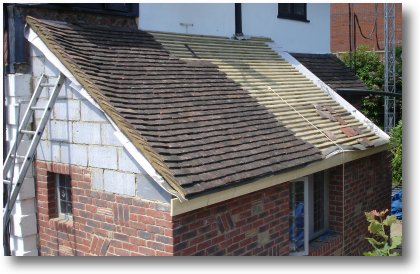
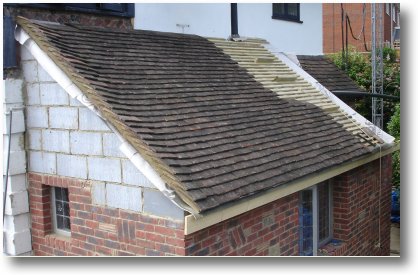
I plan to start tiling tomorrow, so I couldn't resist putting some of the tiles on to see how they will look.
Notice the upturned tiles on the edge and the one-and-a-half tiles and the way the felt overhangs the barge board into the gutter (when the gutter is attached).
The upturned tiles overhang the wall by 70mm.
To morrow I will start with concreting the tiles at the edge of the roof and the rest will be easy. Subject to the weather I should get it done in a day.
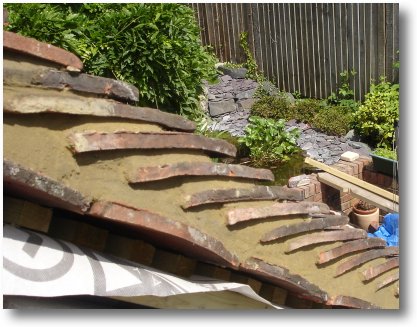
Saturday, 2nd June: Started the tiling today.
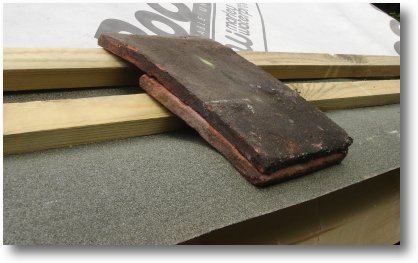
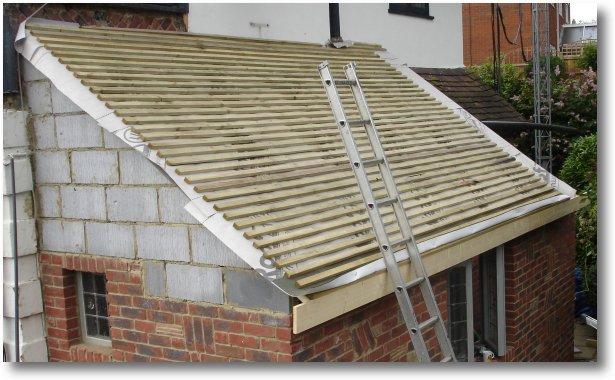
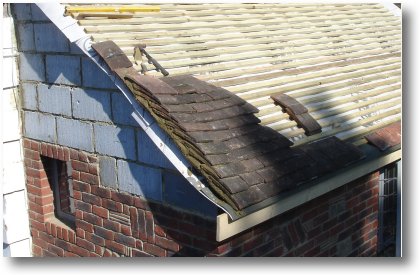
The first task was to cement in the tiles along the edge of the roof alternating standard tiles with tile-and-a-halfs.
Notice the upturned tiles along the edge. These raise the edge of the roof so that rain runs away from the edge - this matches how it has been done in other parts of the house.
It is possible to put the upturned tiles under the batons as shown in the PDF at the top of the page, but this does not raise the tiles so much.
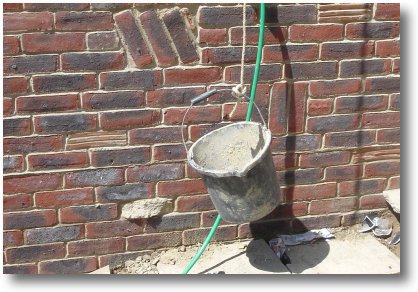
We raised all the tiles onto the roof using a bucket and a ladder.
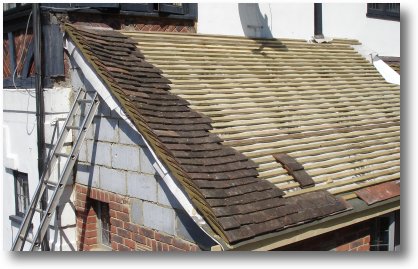
Nearing half the roof completed.
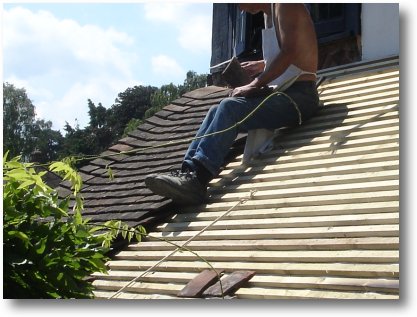
Boy, was it hot up on the roof!
Three quarters done now
Nearly there...
This is how the edge of the roof looks once it was tidied up.

I now have to demolish the old kitchen roof and raise it to the same height as the extension to finish off. I also need to add the leading along the top of the roof at some stage.
I will not have enough tiles to finish so it looks like I will have to buy some more on Monday. Oh well.
It's been a long, hot and hard day for myself and my wife but we have a good deal of satisfaction seeing much of the roof done.