
Assembling the window
Wednesday, 14th March: Task one is to add the hinges to the outside pair of casement windows that will open.
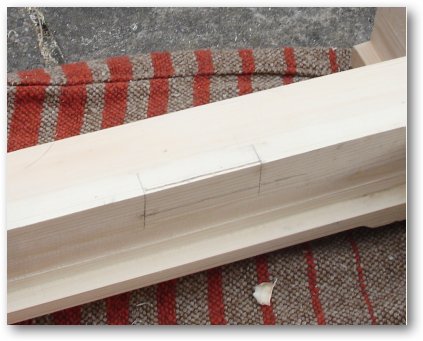
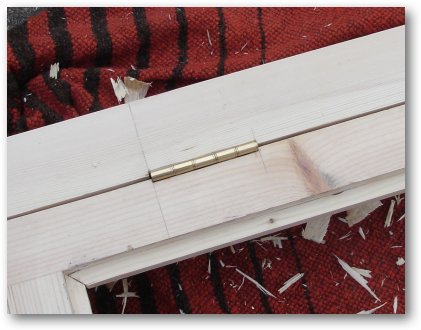
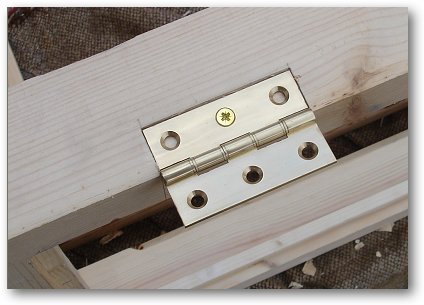
The frame and the casement were marked up at the same time to ensure the solid brass hinges are aligned.
The hinges were screwed on with only one screw initially.
The windows now open and close!
The casement needed to be planed to stop the outside edge catching the frame when the casement window is closed, but otherwise they seemed to fit OK
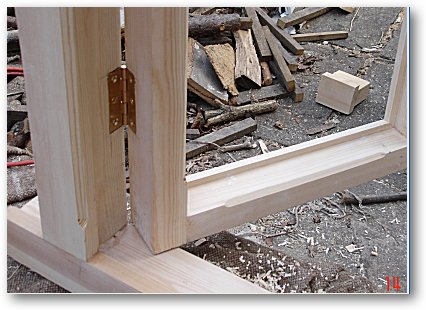
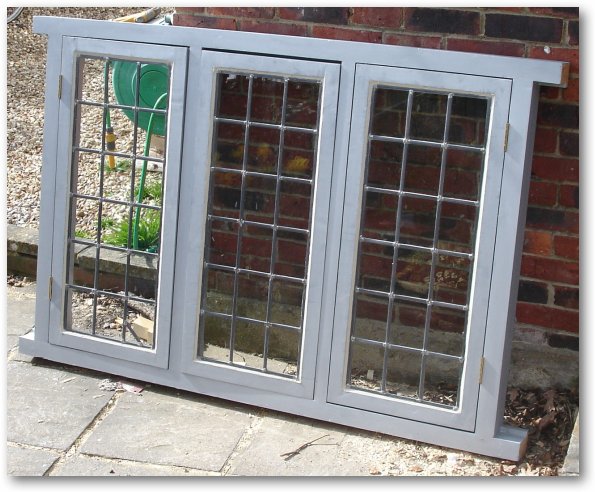
This picture shows the two windows temporarily attached.
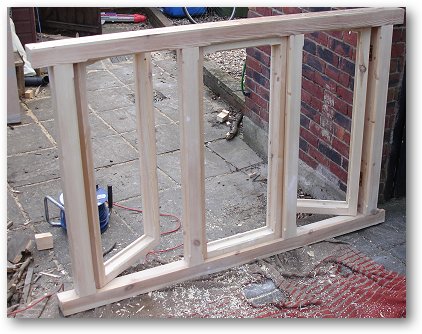
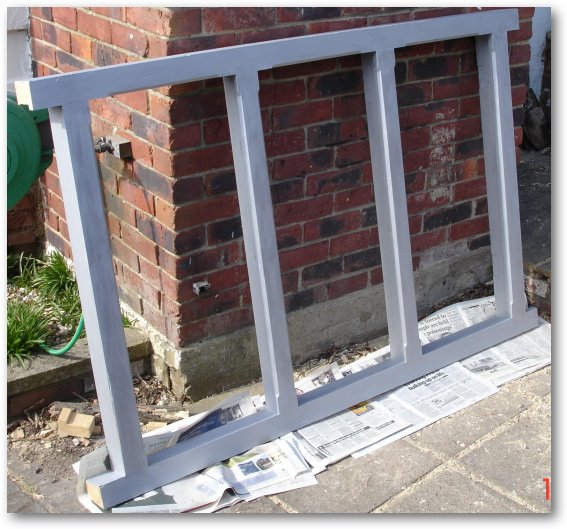
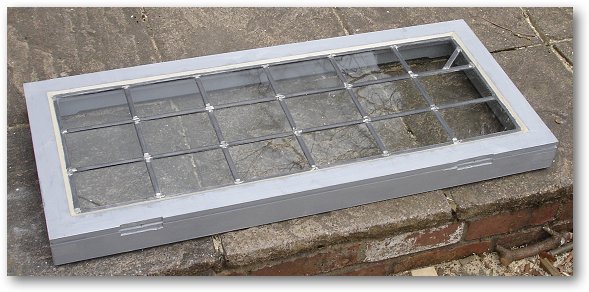
The completed window frame
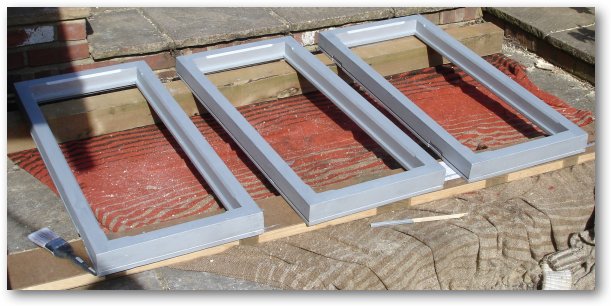
The three casement windows
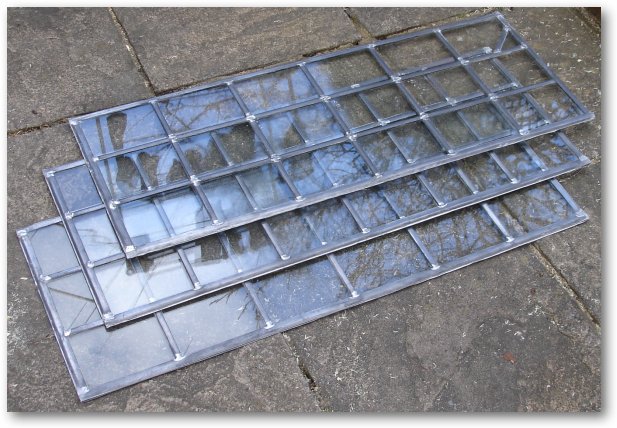
The three leaded lights
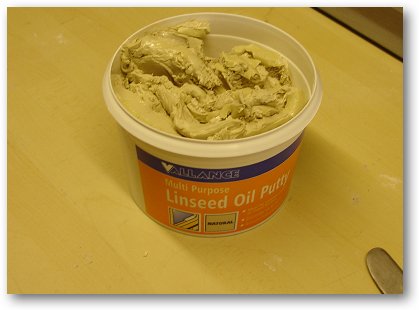
Saturday, 17th March: Now is the time to putty the leaded lights into the frame.
A good trick is place the linseed putty into a microwave for 30 seconds to warm it up and soften it.
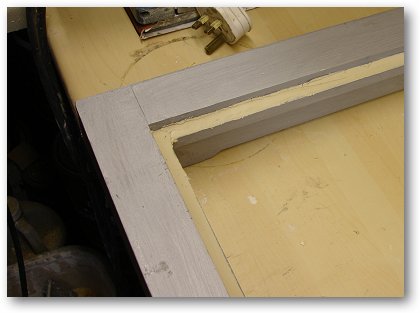
Use a knife to create a thin layer of putty onto which the leaded light panel can be bedded.
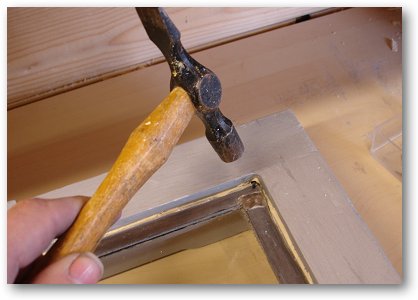
The leaded lights are fixed in place by using short gimp pins the fix the panel in place at the corners.
This has to be done otherwise the corner of the panels will pop up making it impossible to putty the panel.
Make sure the leaded light is the right way round i.e. the outside uppermost.
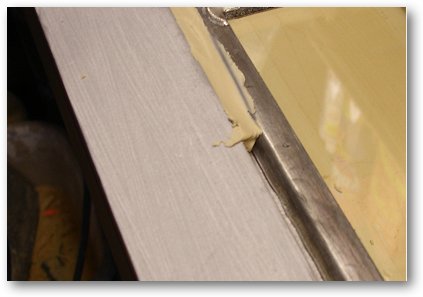
Use a knife push the putty into place around the edge of the leaded light.
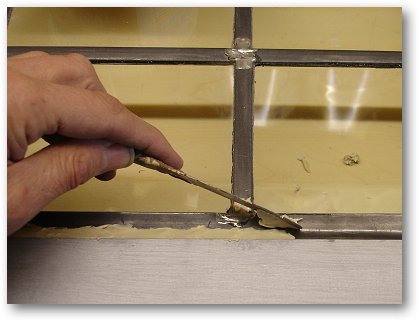
In this picture you can see how the putty pushes up against lead came that was bent down on the outside of the leaded light panel.
To do the final smoothing of the putty, place the tip of your knife in boiling water on a regular basis.
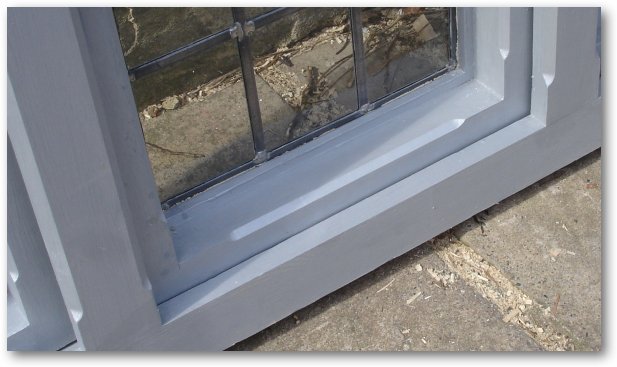
A completed casement window
A casement window shown in place
The assembled window - outside view
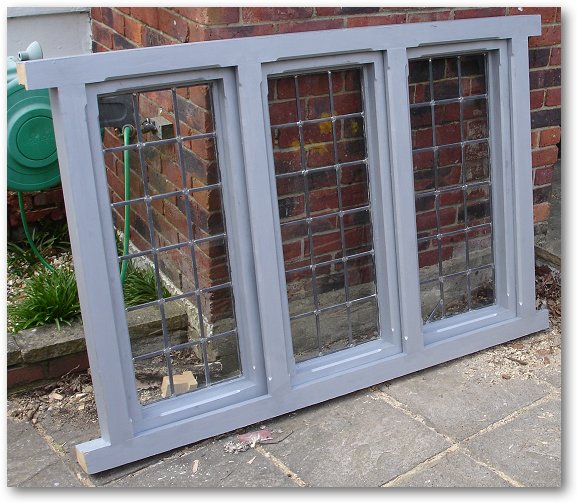
The assembled window - inside view
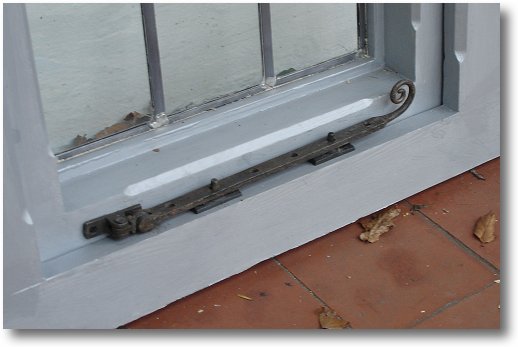
The pigs-tail casement stay to match the rest of the house
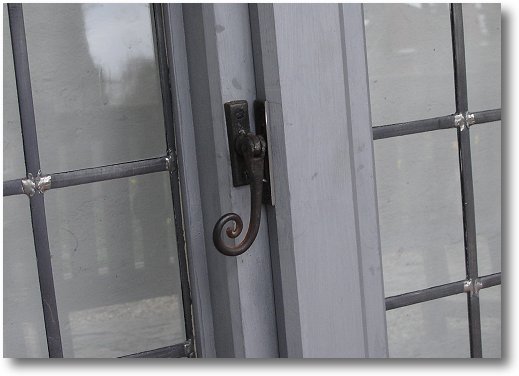
The pig-tail casement catch
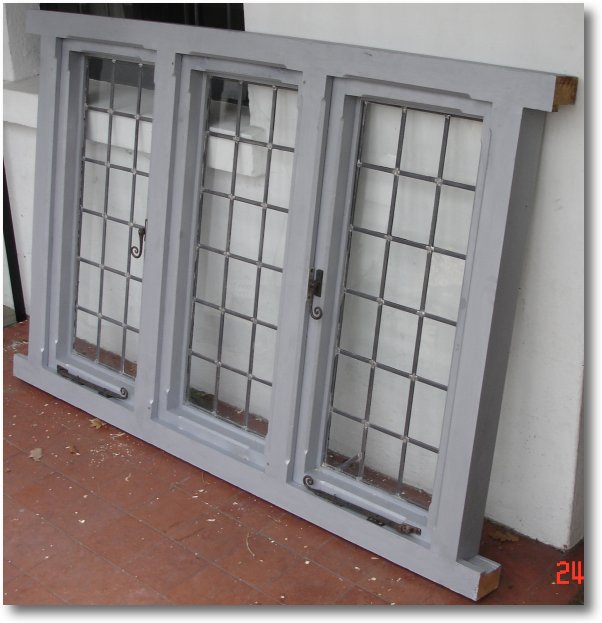
The completed window with the stays and catches fitted
Saturday, 24th March: The last job is to order and fix the 22mm double glazing panels behind the leaded light. The window is very heavy now and it'll be even heavier when the double glazing has been added!