
Marking out the footings
I wanted to make sure I had an outline of the extension in my head to see its exact layout and size and to check it was how I had been imaging it to be! I also wanted to start checking how many of the slabs I would need to take up to dig the footings.
The marked up walls assume a thickness of two 100mm thick blocks plus 90mm of insulation material making a total wall thick ness of 30cms (12"). The red chalk shows the position of the wall and the yellow the edge of the footings trench.

The left-hand side of the extension
The existing toilet will need to be taken down. I will be keeping the old bricks as they are as rare as hen's teeth. I will probably use them on the outside wall below the DPC level which will not be covered by render.
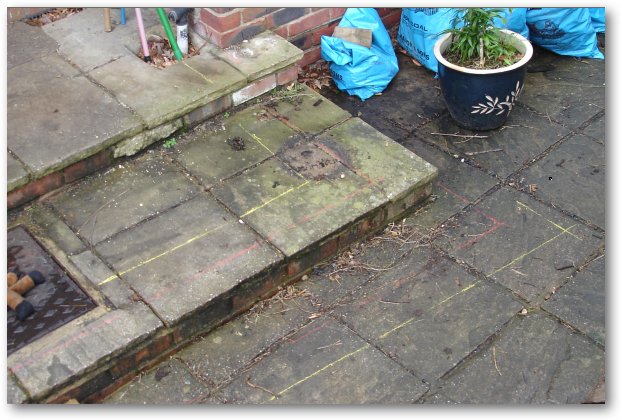
The right-hand side of the extension
The two steps shown will be removed. The ground level of the internal floor being level as the chalk marks OR with the DPC, which can be seen just to the right of the upper step. (The existing step covers the DPC which is not really a good idea!
The brick part of the building shown above was built in the 1930s while the rendered part of the building in the top photo was build in the early 19th century and it looks like the DPC layers are at a different level. Looks like that' s the next issue to look at.