
Finishing the roof
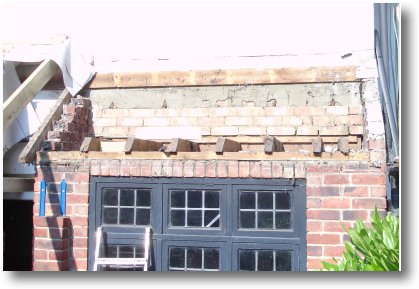
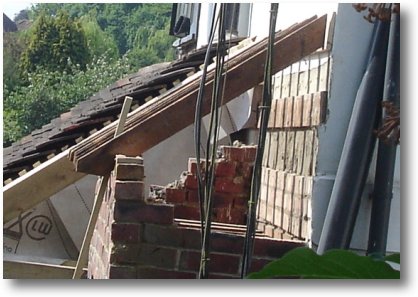
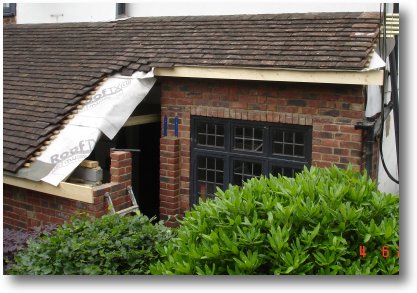
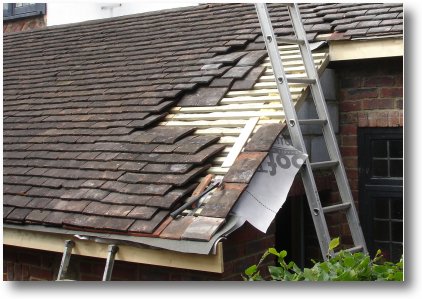
Sunday, 3rd June: As I've run out of tiles I decided to demolish the old kitchen roof that need to be rebuilt to become part of the extension roof.
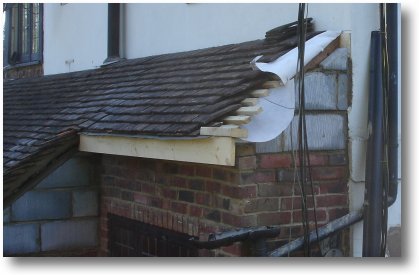
There turned out to be a problem...
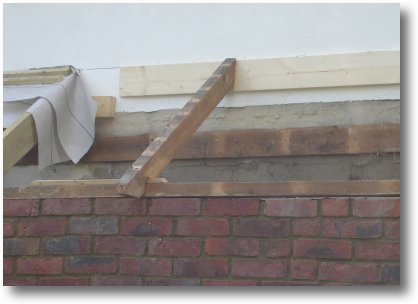
The rafters for a small internal plaster and lathe ceiling rested on the wall plate on the external wall rather than the internal wall. So that I could raise the wall by 450mm I added some noggins between the rafters and then sawed off the ends.
I needed to raise the front wall of the kitchen by five rows of bricks.
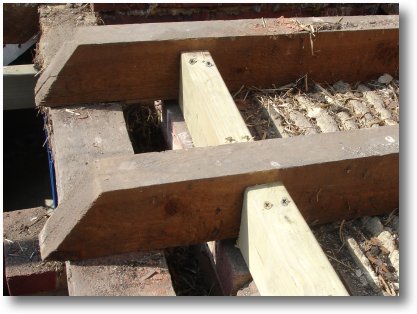
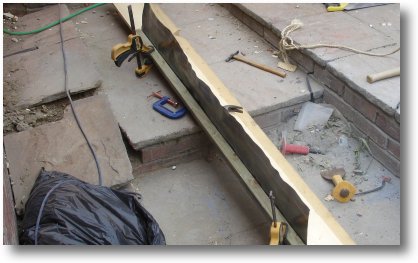
I plan to reuse the old joists and they now match up with the new joists quite well.
Using the last of my tiles I completed the section of the roof I didn't complete yesterday.
There is a further 1 metre of roof to complete to take it over the door.
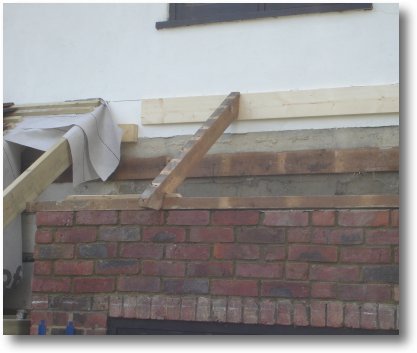
Before I can complete this part of the roof I need to finish the gable over the door.
Monday, 4th June: Today's task is is to finish the roof over the kitchen by reusing the wood I took off yesterday.
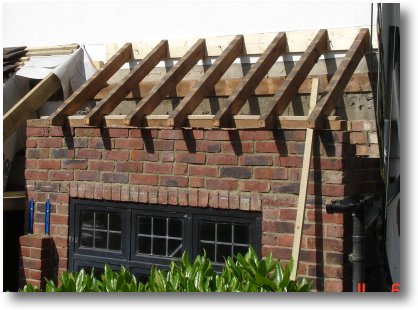
After a bit of sawing and hacking, I managed to get all the old joists to fit.
I Rawlbolted the the two wall plates to the wall.
They do seem pretty well aligned with the joists on the new extension.
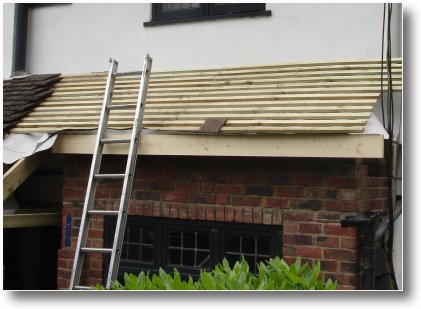
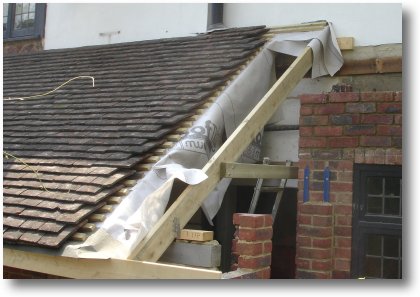
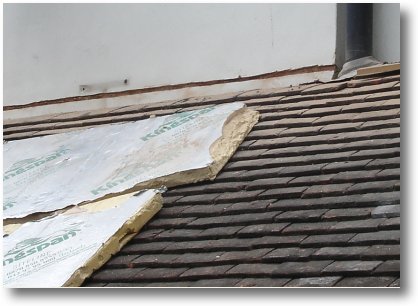
I applied the Marley RoofTX and more battons that aligned with the battons on the extension.
After picking up 400 more tiles - yes 400! we finished tiling the kitchen roof.
I need to build and finish the end gable before I can cement up the end tiles.
The next task is to complete the door by building the lintel and the door gable. I can then finish the roof.
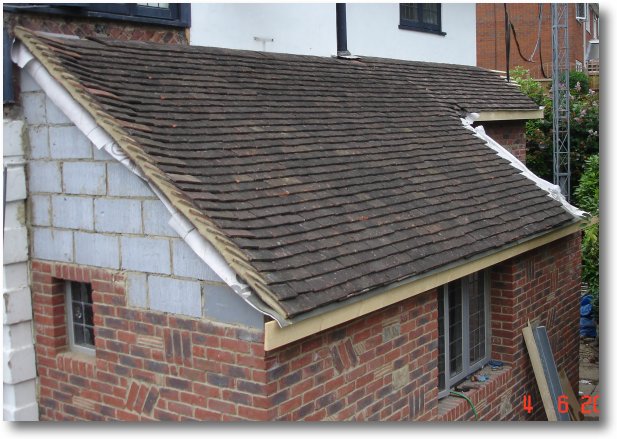
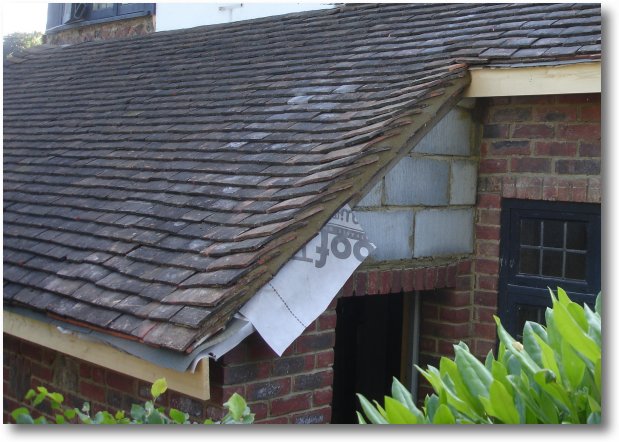
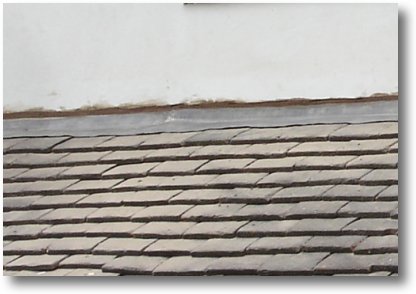
The roof looks nice and even and certainly looks good using the reclaimed clay tiles.
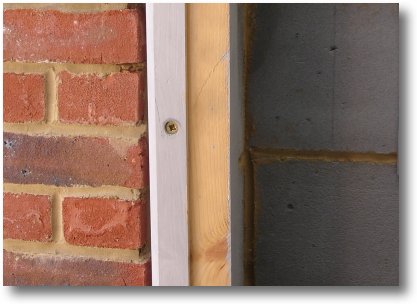
Tuesday, 5th June: I fitted the door frame using long screws to the wall.
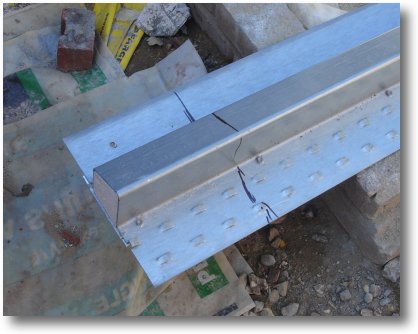
Before I could start to build the brick lintel as I did with the window I needed to shorten the lintel using an angle grinder equipped with a metal cutting blade.
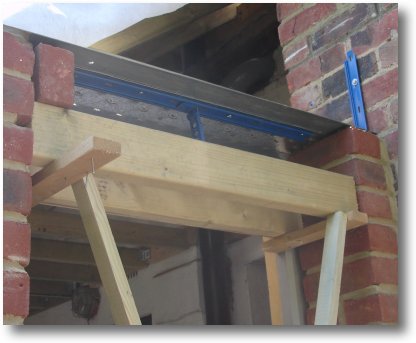
The lintel was screws to the walls and wall tie screwed to the lintel - the same as I did on the window.
The lintel was bricked and the gable blocked. The outer wall will have a 100 by 50mm piece of wood added to it the same as the other end.
I will finish the top of the wall once the tiling is finished as I do not fully understand how the corner will come together as yet.
Back to roof tiling tomorrow!
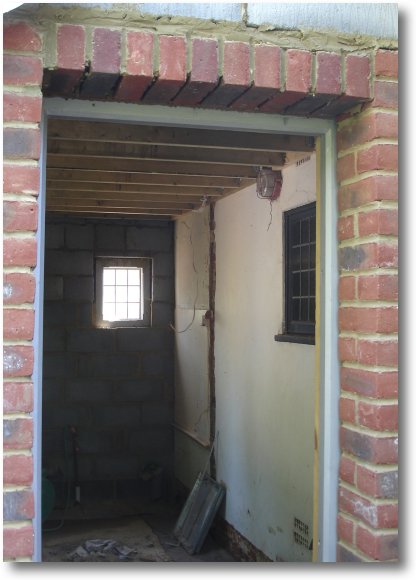
Wednesday, 6th June: This is the door lintel with the supports removed - I will need to fill the joints under the bricks later.
Major task of the day is to complete the tiling around the door. This took most of the morning.
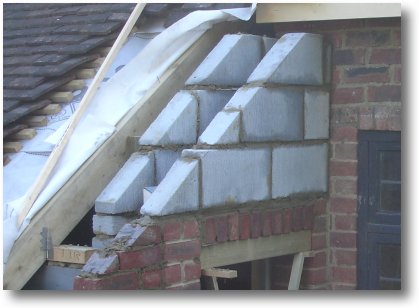
I bricked and blocked the small kitchen gable ready to complete the tiling tomorrow.
The kitchen gable is now complete. I will finish off the gable with wavy-edged wood to match the other gables at the rear of the house.
I ordered 5 sheets of Celotex 90mm roof insulation and this will be delivered on Friday.

Thursday, 7th June: I finished the end of the kitchen roof.
Using an angle grinder I cut a slot above the tiles to insert 240mm lead flashing.
I bent the lead flashing on the ground prior to taking several 1.5 metre sections up the the ladder to the top of the roof.
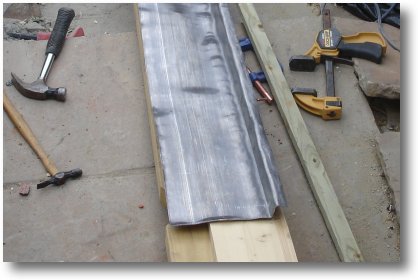
Ready to go!
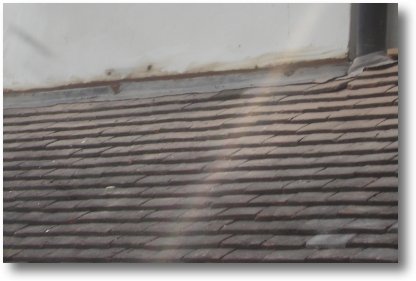
This is the lead flashing inserted into the slot, hammered to fit and cemented in. I'll give the lead and the wall a wash down when the cement is dry.
I will complete the other half tomorrow.
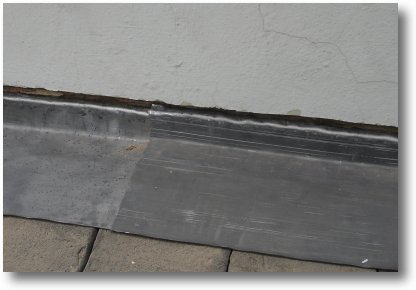
Friday, 8th June: I added lead flashing to the other half of the roof today. The picture on the left shows it sitting tin the slot.
This shows the lead flashing after concreting and with all the tiles covered in dust after angle grinding the slot!