
Making the casement windows
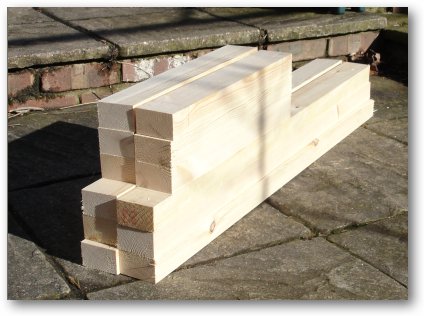
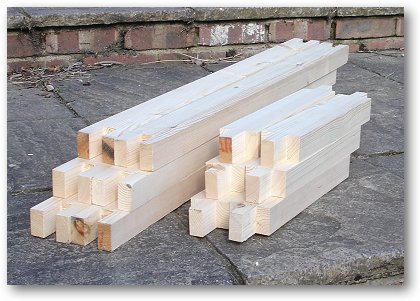
Saturday, 3rd March: After picking up 6 metres of 70 x 50mm Redwood PAR (Planed All Round) wood, I cut it into the appropriate lengths for the three casement windows - six uprights and six shorter horizontal pieces. Incidentally, the actual size of the wood when it is planed is 44 x 69mm.
I bought long lengths of timber to cut pieces with as few knots in the selected lengths as possible. In the past I built windows out of hardwood but this can be very expensive nowadays and to be honest hardwood is not really required when the windows are going to be painted.
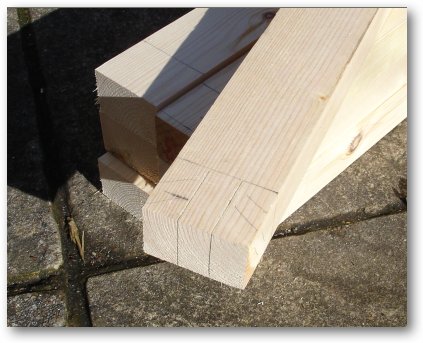
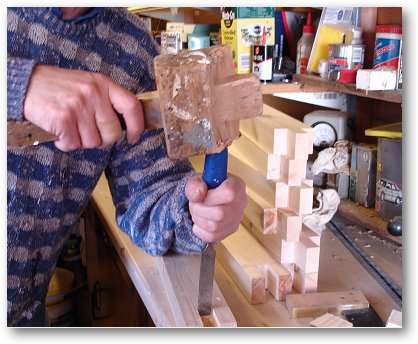
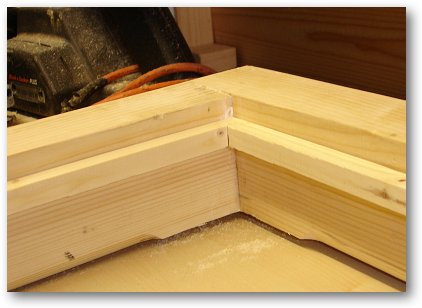
Then came the task of carefully marking out the mortise and tenon or bridle joints on all four sides ready to be cut out using a band saw.
I use a pencil rather than a knife to do this marking so that the marks can be sanded away upon completion. I always mark the areas I need to cut away to make sure I don't make any mistakes.
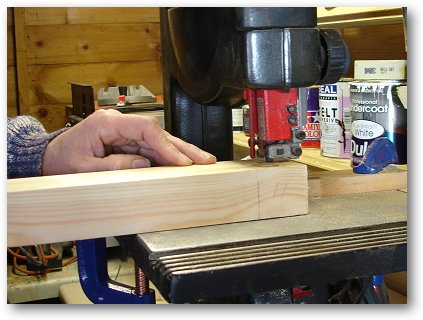
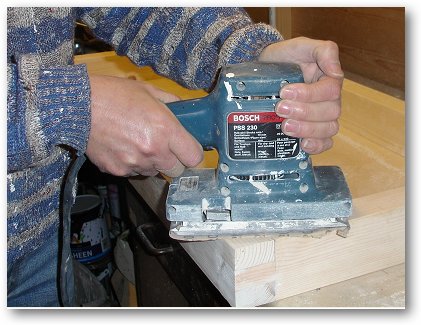
A wooden guide was clamped to the band saw top to ensure that every cut was the same. I have to say that using a band saw is probably not the most accurate way of cutting the joints, but is quite quick! Mind you, after tightening the blade the problem did disappear!
Be careful about which pieces you cut the outside (short pieces) and the inside (long pieces) - it's so easy to make a mistake if you are not paying attention.
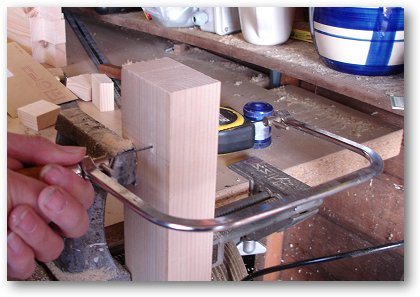
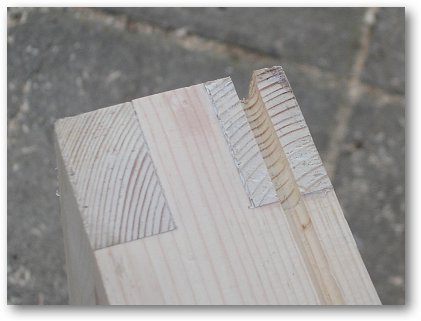
On the upright pieces, I used a coping saw to cut out the mortise slots.
On the upright pieces, I used a coping saw to cut out the mortise slots.
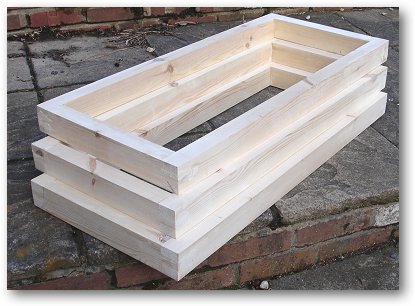
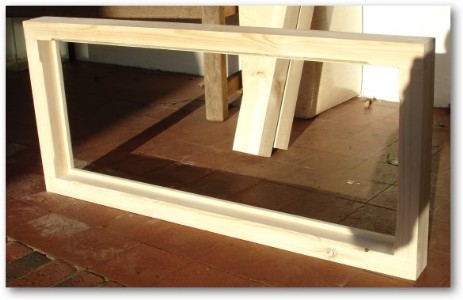
Here are all the completed components of the three casement windows. The next step is to glue them together.
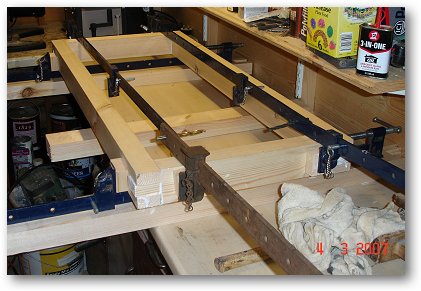
Here is the first window being glued together using four sash cramps to pull everything together. You have to make sure everything is square at this stage in the proceedings!
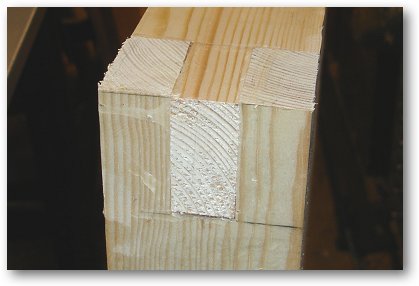
After planning the extraneous wood off the joints, all that needs to be done is to sand them.
Mistake #1: Well, I did say I would say when I make a mistake so here goes with my first one. I had to remake the first casement I made because the surface I used to glue it together on was not quite flat. This resulted in the frame being a little twisted which is just not acceptable!
Using a flat-bed sander to finish off the frame joints after filling a few 'holes' with neutral coloured wood filler.

Monday 5th March: Two of the frames following the initial sanding of the corner joints.
These do look deep compared to an old widow that only contains a single piece of glass but these need to accommodate a 22mm double glazed unit plus a real leaded light window making it effectively triple glazed.
Here are thre window frames after sanding.
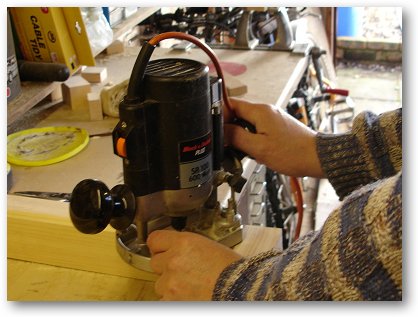
The next task to hand was to route the plain chamfer on the inside of the window frame. These went up to 50mm away from the corners.
This picture shows the chamfers. I've not decided whether I will leave the end of them curved or whether I should flatten them with a chisel.
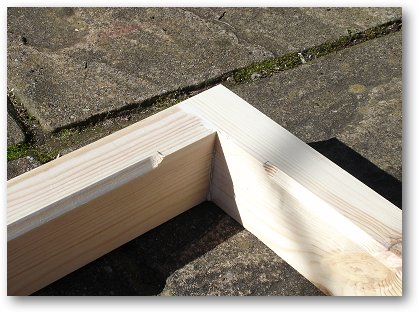
Using 12mm x 12mm softwood, I created a 12mm by 12mm rebate to fit the leaded light panels - the corners were mitred as can be seen in the picture. The softwood strip will be pinned and screwed to the fame.
In other windows I have built I routed out this slot, but because I also have to fit the 22mm double glazing unit behind the lead light panel, it seemed easier to just add the strip.

The windows sanded and ready for the leaded light panels to be inserted once I have made them!
I routed a small channel near to the OUTSIDE edge of all four sides of the three casement windows.
This is to prevent water getting trapped between the casement and the frame.
One of the three completed casements.
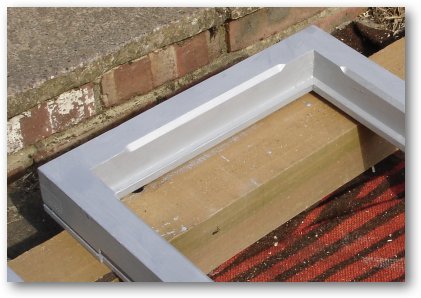
All the frames have now been primed with aluminium primer paint.
I will need to chamfer the opening side of the casement otherwise it will jam against the frame. The width of the windows are 450mm so the diagonal will need to be 450mm also. The next job will be to build the window frame itself.