
Making the dining room wall panelling
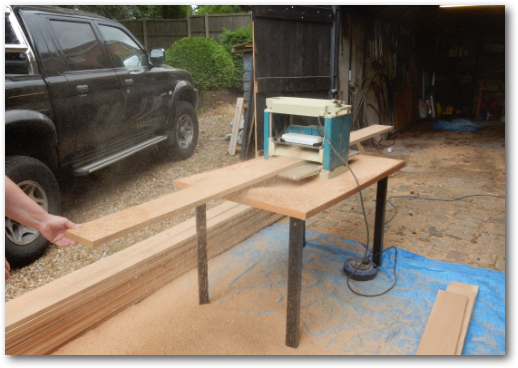
I bought a LOT of kiln-dried oak and the first job to do was to plane them all down to the correct thickness using the Makita thicknesser.
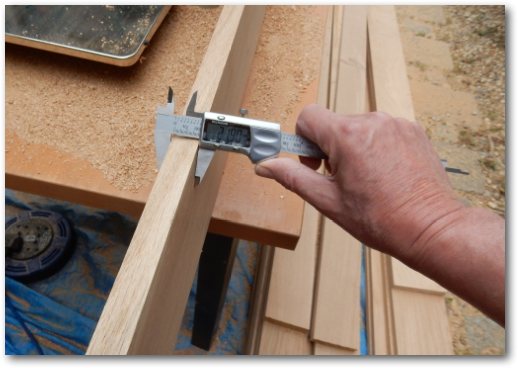
Yup, they are correct!
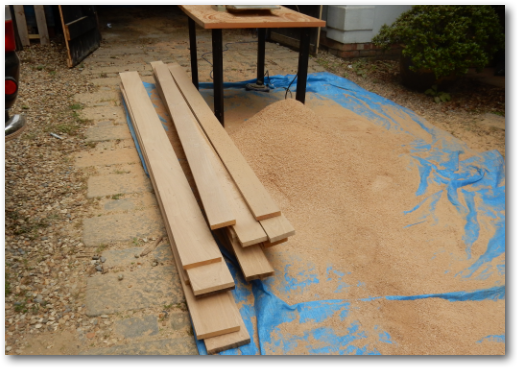
A lot of sawdust but a lot of planed wood also.
I had to do all this work outside so this provided me with the motivation to extend my garage - the next project!
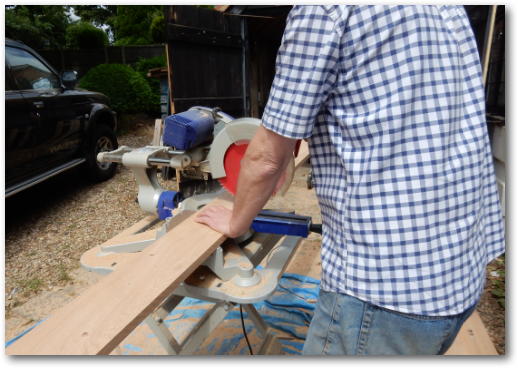
Sawing the planed oak to the required width.
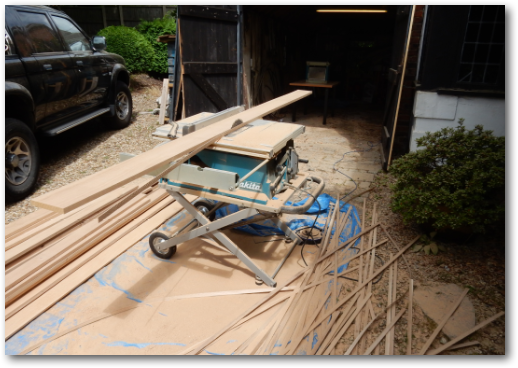
Cutting square ends ready to mark out.
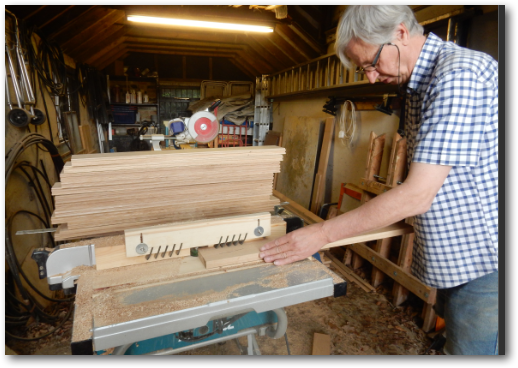
Routering the panel parts with an Ogee shaped router bit.
I made a router table to fit the Makita site saw from an idea I saw on YouTube and it worked very well.
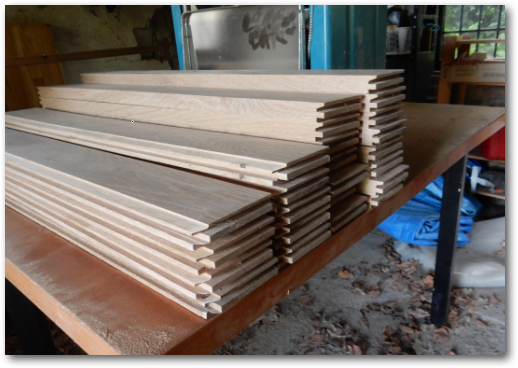
The side pieces of the paneling completed.
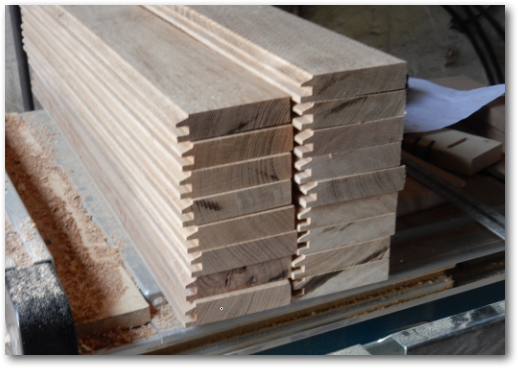
I've now routered the sides so they slot into the horizontal parts of the panelling.
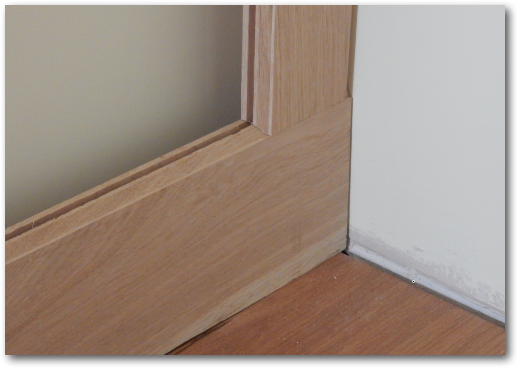
One corner of the panelling showing how the verticals fit into the horizontals.
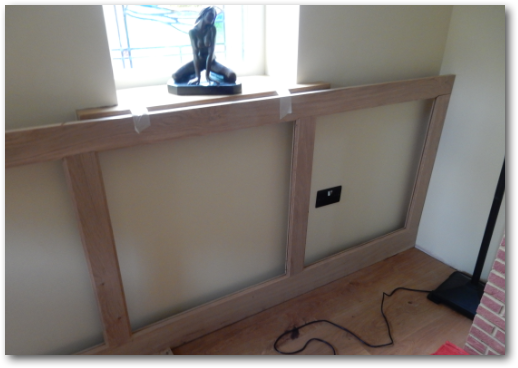
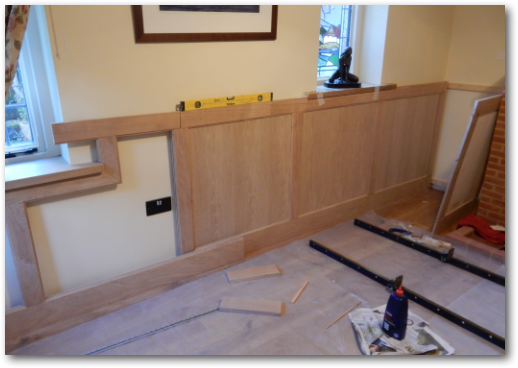
Starting to assemble the panelling in the dining room.
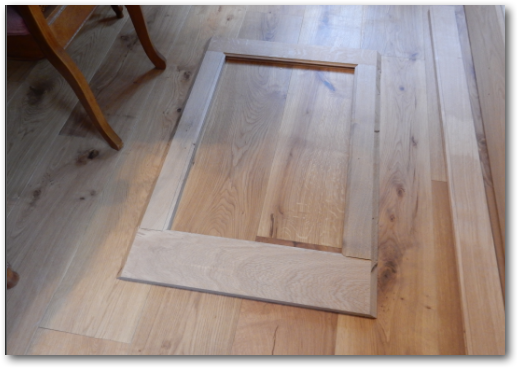
One small corner panel.
A more complex panel that will fit under the window.
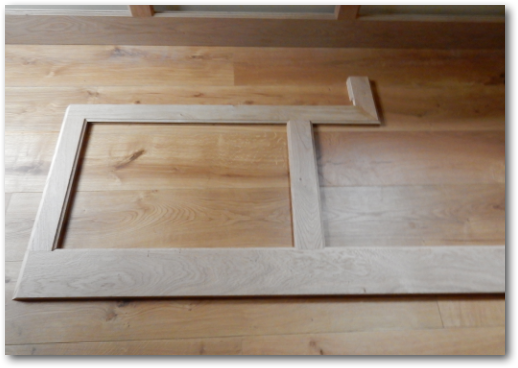
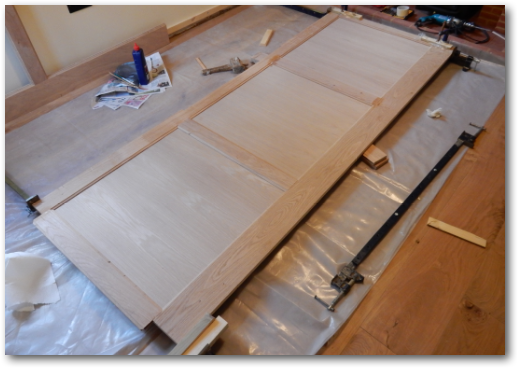
A longer panel ready for gluing after fitting the oak-faced plywood centres.
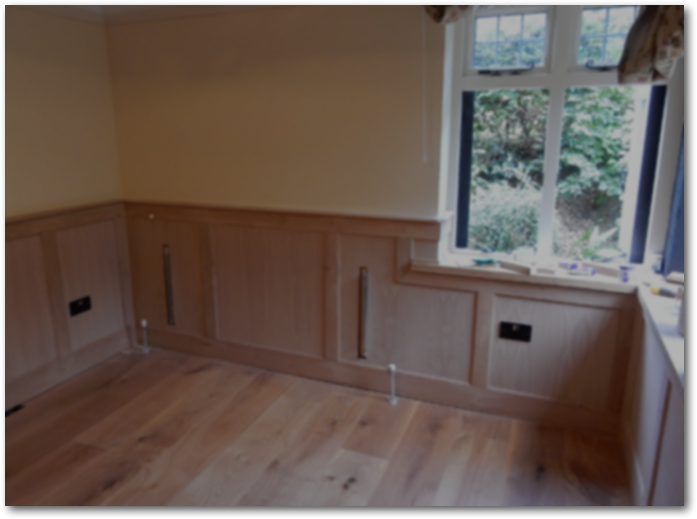
Fitting one of the more complex panels in place.
Fitting a panel behind the dining room radiator.

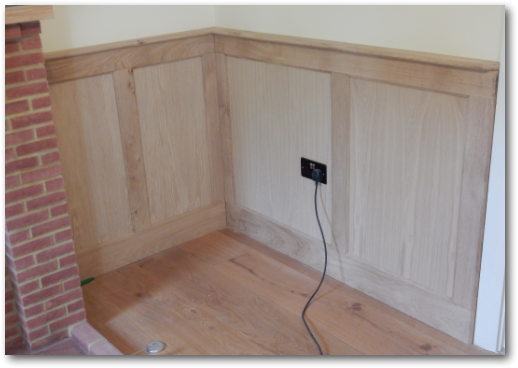
Another corner.
The panelling around the oak french doors.
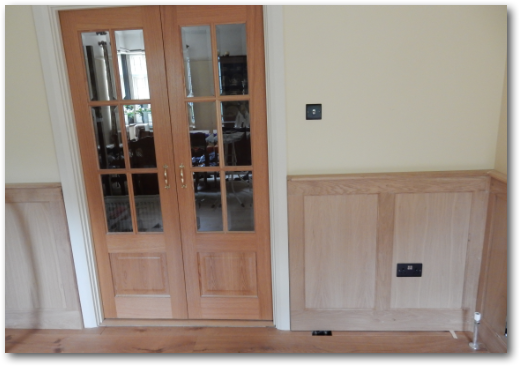
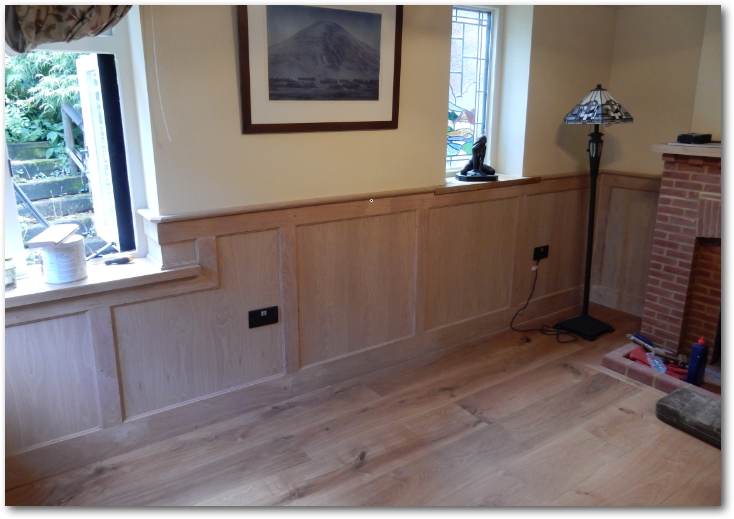
The finished panelling - it just needs to be varnished - a job for Helen!