
Building the window frames
One of the biggest challenges of building the extension was the windows. I wanted to match the wooden windows used in the rest of the house and unless I wanted to pay out tens of thousands of £s I needed to build them myself.
This was not going to be an easy task as I had four frames to build each containg four casement windows and one frame with two casement windows - in other words a total of 18 casements.
Fortunately, I had thought ahead and built these before the extenion build was started.
I made the windows to match the style of all the other windows in the house.
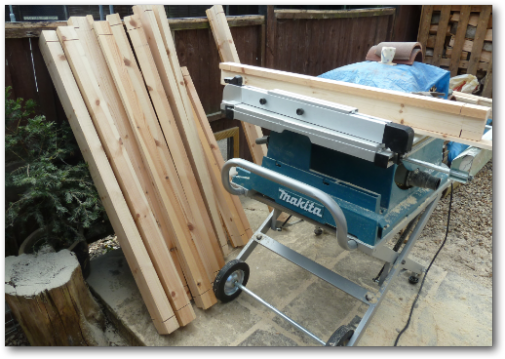
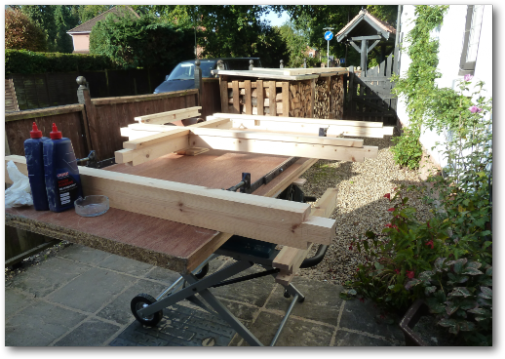
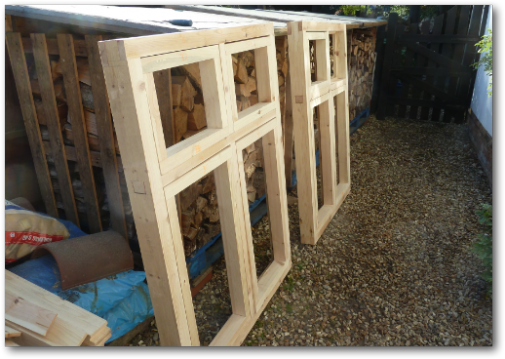
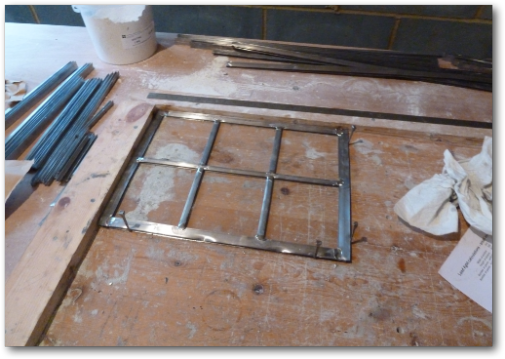
The first task was to make the four big frames.
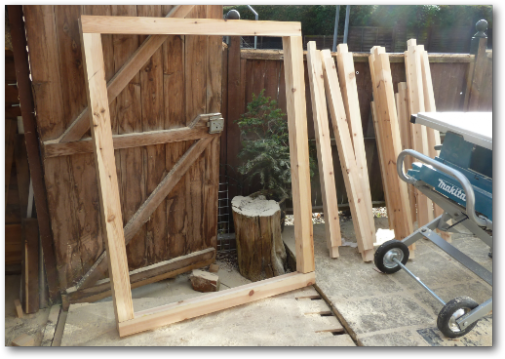
The outside frame of one of the windows assembled.
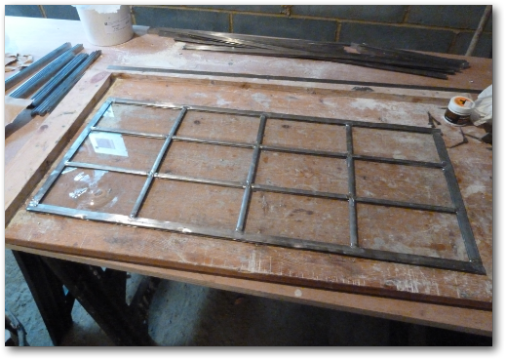
Three of the four frames assembled.
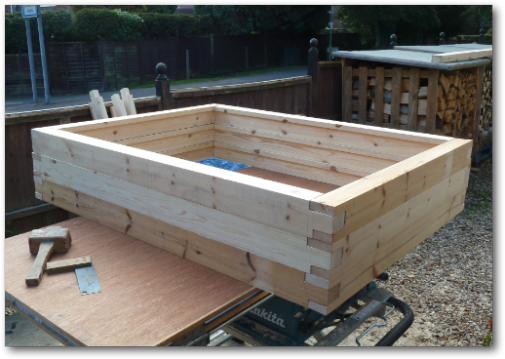
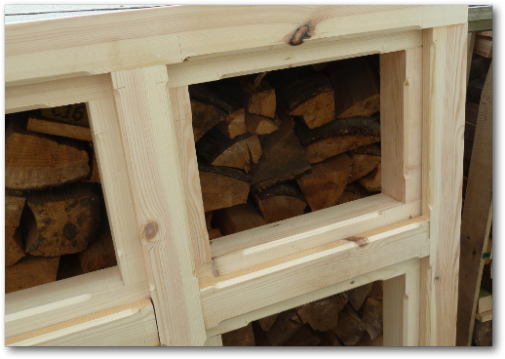
The 'internal' part of the frame assembled.

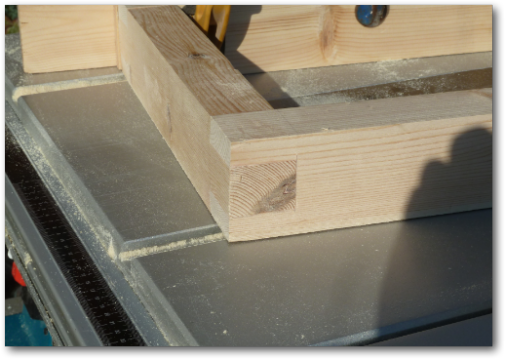
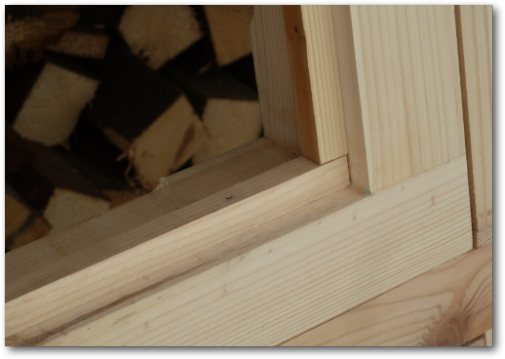
The joint at the centre of the frame.
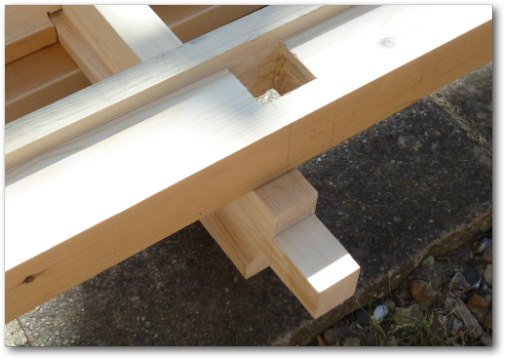
The joint connecting the centre part to the edge of the frame.
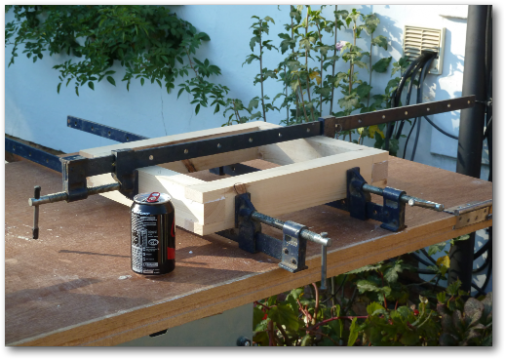
Ready for gluing!
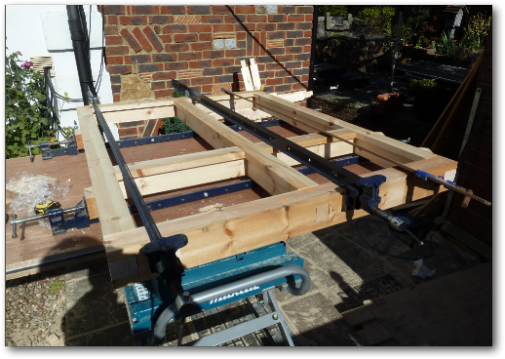
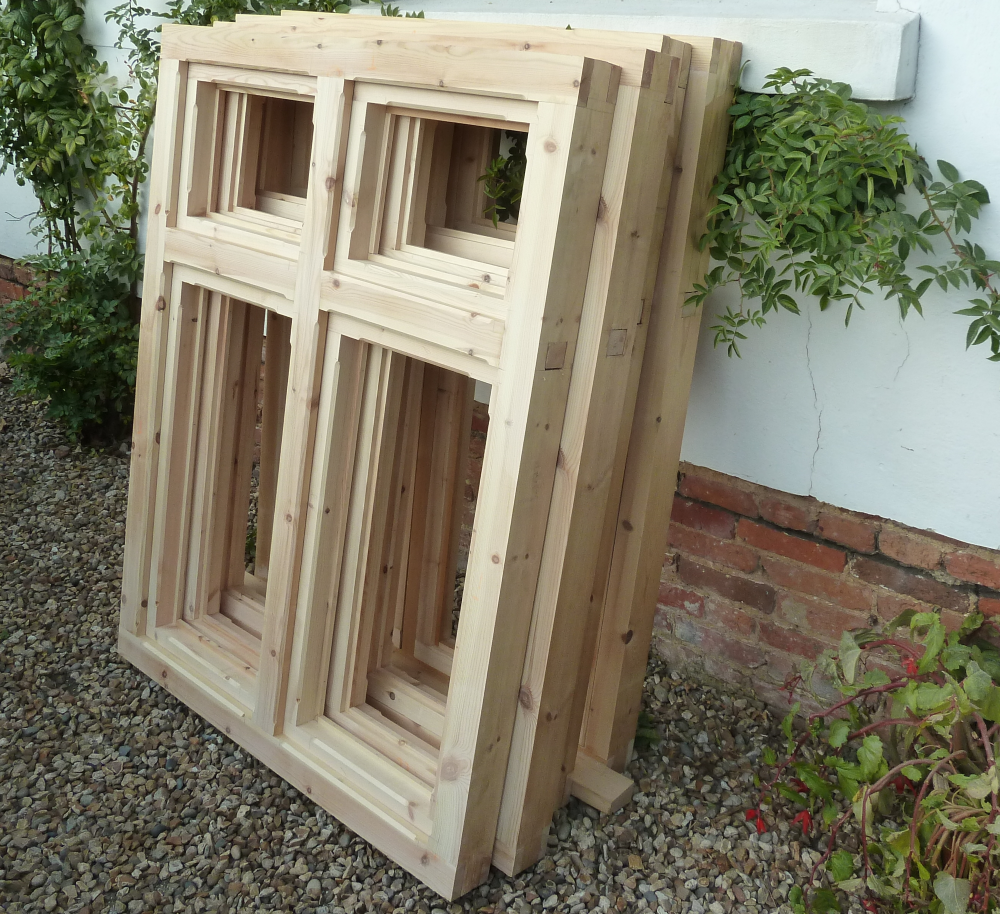
One of the completed frames held together with sash cramps ready for gluing.
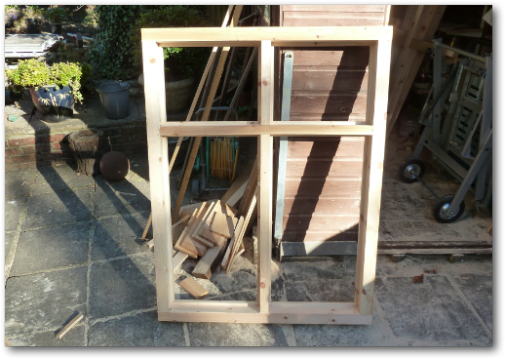
One of the frames now glued together.
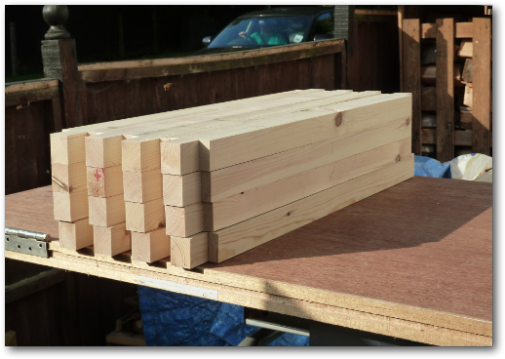
Starting to build all the eighteen casements.
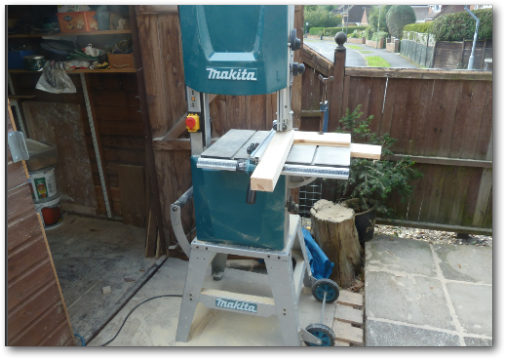
Using the Makita bandsaw to make the casement windows.
Cramping and gluing the casements.
The completed mortice and tenon joints on the casement windows.
Yes the casement windows fit into the frame. Phew!
I've chamfered the inside of the windows to 'pretty them up'.
I need to be careful as one mistake...
I've fitted the 12mm x 12mm pieces of wood to all the casement to retain the lead light window panels.
The windows will be triple glazed as I wanted to use real lead lights with the double glazing panel on the inside.

I've now added the sills.
I've build the leaded light windows for the casements.
I won't go into detail as to how I made these as a full description can be found on the single-storey utility room build website
This is a lead light window for the large casement.
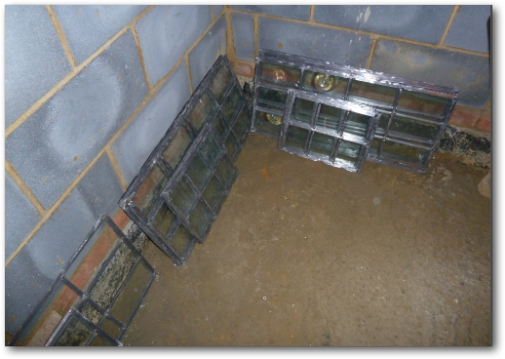
Some of the completed leaded light windows ready to be inserted into the casements.