
Utility room floor
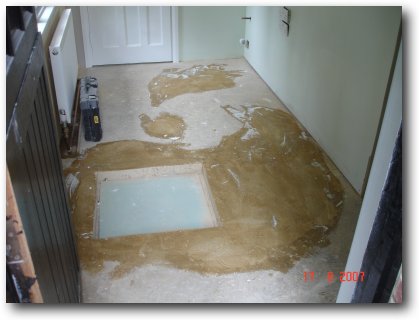
Thursday, 16th August: I sanded the floor today with a hired diamond concrete sander to remove several 'lumps' on the floor.
I resealed those area with PVA.
I mixed and laid the floor levelling compound. This comes in powder form and you have to mix 4 parts compound to 1 part water. This makes creamy consistency that has to be trowelled out in 10 minutes maximum before it begins to set.
I never used this before, but the floor does look flat...
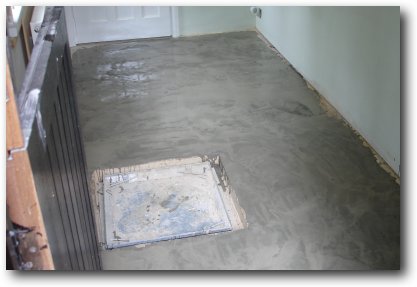
This is the floor half dry and I think you can see that it looks quite flat in the light from the window. It's hopefully ready for the floor tiles which I will buy tomorrow.
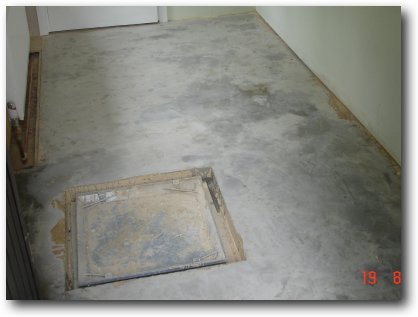
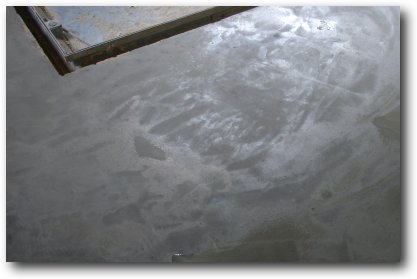
Sunday 19th August: The levelling compound is now dry and using a piece of wood the floor looks to be pretty flat.
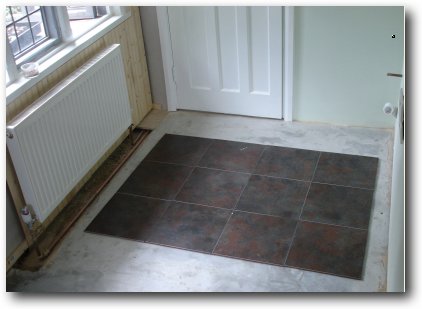
I've bought the tiles and laid them out to see what they look like.
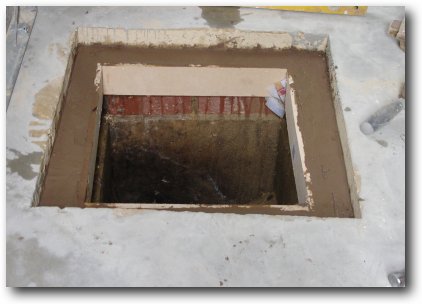
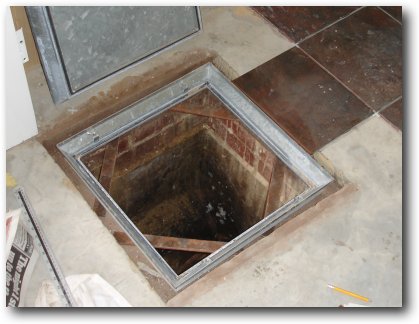
Monday, 20th August: I concreted the drain inspection cover today. The first part was to bring the level of the cover up to the floor level. I havn't concreted it in place as the final height adjustment will be done after I have laid the floor tiles.
The next frame was to fill in the large gaps around the edge of the cover...
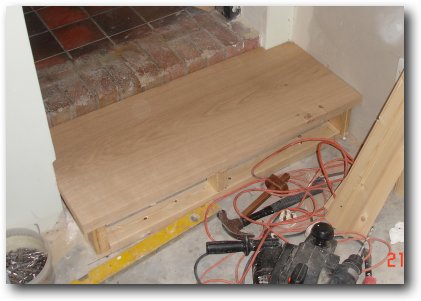
At least the step fitted after I cut the piece of oak down!
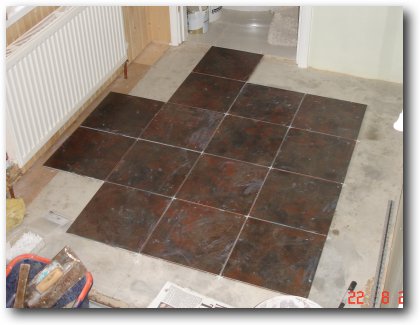
Wednesday, 22nd August: I started laying the utility room floor tiles today.
Things are going a little slower now as I'm doing some other things!
I should be able to finish much of the floor tomorrow with a fair wind behind me!

Thursday, 23rd August: I carried on tiling the floor this morning...
And, I've now reached the bit I wasn't looking forward to - the inspection cover.
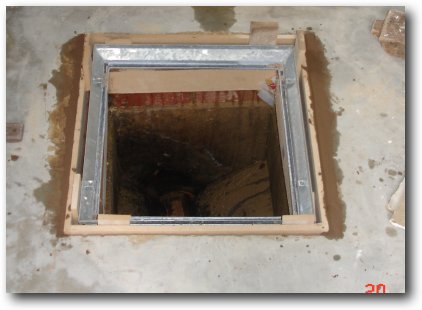
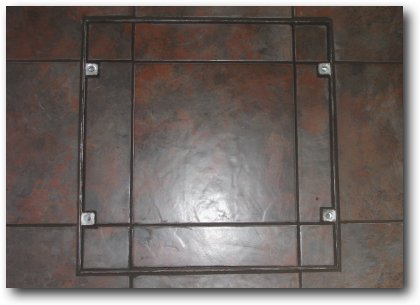
I rested the cover frame on a few pieces of tiles so the top is about level with the final floor lever (the cover has still not been finally cemented into place.
I aligned the edge of the cover with the edge of the final row of cemented tiles on the right.
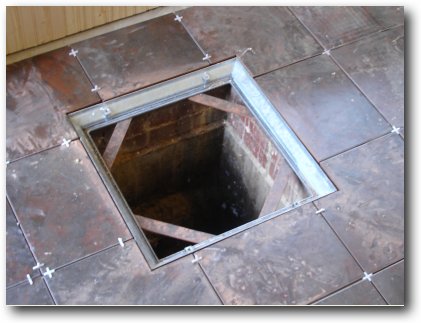
I cut all the tiles around the cover - but not cemented them in place.
I surrounded these cut tiles with full cemented ones.
After the cement is set tomorrow I will be able to cement the cover in place so that the top is at the right level. I will also be able to cement the edging tiles as well.
If you do one step at a time it's not a too difficult job.
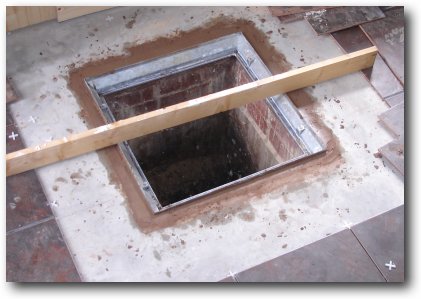
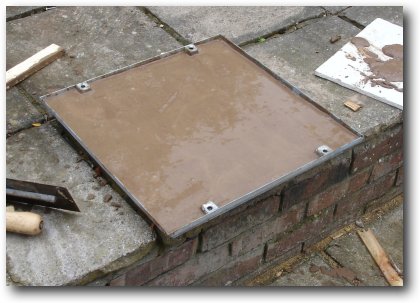
Friday, 24th August: I cemented the inspection cover frame in place using a a length of wood to make sure it was the right height.
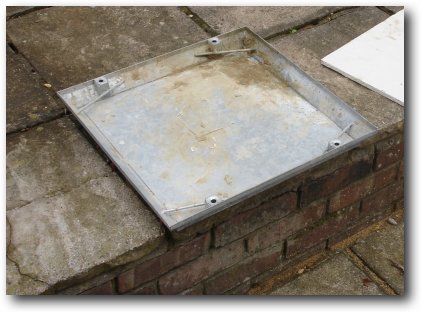
I found the double seal inspection cover...
and filled it with concrete to an appropriate depth for inserting tiles.
I grouted half the floor that is finished.
I placed the inspection cover in place and screwed it down.
No more drain smells in the extension - I hope!
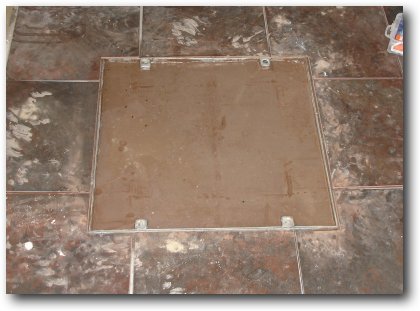
Tomorrow I will cut the tiles for the cover (they are the bits I cut out of the edging tiles.
p.s. it is pure luck that the tiles are equidistant in the cover.
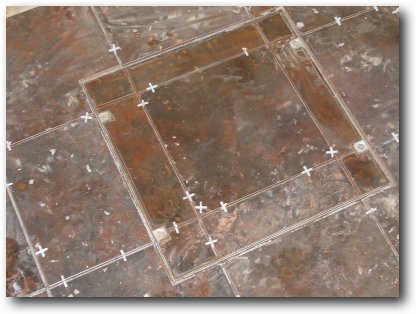
Sunday, 26th August: Another cock up!
I carefully cut the tiles for the inspection cover and then discovered I had not aligned the tile edges in the horizontal axis - doh!

I got it right this time...
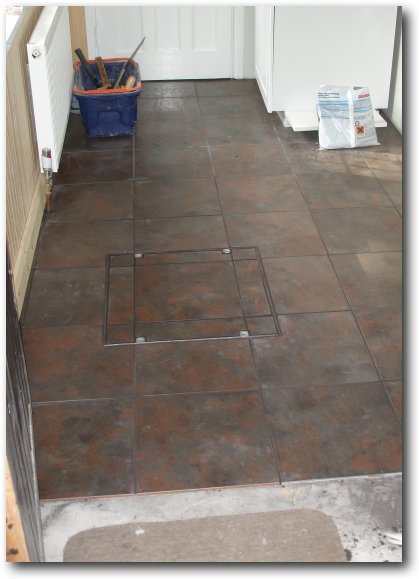
Monday, 27th August: I grouted the floor including the inspection cover.
It doesn't look too bad, but I may have to take the central tile out as it seems to have a loose corner.
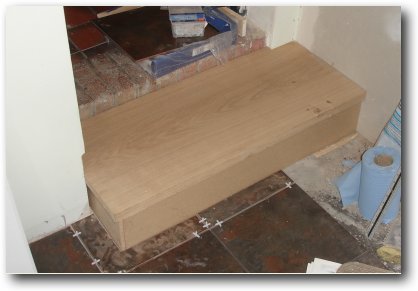
I used MDF to build the sides to the step and tiled around the edge.
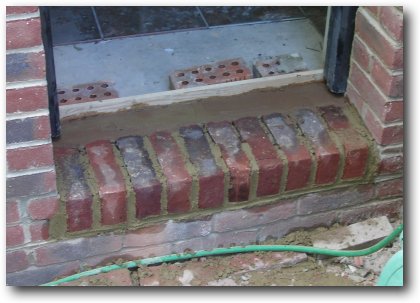
Wednesday, 29th August: I've never been very happy with the back door step so I knocked it out today and started redoing it.
I will use quarry tiles on top of the bricks and then I can finish laying the utility room floor tiles.
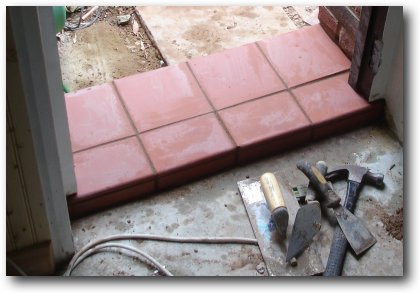
Thursday, 30th August: I picked up the quarry tiles this morning and mixed some sloppy concrete.
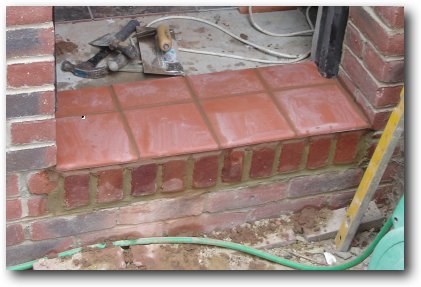
This is the result and I must say I'm pleased with the result compared to how it was before.
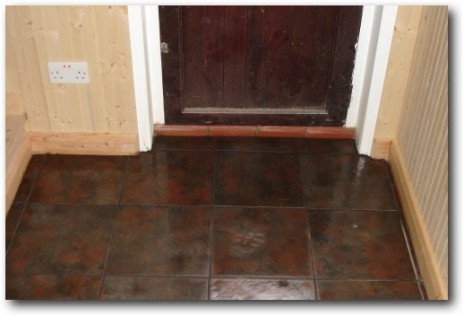
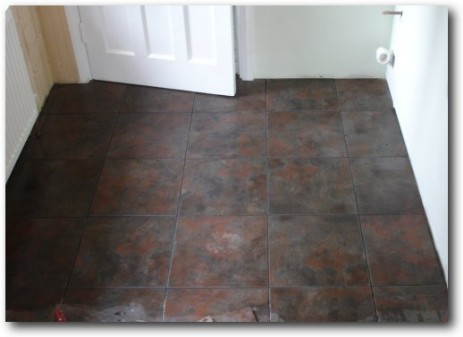
Friday 31st August: I finished tiling the utility room floor today and skirting on the outside wall.
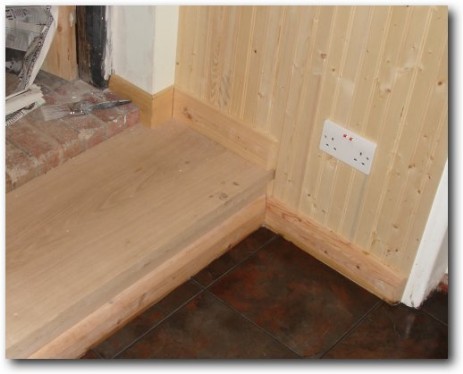
I also finished the skirting around the Oak step...
Well, tomorrow is exactly five months since I started tearing down the old outside toilet and started the project. I have just about finished the construction at long last! I still need to finish the door to the kitchen and paint the utility room but they are relatively straightforward tasks.
Hooray. Life can begin again!