
Designing the leaded-light windows
Getting real lead light windows made can be a very expensive pass time indeed, but they are relatively easy to make and it can quite good fun too! I've made quite a few in the last few years so it's clear I will make the ones for the extension as well! This page shows what you need to get going.
All the pieces needed to make a real lead light window.
The picture shows all the pieces required to make a real lead light window. It's really quite easy and costs next to nothing to make when compared to what you would have to pay if you had them made for you!
The lead itself is called lead came so this what you need to type into Google when searching for suppliers. Although, there is at least one UK manufacturer, I have tended to use lead came from Stillmans in Belgium. This is available from several places around the UK.
I bought mine from from Creative Glass Guild in Bristol this time around as my previous supplier in London is not around any more - it's five years since I made my last window!
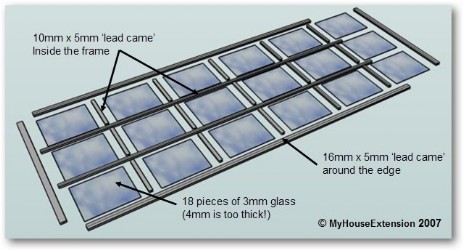
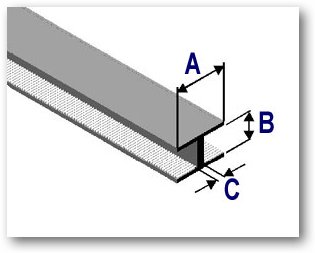
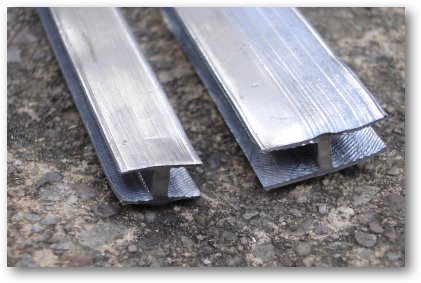
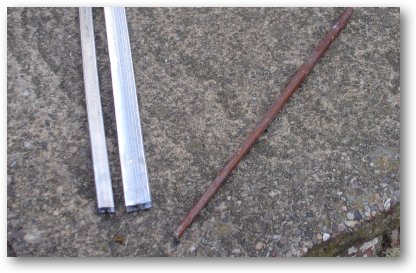
I use 16mm by 5mm lead came around the edge of the window and 10mm by 5mm for the inside strips. It is wider around the edge as it has to be fixed in place in the usual manner with putty. The 16 and 10mm lead came can be seen in the picture below.
It is clearly essential to make sure that you calculate the size of the small panes correctly and to help me with this, I created a small spreadsheet to do all the calcualtions. All I need do is to enter the size of the aperture and the number of panes across the width and along the length. In this case 3 by 6 panes, making 18 panes altogether.
I made a mistake a few years ago by using 4mm glass - you need to use 3mm glass! The reason being is that you need to leave sufficient space between the glass and the lead came to push in the sealer to make the window watertight. 4mm glass was just too thick.
Calculating the size of the panes of glass: To help calculate the size of the panes of glass required for the window I created a small spreadsheet a few years ago. I created this as every window in my house is a different size! You need to enter the number of panes across and down and the size of the aperture in centimetres. It assumes the use of 16mm wide lead came around the edge.
What you need to make lead light panels
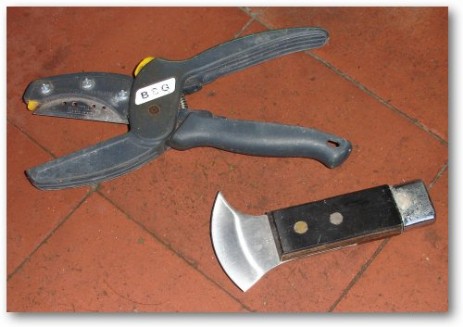
Lead came cutting tool: One of the main tools you require is something to cut the lead came. Although you can use a standard craft knife, the pliers - that uses a standard blade - makes a much neater job. I tend to find that the knife tends to bend the end of the came too much.
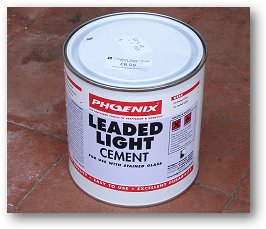
Lead light cement: This is used to make the panel waterproof once it has been soldered and assembled.
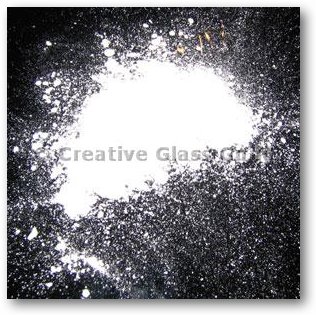
Whiting: Whiting is used to clean away the cement before it dries. It looks like plain chalk dust to me!
When you cut lead came it's pretty difficult to avoid crushing the ends of the 'H' together so having a chopstick available to push them apart can be useful.
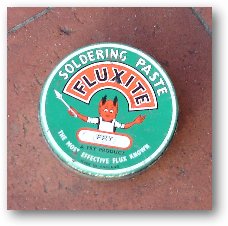
Solder flux: A tin of solder flux or paste to put on the lead came before soldering.
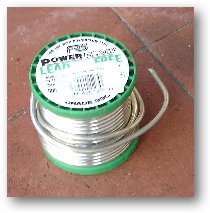
Solder: A large reel of lead-free solder - which is all you can buy these days. Seems kinda strange when it is being used to solder lead but that's the world we live in!
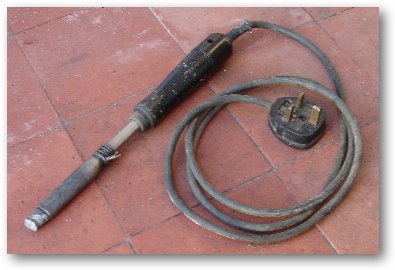
Soldering Iron: A good chunky soldering iron, not a little 25watt model.
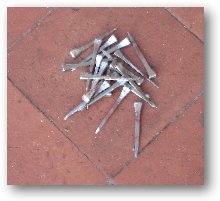
Fixing pegs: These will hold the lead and glass in place while the leaded light is assembled - I'm sure nails could be used but these have flat edges so as not to dent the lead came.

A craft blade is used to clean cement from the completed window. Break the point off one end so that the cement is not is not undercut around the edge of the panes.
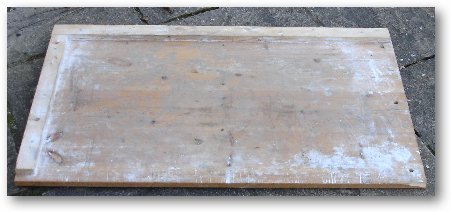
Assembly board: I built a small board - bigger than your window size with two pieces of wood screwed down at right angles to keep the window square as it is assembled.
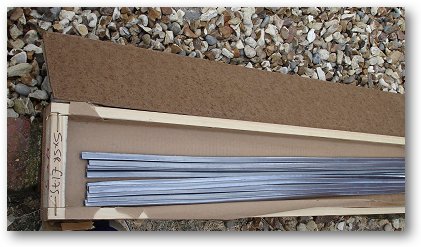
The lead 'came' came delivered in 2 metre lengths.
All that needs to be done now is to build the leaded light windows themselves.