
Shower room walls
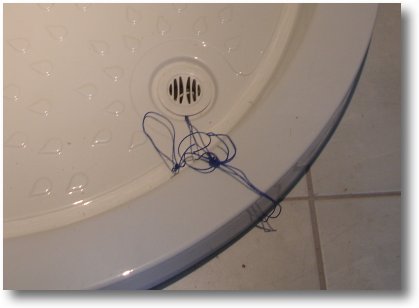
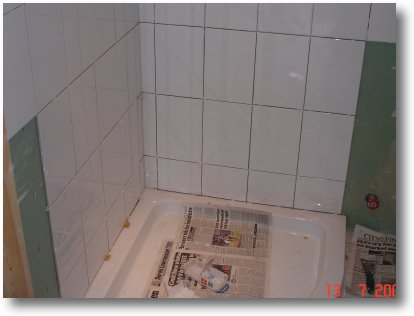
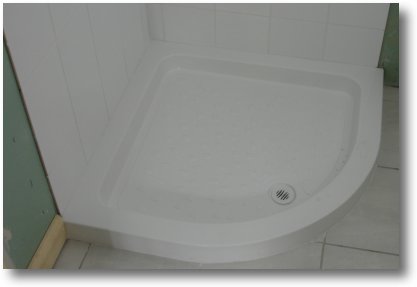
I connected the waste pipe to the shower tray for the first time - all seems well.
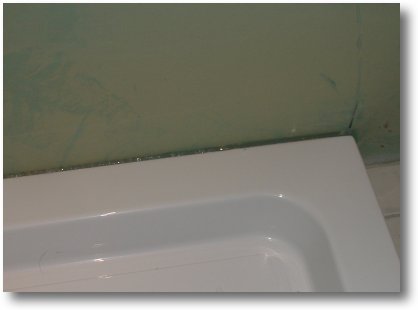
I sealed around the edge of the shower tray with translucent sealer (This will be covered by the bottom edge of the wall tiles).
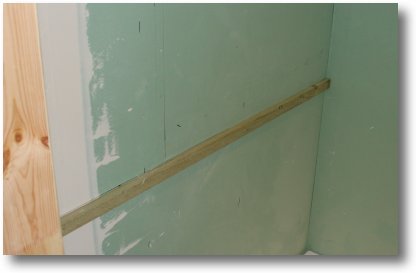
I will be using wood cladding, not tiles, outside of the shower, so I will start tiling at the level where the cladding starts.
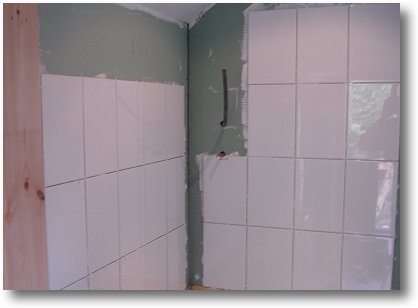
I've cemented on all the whole tiles on two of the walls.
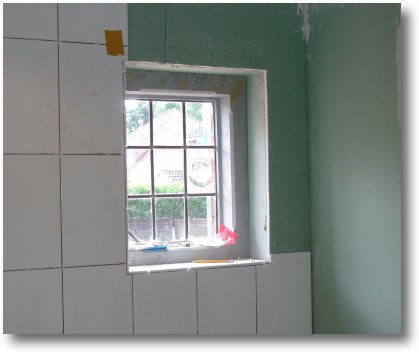
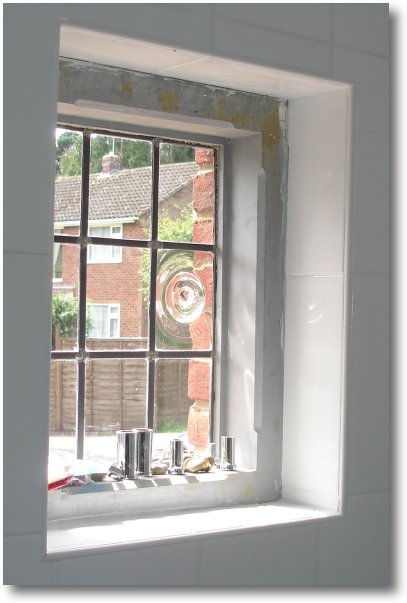
I tiled around two sides of the of the small window.
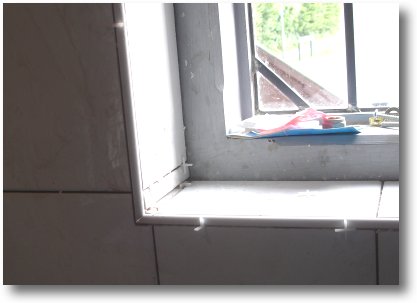
I used a strip of white plastic tiling quadrant around the edge of the window using tiling spacers to keep the gap the same all round the window.
I cut tiles using the diamond tile cutter and filled in all the wall edges.
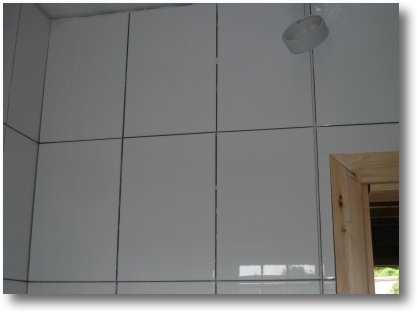
Two walls have been completed down to the level of the top of the wood cladding.
I could not have done this without the tile cutter so I'm really pleased that I spent the money!
Friday, 13th July: Well, today has not been too unlucky as tiling went well.
In fact I've finished tiling the shower room (I still need to grout).
Here is the window..
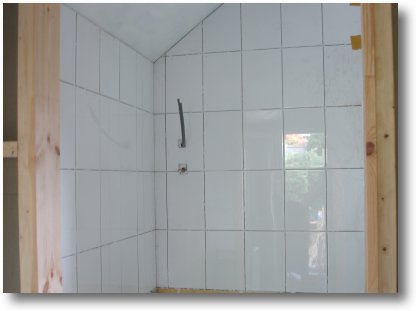
The shower...

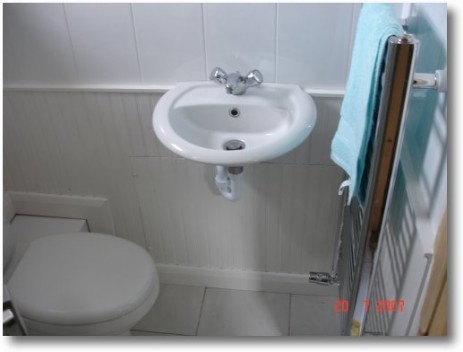
Around the hand basin...
Around the door...
Tomorrow I will grout all the tiles and clean up.
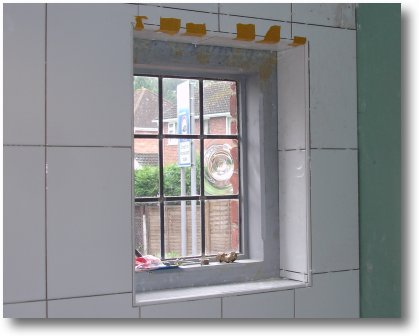
Saturday, 14th July: I grouted the whole shower room today - what a difference it makes!
Here is the small window...
I need to paint the window frame white now.
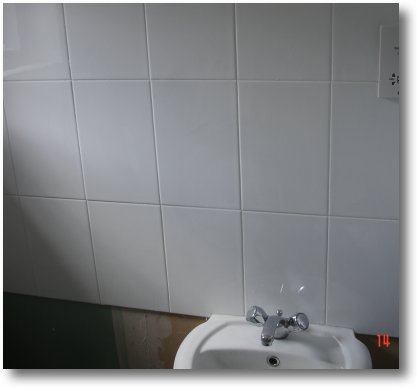
Behind the wash basin...
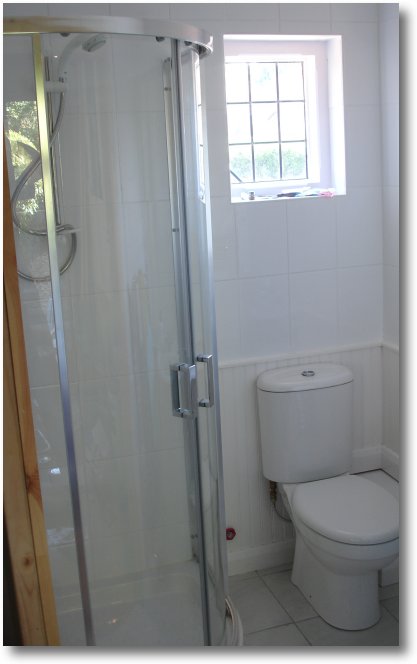
The shower cubicle...
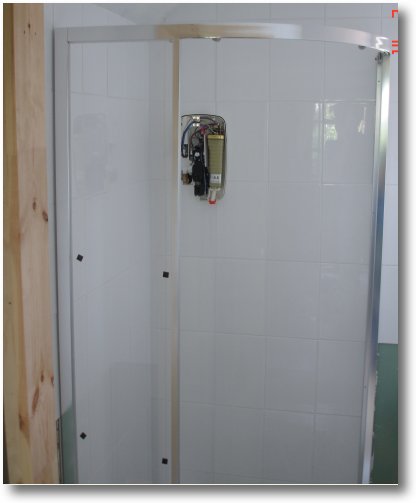
I now need to fit the shower screen which is just standing on the shower tray temporarily.
I plumbed in the shower to the cold water supply using a 15mm compression right-angle joint and screwed it to the wall. Everything fits and doesn't leak - amazing!
I havn't connected the 240 volt supply as yet.
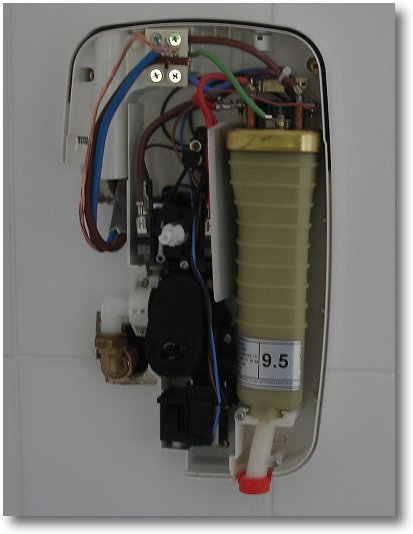
The shower with the cover attached.
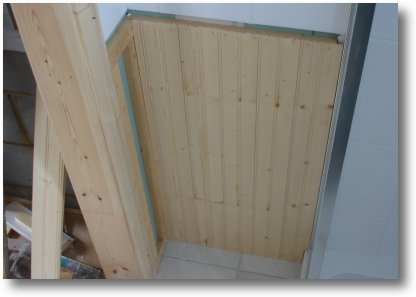
Sunday, 15h July: I started to put the 870mm high cladding in place.
I nailed some battons to the wall and the nailed the cladding to battons.
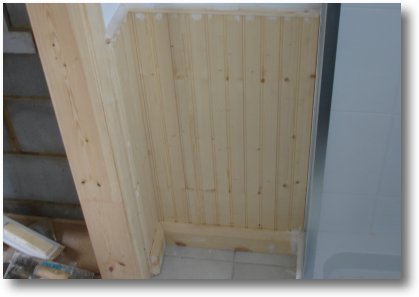
I put 30mm by 10mm pieces of wood along the top of the cladding and nailed the skirting board to bottom.
The cladding will be painted white.
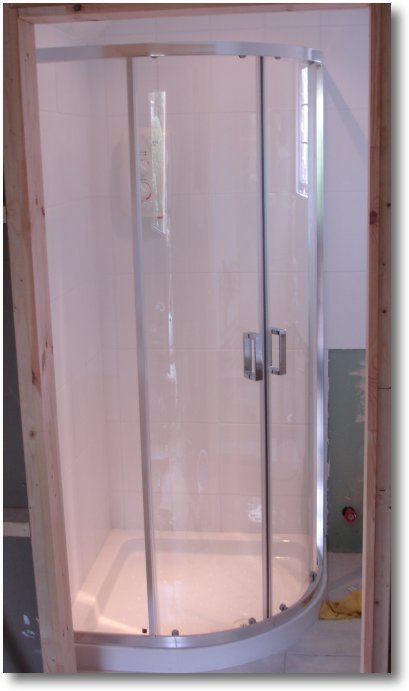
I fully installed the shower cubical by adding the doors.
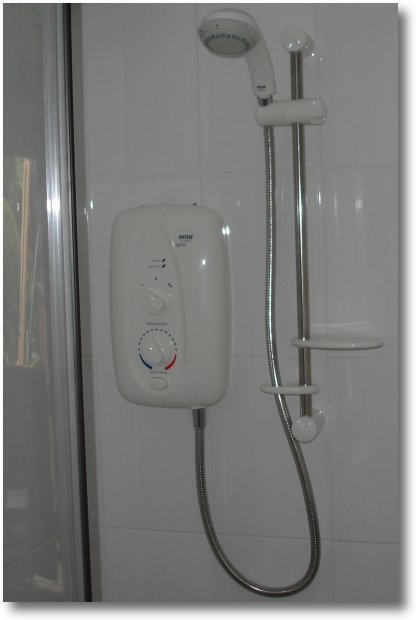
I also added the shower head assembly so the shower is now complete.
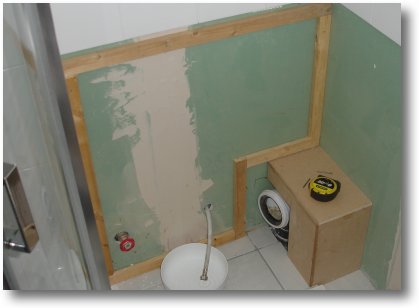
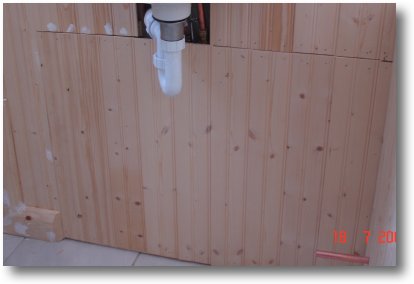
Monday, 16th July: I started working on the cladding on the rear wall of the shower room today.
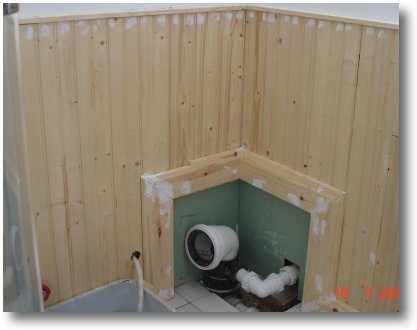
I needed to build a box out 12mm MDF to cover the toilet waste pipe.
All just about done but not nailed together as yet.
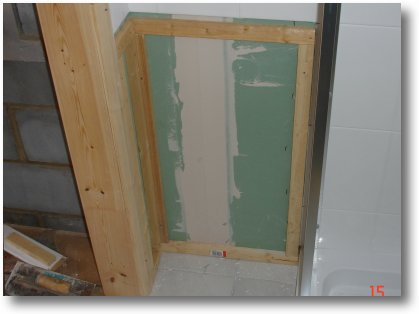
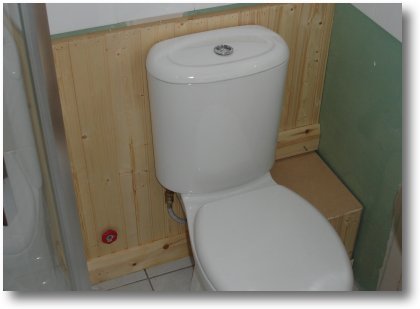
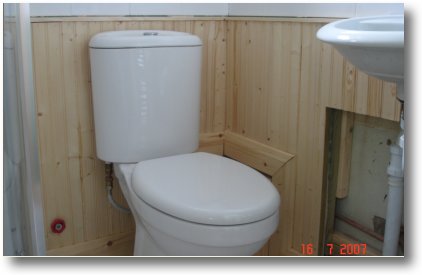
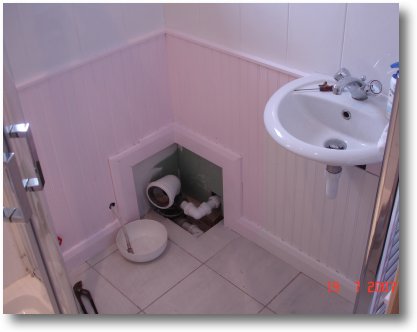
Wednesday, 18th July: I finished the cladding around the toilet today...
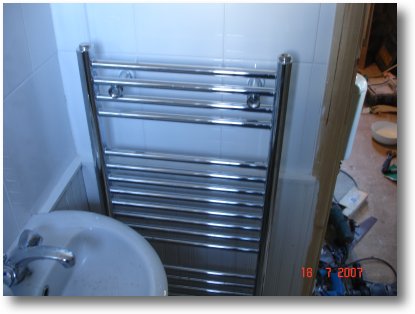
I also did the cladding under the wash basin and under the towel rail.
I just need to fix the skirting board.
This panel can be taken out to access the pipe work.
I white undercoated the cladding behind the radiator.
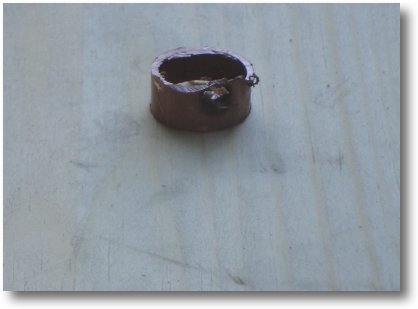
Well what a disaster! I was refilling the central heating system after painting the cladding and found that water was spraying everywhere!
Yes, I had made the classic mistake of putting a nail through my nice new copper piping.
After a lot of panicking, I managed to cut out the damaged piece of pipe and and use a compression joint to reconnect it. Panic over but I'm still in a very grumpy mood!
Thursday, 19th July: I painted the cladding with gloss white paint.
It looks pink because the Dulux paint I used is pink until it dries. Mind you it's still pink after 8 hours!
Friday, 20th July: I finished painting the shower room ceiling today and tidying up.
I think the shower room is pretty much finished. all that is left to do is to test the shower once I have connected the mains to the house.
On to the utility room I guess!
Monday, 10th September: I fitted the blind on the small window.

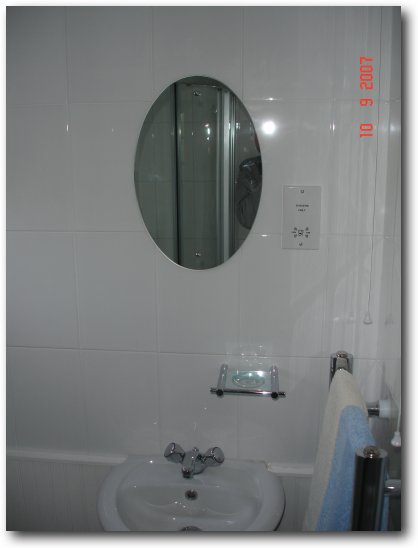
And finally... fitted the vanity mirror and soap tray etc. etc.
Finished!