
Making the leaded-light windows
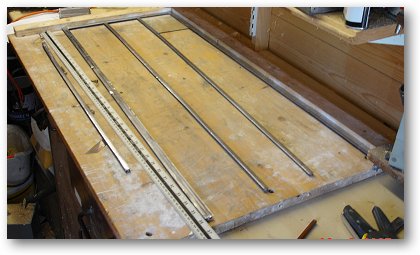
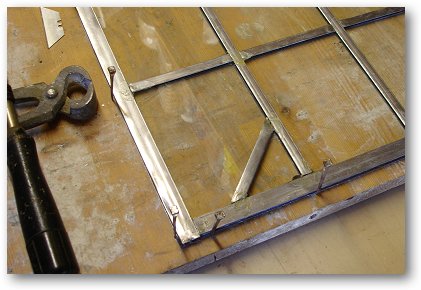
The first task is to cut the four outside lengths of 16mm wide lead came. The cross pieces fit inside of the uprights.
The cut the two inside uprights using 10mm lead came. It's worth checking that the size matches the size of the aperture.
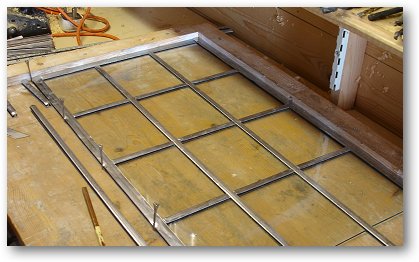
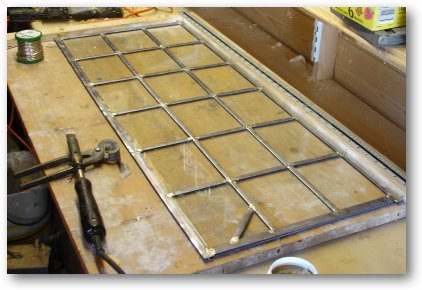
The board ensures that the window is square.
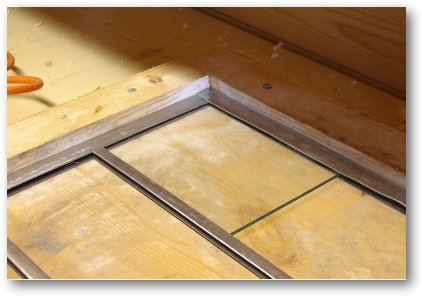
The first pane of glass is inserted into the lead came in the corner position.
The other two pieces are inserted in place and three pieces of 10mm came are inserted.
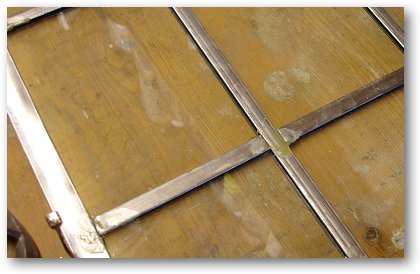
Note that the middle cross piece is slightly wider than the two outside pieces so you should not let them get mixed up.
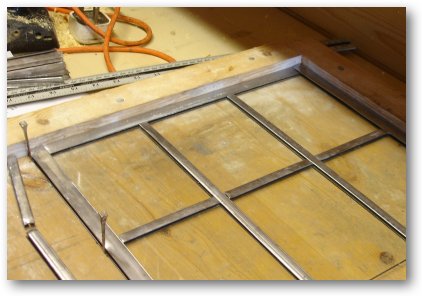
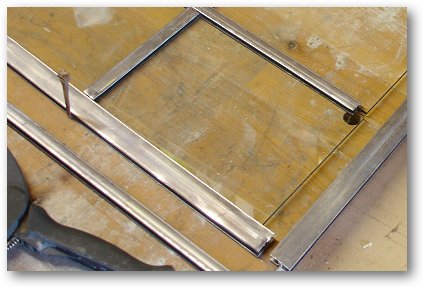
Once the cross pieces are in place, they are held tightly in place with a nail hammered into the board.
Tap the ends of the three pieces of glass with the handle of a hammer to make sure they are in place.
The next row is added and fixed in place.
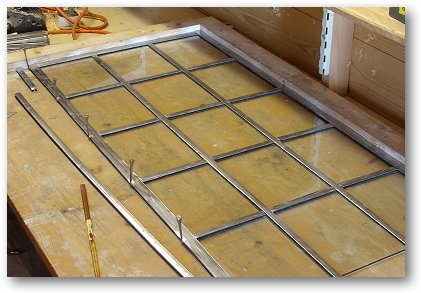
And the next row...
This is a critical point!
Was the size of the pane correctly calculated? If so the inside lead should be a little shorter than the ends of the glass panes and the outside pieces of the frame should be flush with the outside of the piece of lead when it is inserted.
If the size of the panes are wrong, nothing will match up and there will be nothing to do but start again.
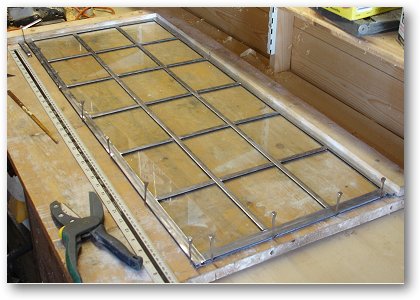
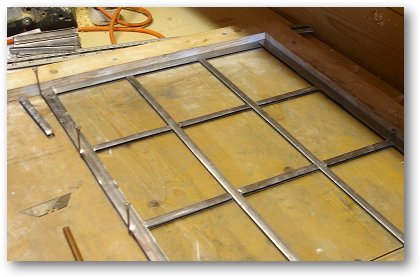
If everything is correctly calculated, you should have a lead light that will fit into the casement window aperture.
Notice the nails keeping the end piece of lead came in place.
I decided to add a small feature that can be seen in the rest of the house - it looks like a repair I guess.
All the joints are cleaned as fluxed. Make sure all the joints are done!
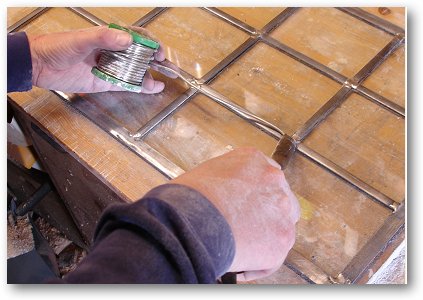
All the joints are soldered using 120 watt soldering iron. Try not to get too much solder on the joint and try not to take too long as it is possible to melt the solder.
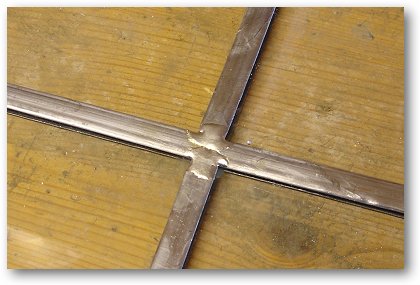
All the joints are soldered trying to keep them as neat as possible. It is very important to have a very hot soldering iron.
Once the first side is soldered, the window is turned over and the other side is soldered as well.
At this point, everything is loose when the window is moved.
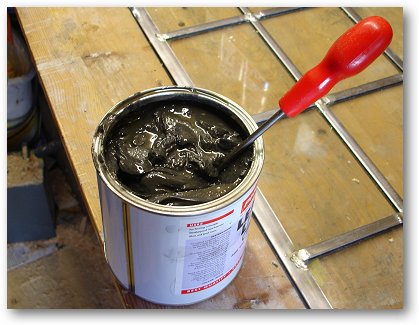
Now comes the messy part. To make the window waterproof, cement is used to fill the gaps between the lead came and the glass panes.
The cement is a black gunge and needs to be pushed well into the gaps between the lead came and glass.
This is achieved with a stiff-bristled brush.
THE FIRST SIDE IS THE OUTSIDE SIDE OF THE WINDOW so make sure you really fill the gap well.
Do this quite quickly as the cement starts to dry.

Gradually work through all the panes.
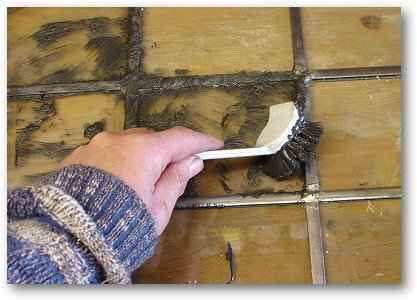
A close up of pushing the cement into the gaps. If you do this well, you will see the cement coming through the other side of the window. The cement should not be too thick.
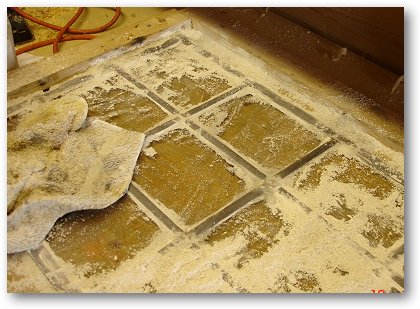
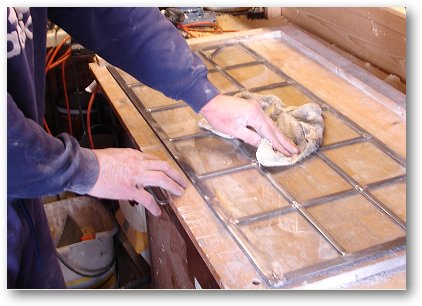
Once you have cemented the whole window, whiting is spread over the window to soak up surplus cement.
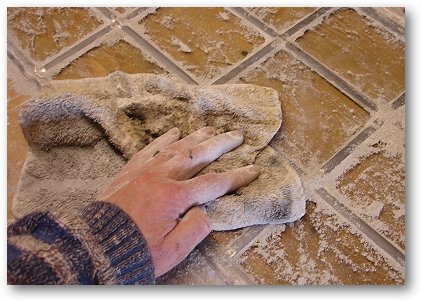
I use a cloth to rub the and clean the lead came -IF THIS IS NOT DONE, I'M TOLD IT IS NEXT TO IMPOSSIBLE TO REMOVE.
Once cleaned, the table and floor is covered in a now grey whiting.
Run around the edge of the glass panes to clean the lead came.
The window should be turned over and the cementing process carried out on that side as well.
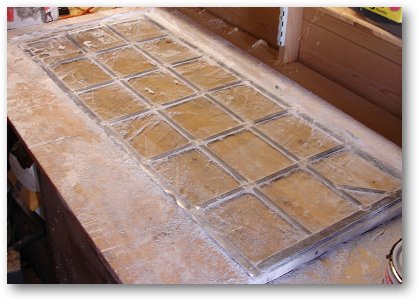
The window should be left to thoroughly dry over night.
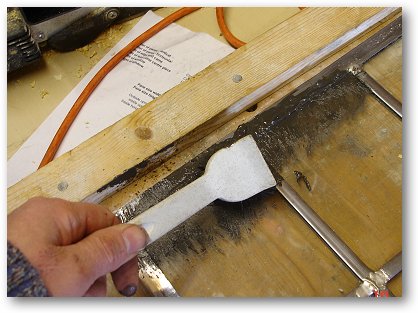
Once the cement is dry, the window can be cleaned and the lead polished with a dry cloth removing any remaining bits of cement.
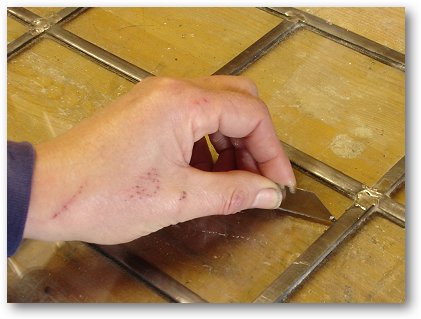
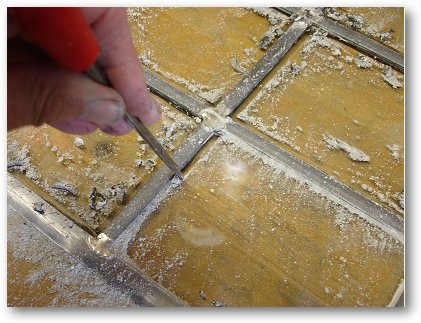
Use the clipped craft blade to clean around the edges of the panes.
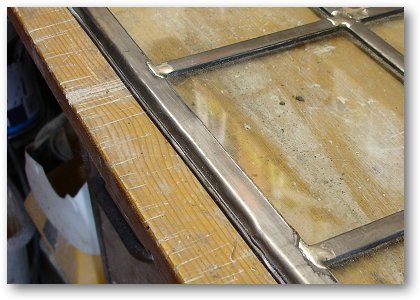
Place the window on the work bench with the FIRST SIDE you cemented uppermost as this will be the outside of the window.
Use the handle of a file to bend down the outside edge of the window leaving the underside flat.
This provides a firm surface for the putty to hold the window in the casement frame.
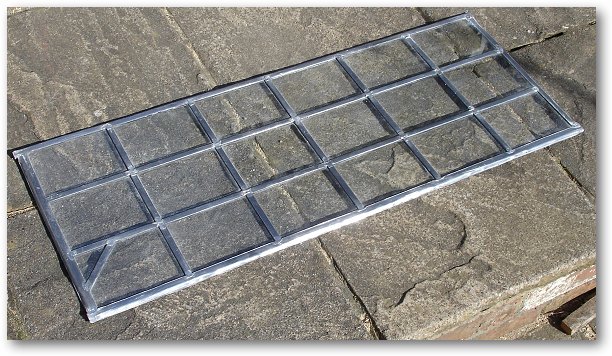
The completed leaded light window
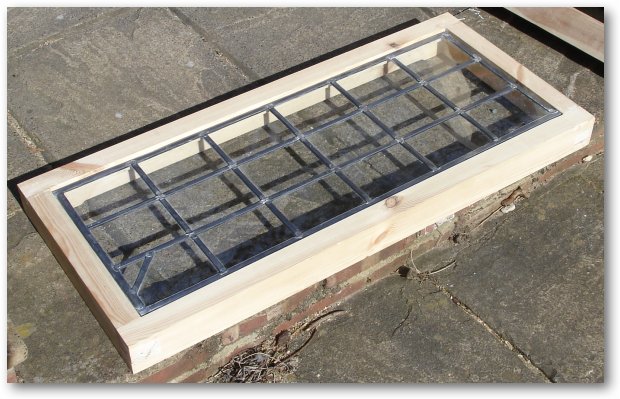
And how it fits in the casement window