
Building the walls #1
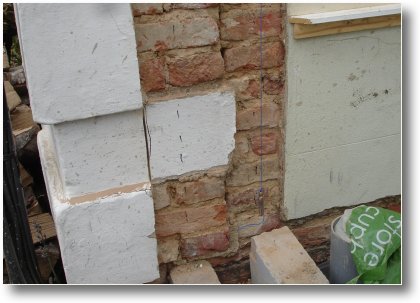
Saturday, 5th May: I need to remove the rendering at one of the house wall so that I can attach the wall tie-in bars.
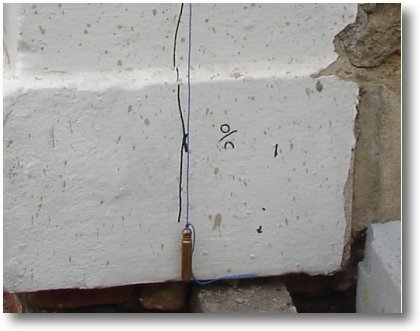
I used a plumb line to mark where I need to remove the render.
I again used the plumb line to mark where the pair of wall tie-in bars need to be placed - in the middle of the inner block wall and the outer brisk wall.
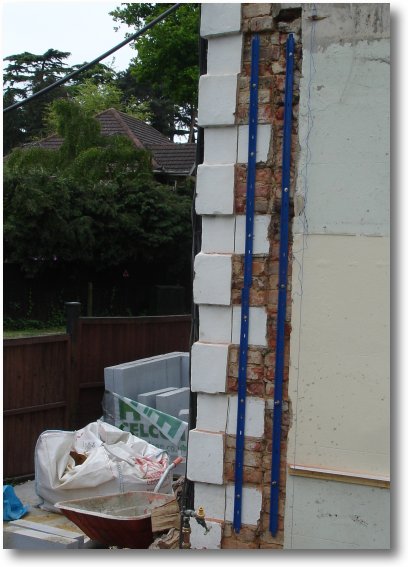
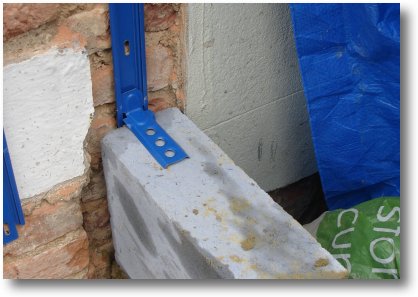
I've now screwed the wall tie-in bars to the wall using the screws and the plugs supplied.
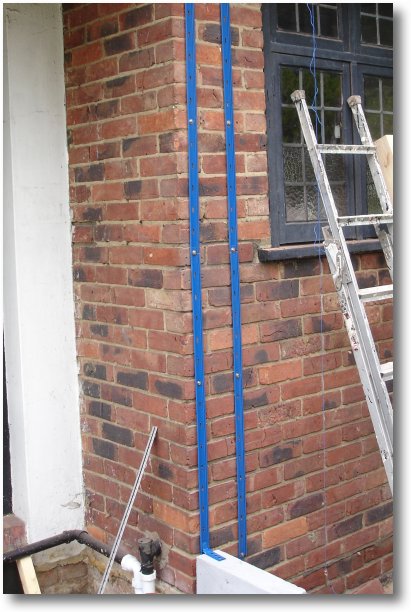
Here are the tie in bars at the opposite end of the extension.
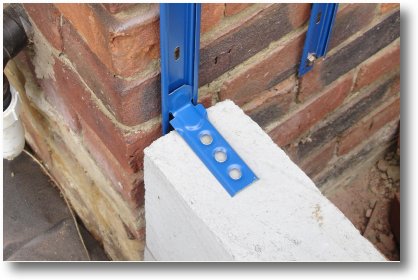
This is one of the multiple stays that are inserted in the bars as the walls are built up.
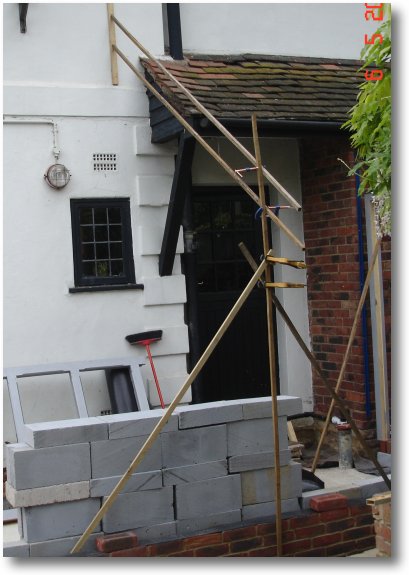
Sunday, 6th May: I have mocked up the roof fall and it's now quite clear the that I need to raise the existing roof line by around 14 inches to get the extension wall height correct for the door and window.
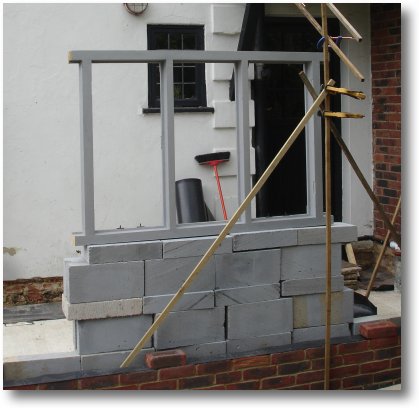
Placing the window in position temporarily allows me to see that with the increased wall height its fits quite nicely just below the soffit board.
We have now finally decided to place the door in the end wall as shown. This will give us more flexibility with the internal layout of the extension.
Southern Gas are now scheduled to come and move the gas pipe on the 18th May.

Tuesday 8th May: Building Control visit Stage 5 - Damp proof course: The Building Control Surveyor came at around 15:00 today and OKed the work up to the damp proof course.
I've started building up the inner wall up to the bottom of the window starting with one of the corners.
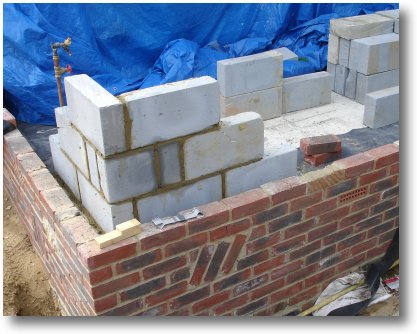
I think it is far easier building a wall with bricks than with blocks. I will have to make the cement more sloppy as they soak up the water so quickly.
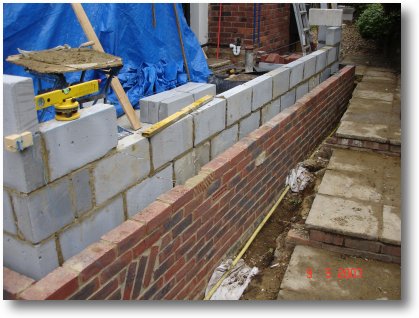
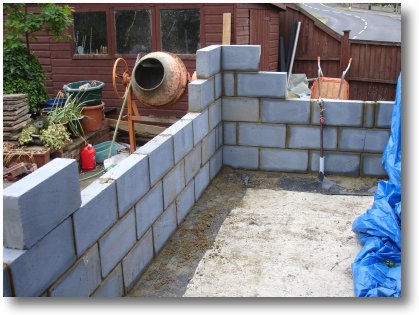
Wednesday 9th May: It drizzled with rain the whole day but it was much better weather for laying blocks than the hot weather in April.
I made the cement much sloppier and found that laying the blocks was much simpler.
I've started to use the tie-in bars now.
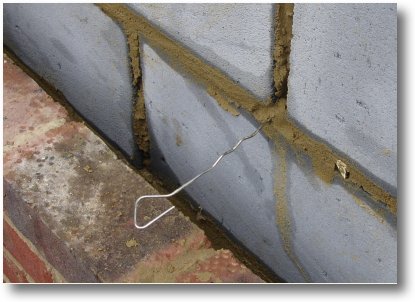
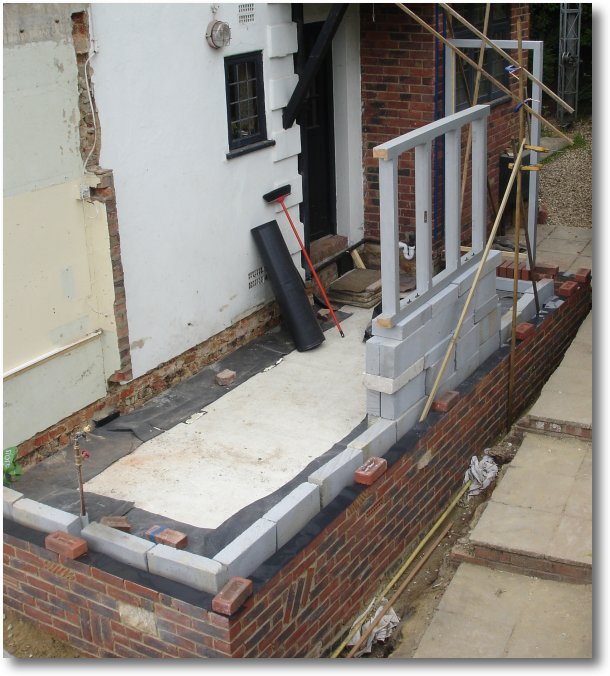
I'm placing wall ties every 500mm as instructed by the Building Regulations Surveyor. This is closer than normal because the wall contains random features.
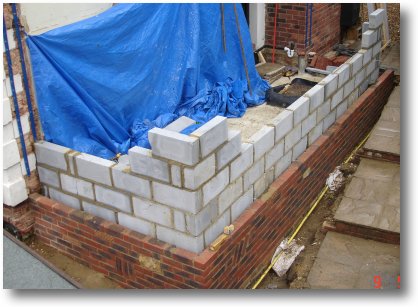
This is what I've achieved today. Not too bad.
The inside joints are a lot better than the outside ones!