
Utility room
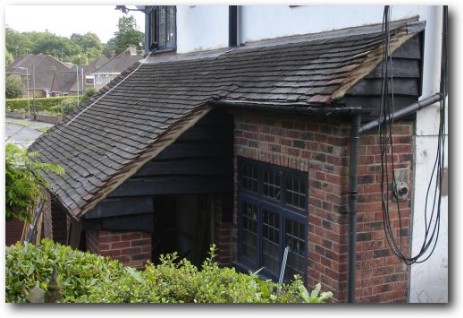
Saturday, 21st July: I painted the wooden gable ends and added the guttering.
I have to multiplex a bit now before I jump into dry lining the utility room.
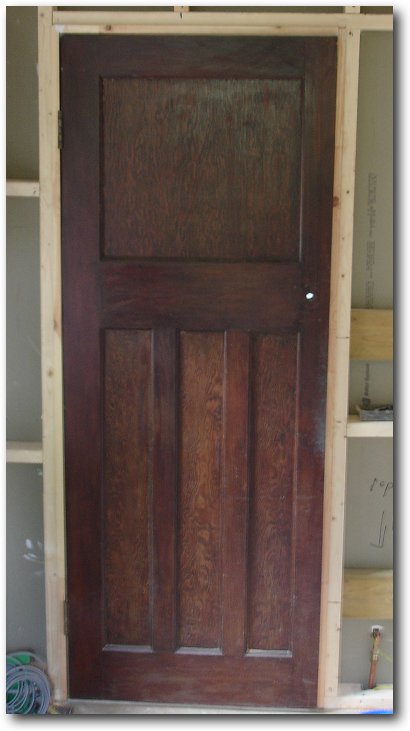
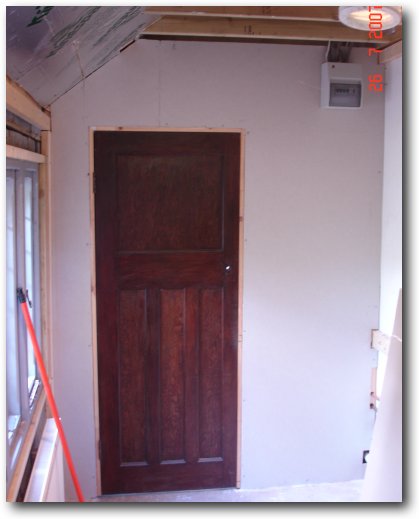
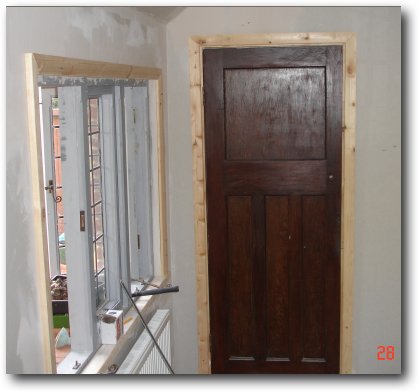
I fitted the shower room door today.
This is a door taken from the main house some time ago, using it here will ensure that the style of the utility room decoration matches the rest of the house.
It will be painted white when I've completed the utility room.
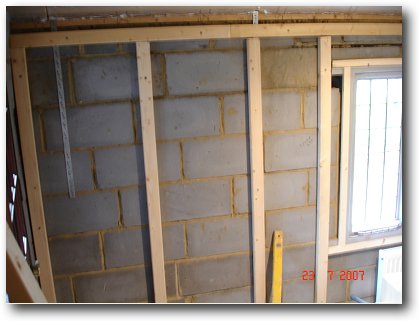
Monday, 23rd July: I fixed the battons to the window wall of the utility room today so I'm ready to dry line at least two walls and the ceiling.
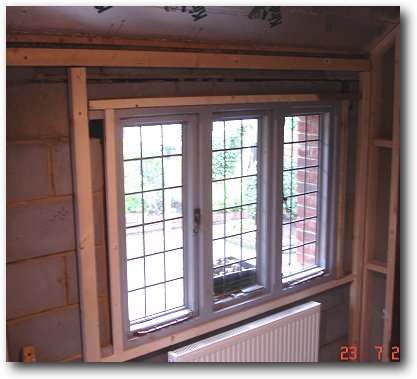
I've placed battons around the window as well so that I can attach the plasterboard to the the window frame.
The electrician is coming to morrow to test my electrics and connect the extension to main house consumer unit.
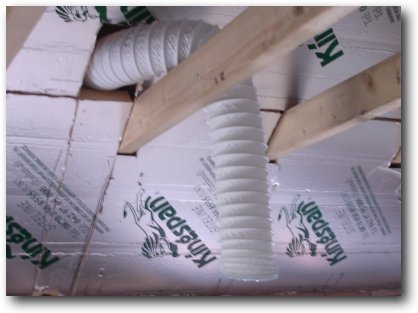
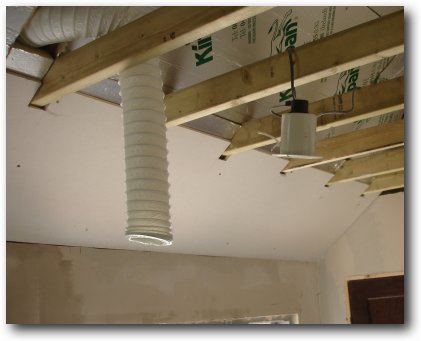
Tuesday, 24th July: I fixed the fan exhaust in the utility room roof ready for plaster boarding.
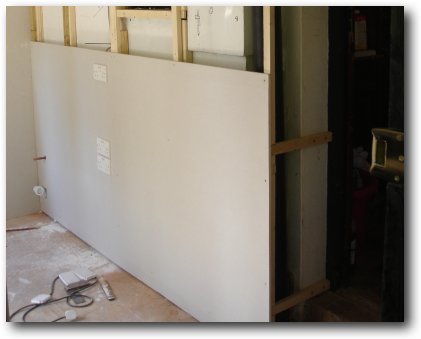
Thursday, 26th July: I plasterboarded the stud wall today.
Tomorrow, I will start the window wall.
When the ceiling is in place I will move the Consumer unit up to the ceiling.
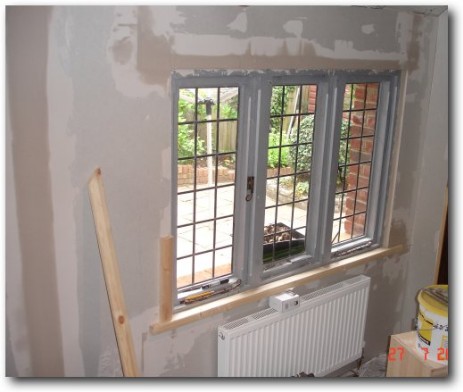
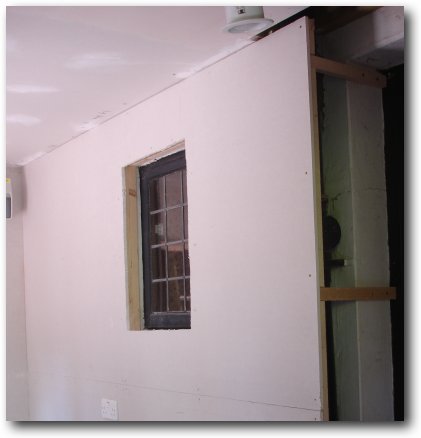
Friday, 27th July: I plaster boarded the window wall today. I havn't fixed the sill or architrave around the window yet as I still have a lot of filling to do. Tomorrow I'll start on the ceiling I think.
The electrician came around this afternoon and tested the electrics. All was OK and he will send me the certificate (and the bill!) on Monday. I am amazed at the number of forms he needs to complete..
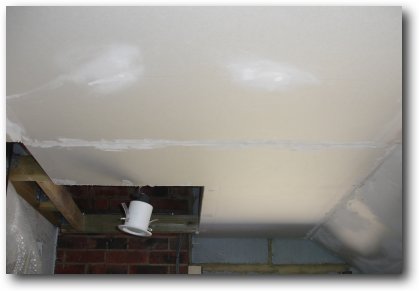
Saturday, 28th July: I made a start on the ceiling today with the angled section.
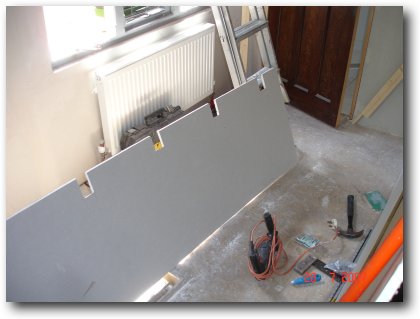
I cut a sheet of plasterboard in half and two of us held it up to the ceiling.
I marked the position of the ceiling joists with a pencil and cut slots where the joists are.
I then screwed the panel to the ceiling using 3.5" screws.
They have to be that long to go through the 50mm insulation - oh, by the way, don't forget to mark the positions of the joists on the wall before putting the ceiling sheet up!
Between filling the gaps between the plasterboard panels with filler, I temporarily nailed up the architrave around the window and door.
I will put up a further section of the ceiling tomorrow.
Monday 30th July: I put up part of the main ceiling- well I say I...
In reality it was all hands on board for this one with lots of brooms!
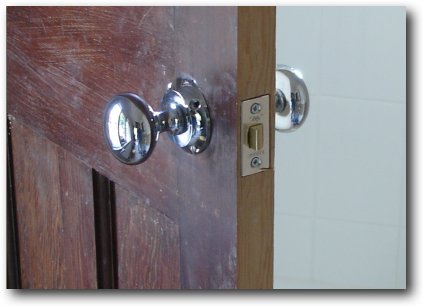
I fitted the door furniture today. I have a BBQ at the weekend I need to get the toilet finished in time for this.
Tuesday, 31st July: I built the access trap for the roof space today and dis some more plasterboarding, filling and sanding.
I'm rather busy for the next few days so I doubt I will get much further done this week!

Monday, 6th August: My BBQ went well, so it's back to work!
I finished the battening work today on the inside wall of the utility room so I'm now able to plasterboard it tomorrow.
I'm really saddened to have to cover up the castellated brickwork but I have little choice.
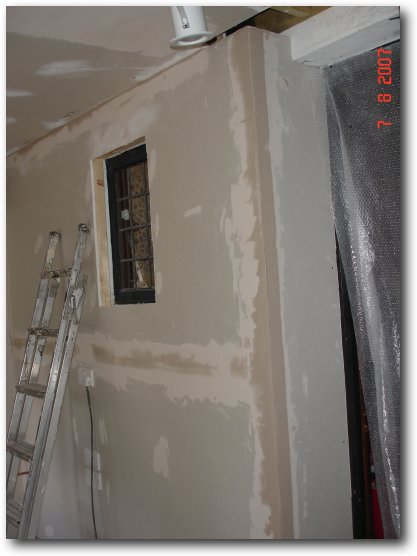
Tuesday, 7th August: I plasterboarded the inside wall of the utility room today starting with the bottom board.
Then I added the top board and cut out the window...
More filling!
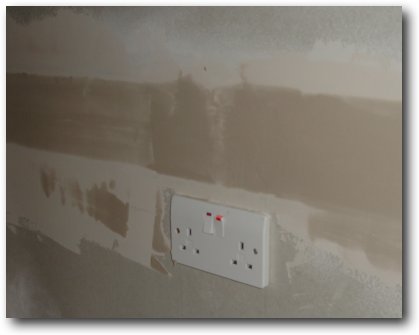
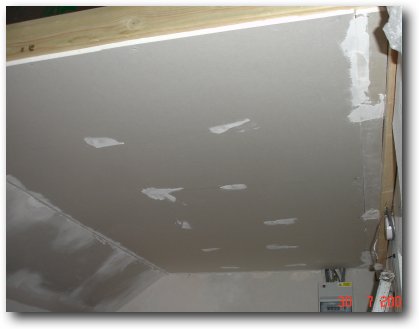
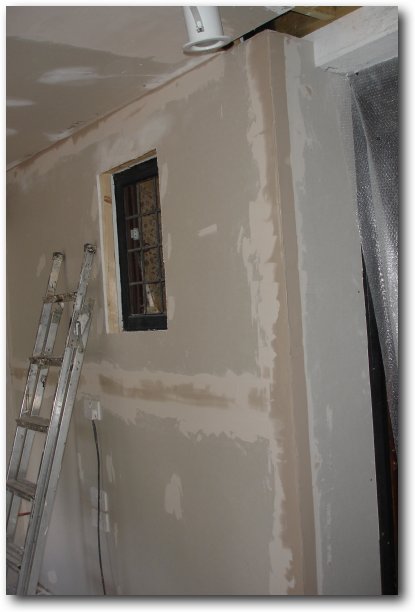
This is how tapered plaster board looks after taping and two coats of plaster but before it dries.
(1) Apply tape over the joint.
(2) Cover the tape with a thin coat of plaster 100mm wide and let dry.
(3) Sand the plaster.
(4) Apply a second coat of plaster and smooth off with a metal plastering trowel.
(5) Sand down.
Wednesday, 8th August: I spent the day filling and sanding - lots of dust!
However, the wall is looking good now just a final fill and sand required before I move on to the last wall by the door.