
The new hipped roof - the build
One of the first jobs to be undertaken before the house re-roofing can begin is let the carpenters build the new hip roof. I was planning to undertake this work myself but the rainy weather in 2012 prevented me.
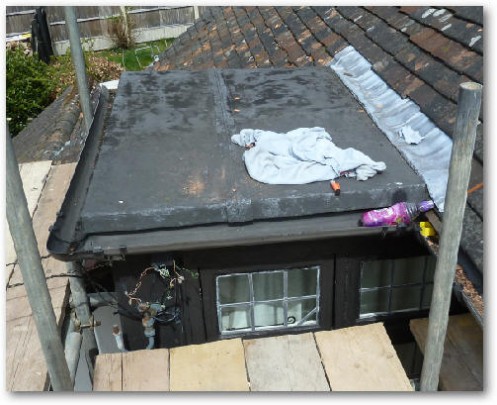
This is the small felted flat roof now made accessible by the scaffolding.
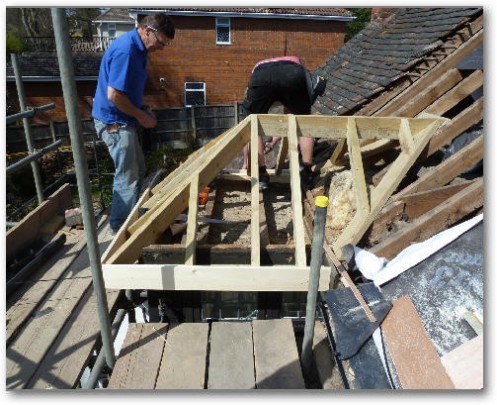
The carpenters have arrived on time to the dot!
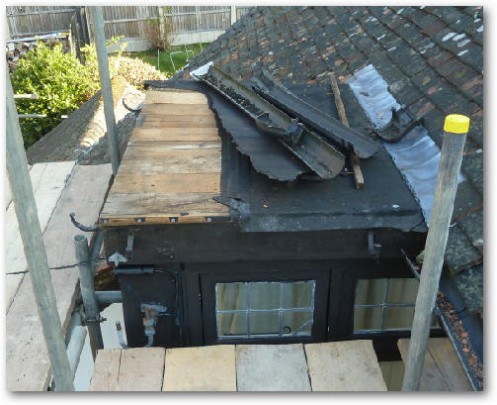
Ripping off the old felt...
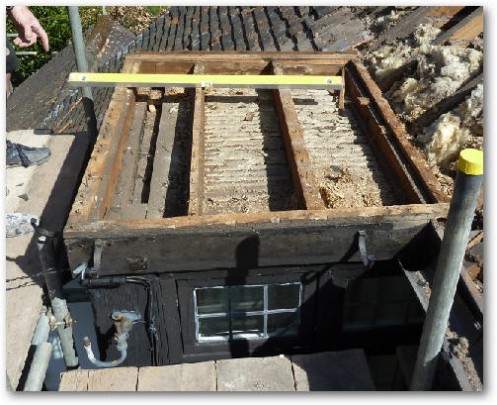
It was quick and easy to strip off the old felt to reveal all underneath - the plaster and lathe ceiling!
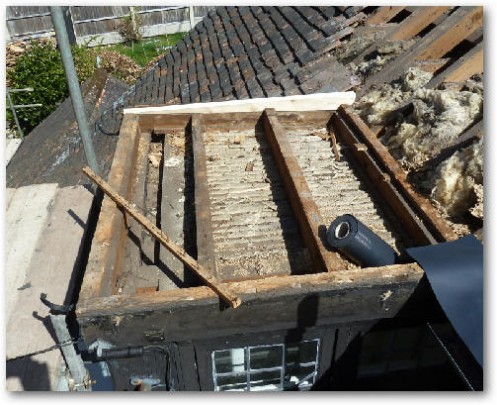
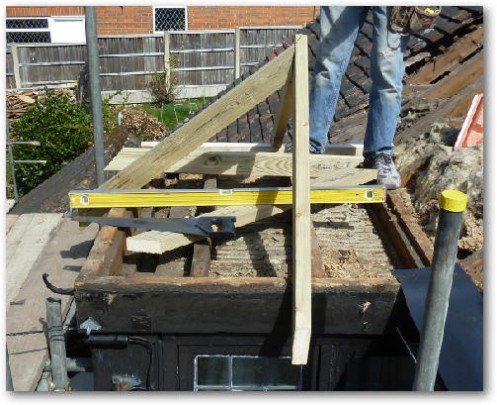
The back of the roof was distinctly low necessitating the creation of a filet of wood to make it level. This probably explains why it let the rain in at that cornet when it rained heavily and the wind was in the right direction.
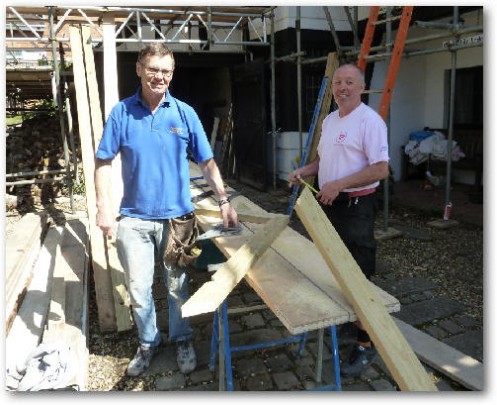
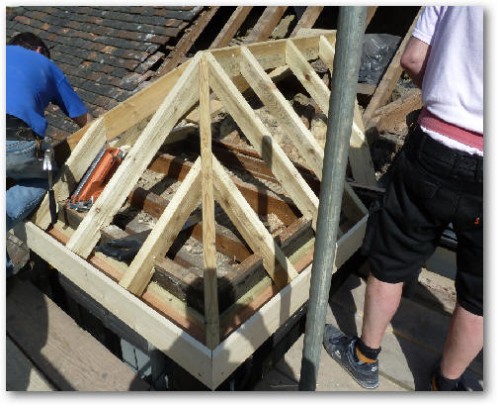
Alan ( on the right) and his colleague Brian started the task of making the new rafters to match the 42 degree angle of the old roof.

I can tell you there is an art to getting all these angle right!
Assembly begins from the front of the new hip roof.
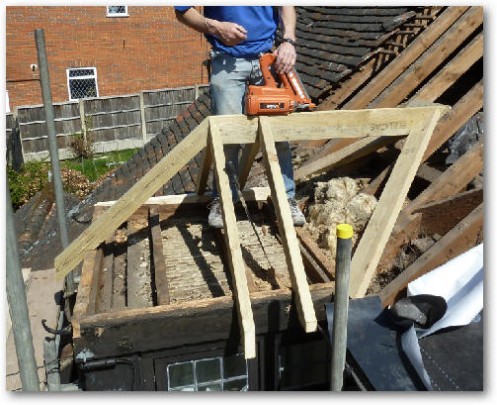
The new rafters are nailed in using a nail gun.
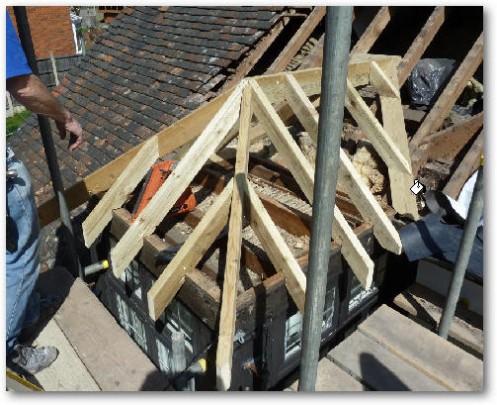
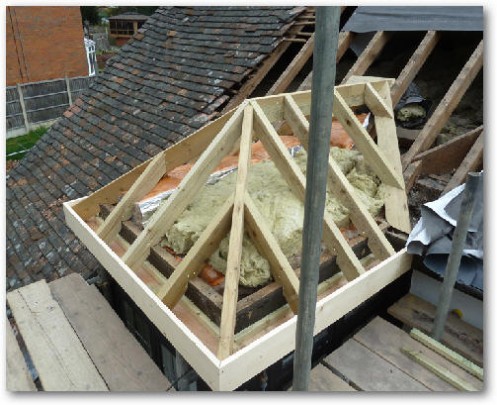
After all the rafters are fitted the ends of the rafters are cut off to the right length to enable the facia boards to be fitted.
Underneath the facia boards the plywood soffit boards are fitted into the pre-slotted facia boards.
Nearly there!
After
painting the facia boards I fitted the black guttering.
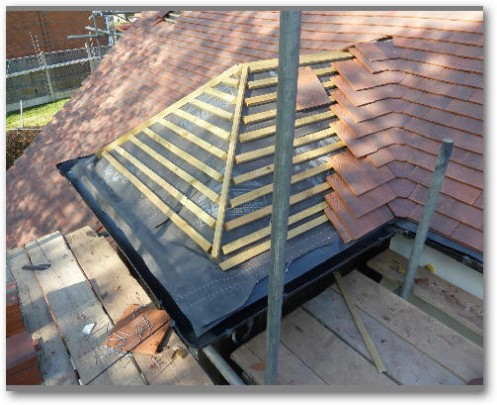
All the tiles have now been cut on the new hip roof.
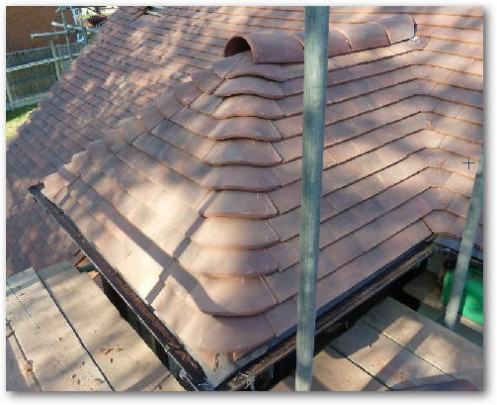
All ready for cementing.
Tiles all fitted and waiting to be cemented.
Tiles all fitted and waiting to be cemented.
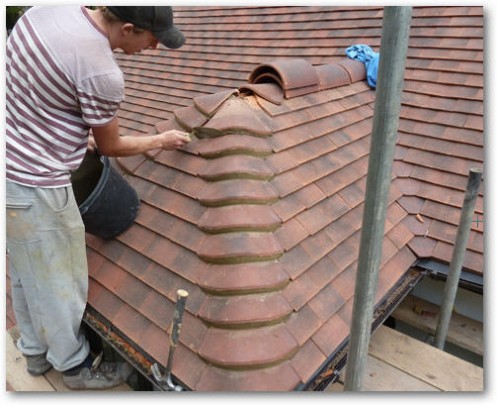
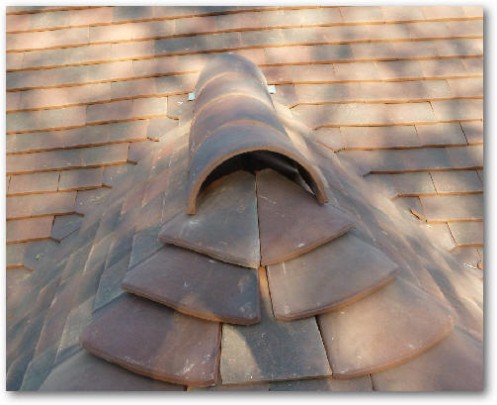
Cementing the small hip roof hips.
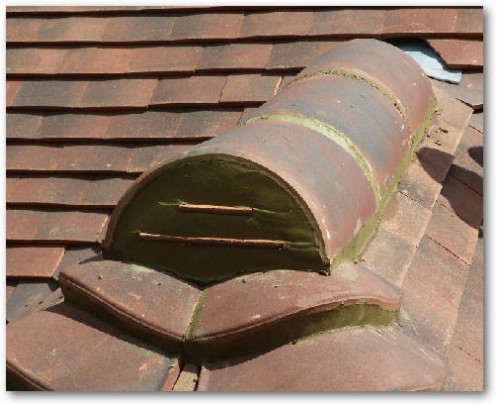
The final touch!
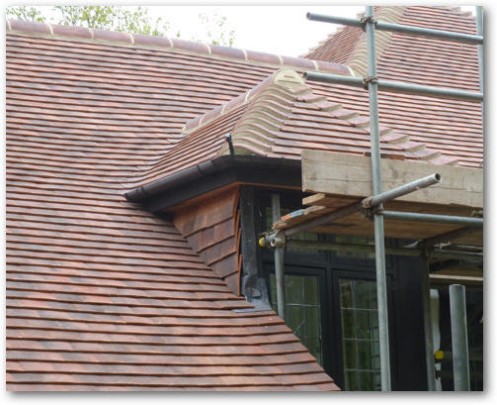
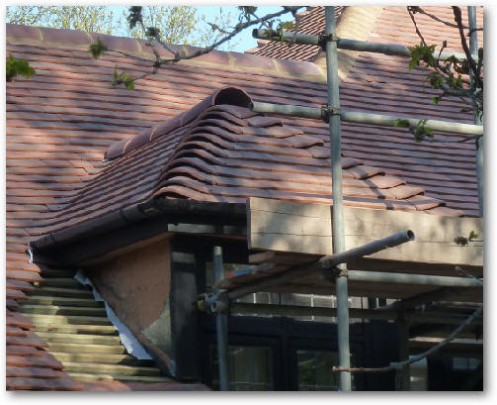
The vertical tiles at the side of the hip roof have now been completed.
Look at these YouTube videos of cementing the small hip roof: