
DIY seconary glazing
Easy do-it-yourself (DIY) Secondary Glazing
A 'how to make' secondary glazing guide
A 'how to make' secondary glazing guide
Twenty five years ago, I moved into an old house that was full of typical 1930's style wooden window frames with lead light windows. I absolutely hate PVC double glazing windows so I wanted to keep the windows that were already in the house. However, many were rotted and needed replacing so this was a task I undertook over the next few years - quite a task. I also had to replace many of the lead lights themselves as the lead had rotted as well.
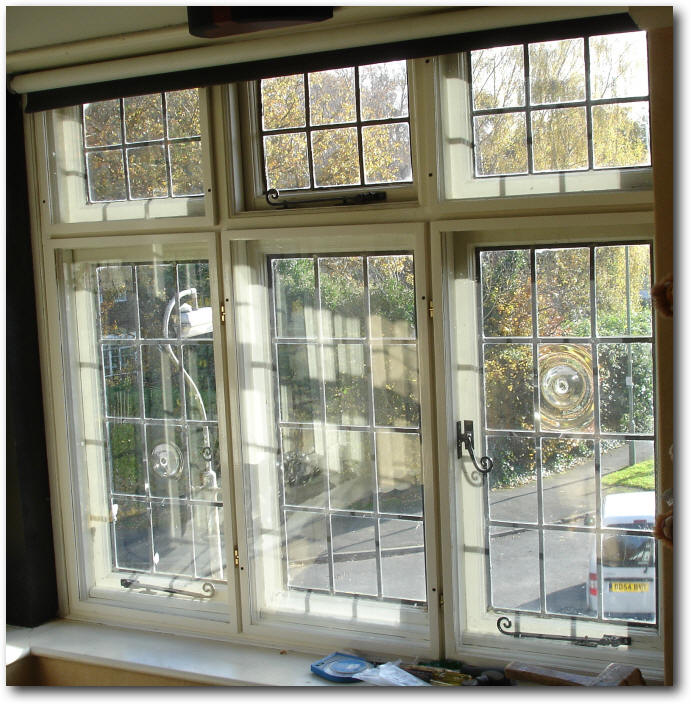
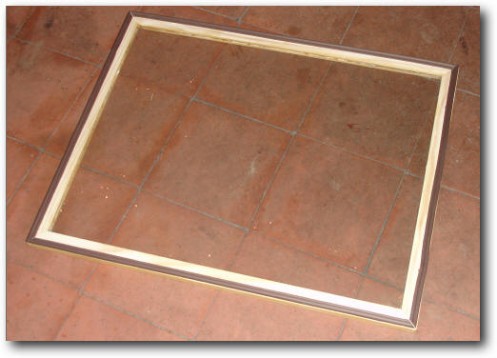
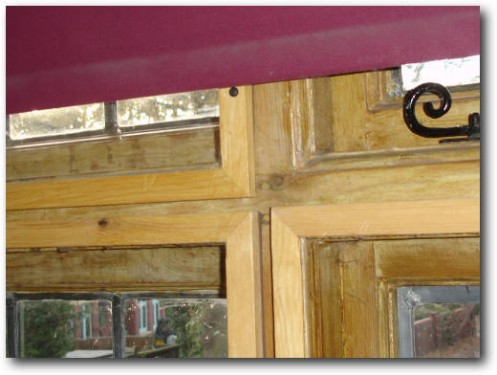
The final secondary glazing with the frames painted cream to match the window
(Note that the two outside large windows open)
We all know that 1930s casement windows are very drafty and in this age of high energy costs double glazing is a must. Twenty five years ago I installed DIY secondary glazing on most of the windows in the house and was very pleased with the results. The secondary glazing I used was made by a company called Duraflex and was available at the time from many of the DIY superstores, however Duraflex stopped making this many, many years ago. As can be seen in the photo below, the aluminium Duraflex system worked very well and was quite neat and relatively unobtrusive.
My problem is that I did not put secondary glazing into two of our bedrooms and I wanted to correct this in 2008 with the ever-rising cost of gas. I have searched for a suitable replacement for the Duraflex system over the last decade with no success. The commercial secondary glazing available was either 'too cheap and flimsy' or it was too obtrusive, bulky and very expensive. What I mean by the latter is that they usually consist of a set of sliding windows that are set into a channel that is fitted into the wall window opening, rather than being fitted to the window frame itself as with the Duraflex system.
I decided to design and make my own as per usual! I wanted something that was low-cost, would last many year, unobtrusive and easy to make on a DIY basis. I think that I have achieved this and am very pleased with the results.
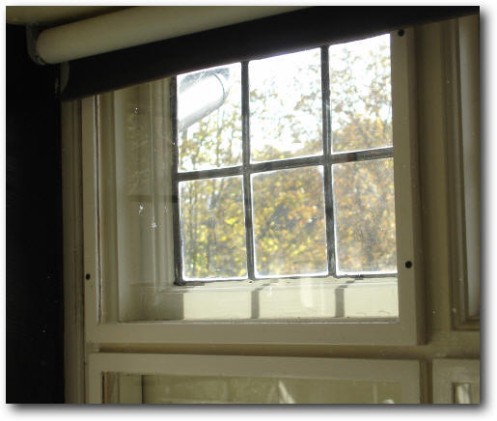
Below are the windows (two in each room) that I wanted to make secondary glazing for. There are six windows in all. On the windows I secondary glazed in the 80s I used three large panes of glass with each one covering one large and one small window. I couldn't do this here as the windows had pull down blinds which would prevent the opening of the secondary glazing to allow the opening of the main casement windows. I therefore decided to build secondary glazing for each window, with the exception of the small opening window which would not be secondary glazed. This means any of the windows can be opened with ease at any time of the year.
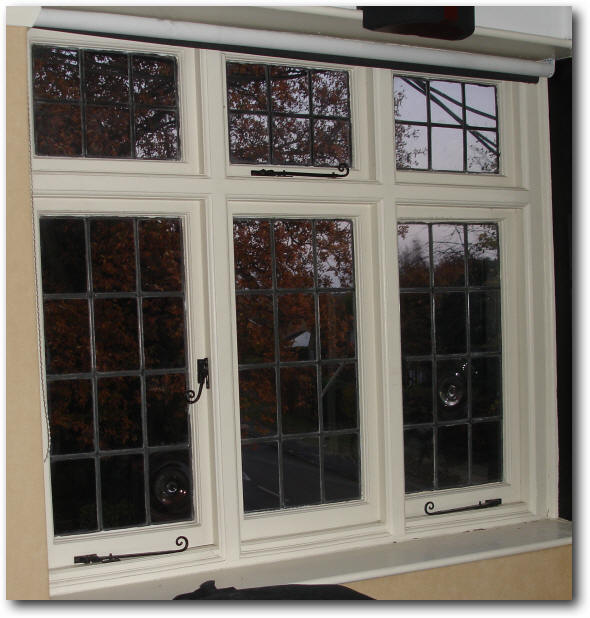
The 1930s windows that need to be secondary glazed
I decided to make the secondary glazing from standard 4mm window glass and make a wooden frames for each one. I decided to use wood because this meant that the secondary glazing could be painted the same colour as the window frame to help them blend in. This was difficult to do with the Duraflex system so this was a real advantage of taking a real DIY approach.
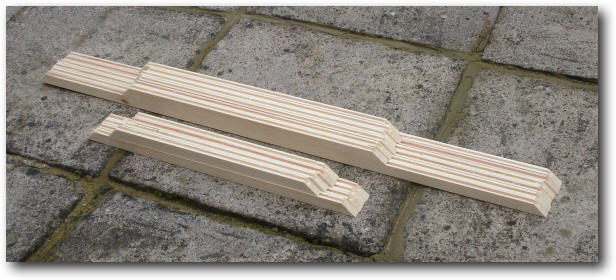
Preparing the wood used for the frame
I made the frames from standard 2.4 metre lengths of planed 12 by 21mm pine bought from B&Q. Remember to go to the rack that has the high quality - few knots - wood in it. Do not use standard deal wood! The wood used is shown below:
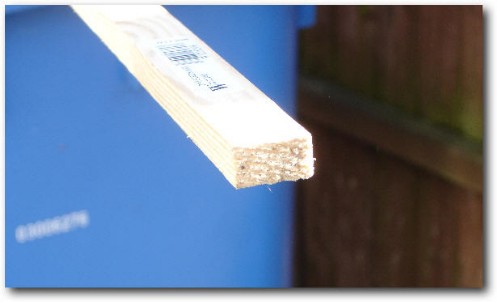
Standard 2.4 metre lengths of planed 12 by 21mm pine bought from B&Q
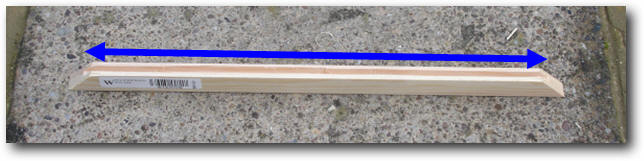
The first task is to cut a 4.7mm (or 5mm) slot in the edge of all the 2.4 metre lengths of wood. This can be achieved using a bench circular saw, but I found it easier and more reliable to use a router such as the one shown below.
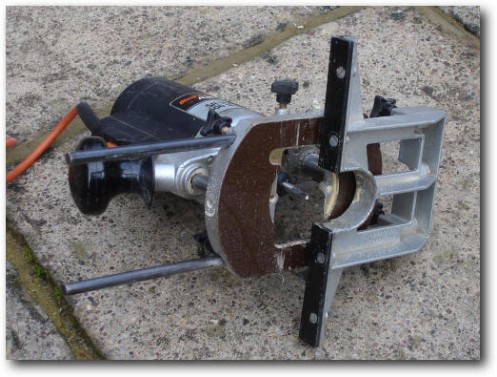
Cut slots using 1 4.7mm straight router bit
As the glass is 4mm thick do not use a 4mm router bit as the slot will be too small - take my word for it! I managed to find a 4.7mm diameter router bit which is ideal. The slot should be around 7 - 8mm deep. Do not make it too deep or you will have problems later with the length of screws used to attach hinges.
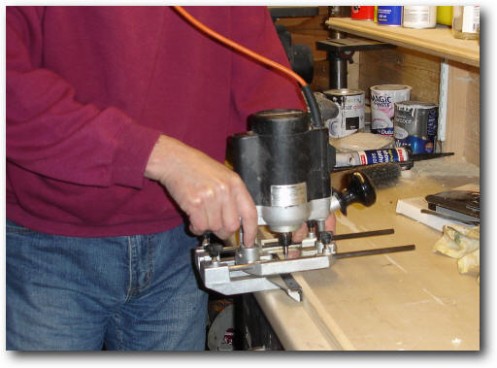
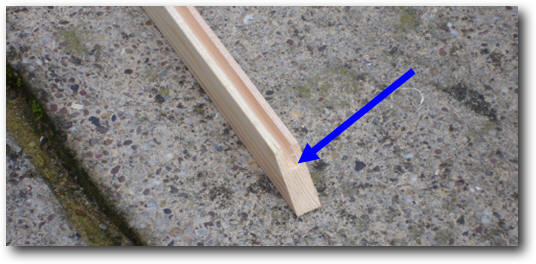
Routering the slots

The 4.7mm (or 5mm) wide by 8mm deep slot
What size to make the secondary glazing panels?
Measure the width and height of the window opening in mm between the edges of the ogee rebating. I then added 20mm to this width and height. This will be the amount that the secondary glaze panel will overlap the window frame. I do advise measuring this several times to avoid error!
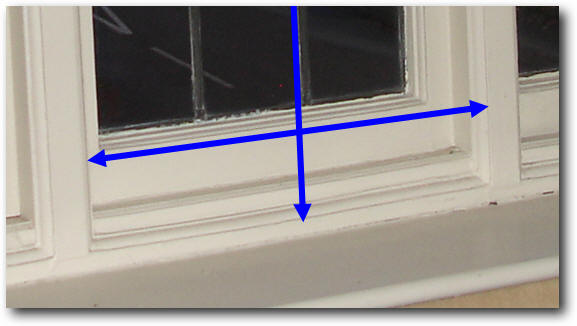
Measure the width and height of the opening
For my windows the measurements and the number of lengths of wood required were:
3 large windows: (890mm+20mm) by (460mm+20mm) = 6-off: 910mm and 6-off: 480mm
2 small windows: (460mm+20mm) by (350mm+20mm) = 4-off: b and 4-off: 370mm
Cutting the frames
Each piece of the frame is then mitred for the 45º degree joints making sure the rebated pieces of wood are the right way round in the saw. These can be cut with a handsaw if you do not have a machine tool. Once they have been cut they can be sanded ready for gluing.
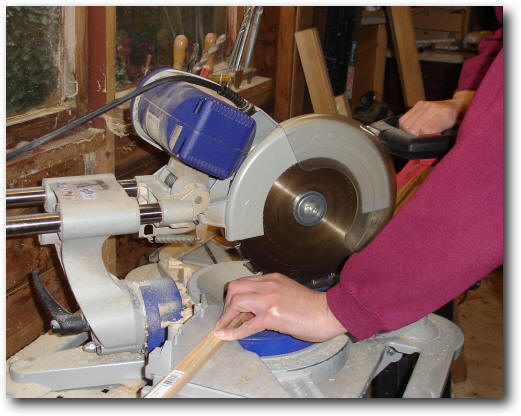
Mitring the frames
The picture below shows the all the frame pieces ready for gluing.
The frames ready to be glued
Measuring the size of the glass panes
To get the the size of glass panes required just measure the length of the slots and deduct 1 to 2mm for slack. It's as simple as that.
Measuring the size of the glass panes
Make sure you measure to the end of the slot as shown in the picture below.
For my windows the measurements for the 4mm glass panes were:
3 large windows: 860mm by 450mm
2 small windows: 340mm by 450mm
Double check your measurements as getting it wrong will definitely prove costly!
Gluing the frame together
Gluing the frame is very easy if you have the right type of clamp - a strap clamp! (available from B&Q for £9.90) Without one, it can be a challenge.
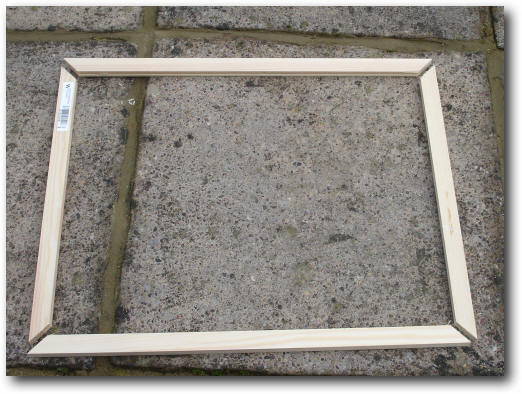
The frame laid out ready for gluing
The required panes of glass were ordered and collected.

Five panes of 4mm glass
Assembling the frames
To assemble the frames apply glue along the whole length of the slots to seal the gap between the wood and the glass and apply plenty of glue to the mitred ends.
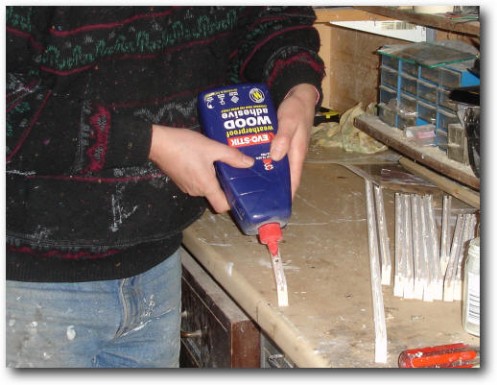
Apply plenty of glue to the frame
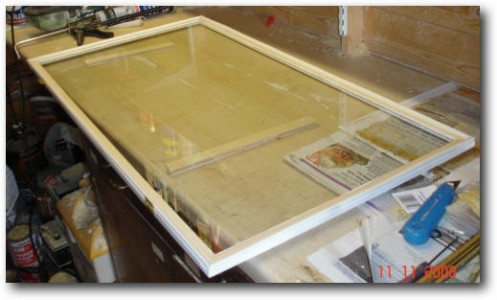
Then place the frame on the glass using some pieces of wood to hold the glass a few millimetres above the work surface.
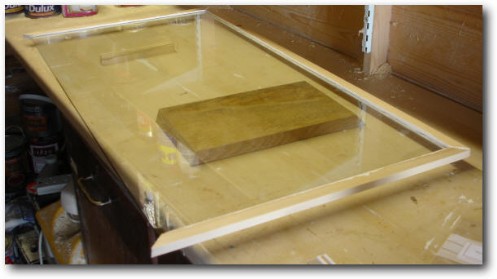
Placing the frames on the glass
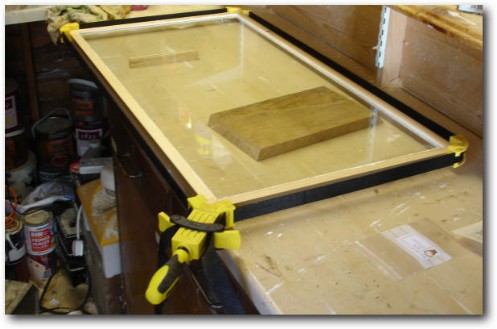
Clamping the frame
Use a strap clamp to then tighten the whole structure. Make sure that all the joints are correctly aligned before fully tightening the clamp. Leave for a few hours for the glue to dry.
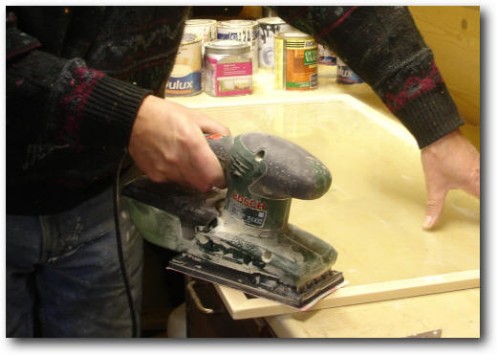
The frame can then be sanded.

Cleaning the glass
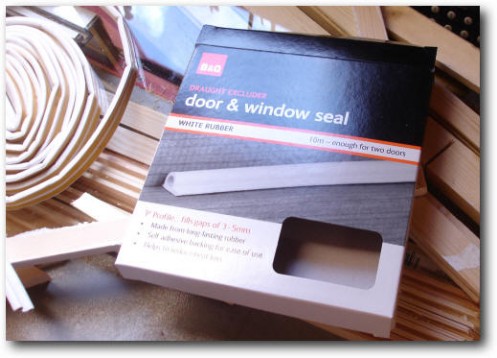
The draft sealer applied to back of the glazing panels
(Select the colour than best matches your paintwork)
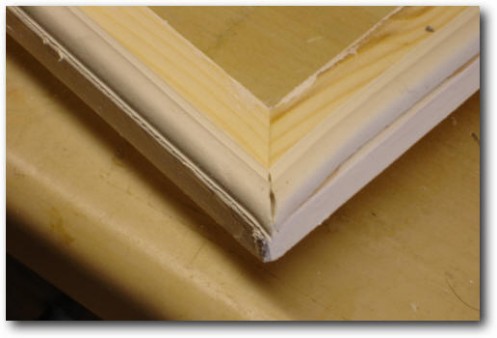
One of the mitred corners
A pair of one inch brass hinges are screwed to the edge of of the two panels that open. The hinges should overhang the edge of the frame by 2-3mm to allow room for the draft excluder.
The three finished large panels
One of the small windows that has been stained rather than painted
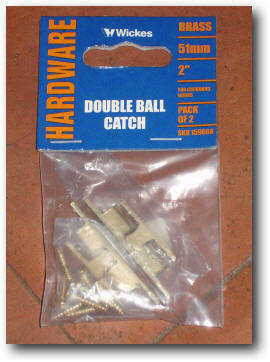
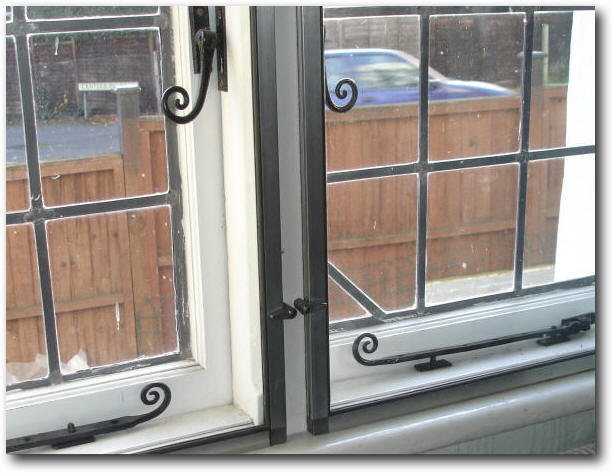
The ball catches used on the opening windows
One of the small frames
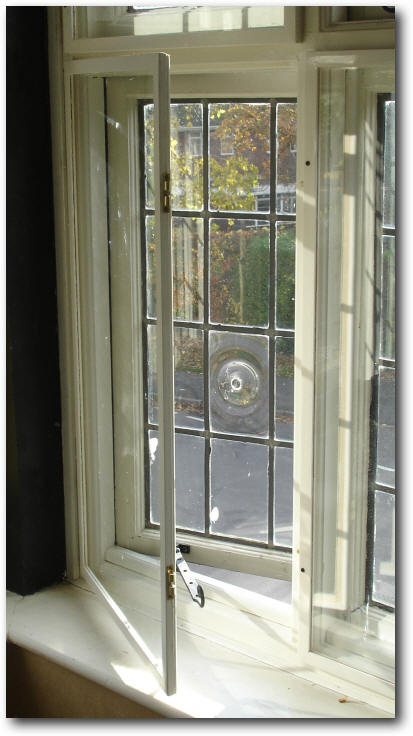
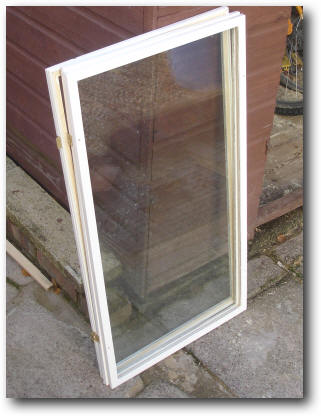
The large glazed panel shown open
Hinging the frame allows it to be opened quite easily during the summer or to clean them. The other windows are simply screwed to the frame.
With frames stained rather than painted
Costs
This should enable you to cost any secondary glazing you may like to make. The six windows described in this posting cost les than £100.
Item Size Cost
Pine stripwood: 12 x 21mm x 2.4m £3.39 pounds a length
4mm glass sheet per square meter £25.00 pounds
Double ball catch 42mm 2 per pack £2.28 pounds
Brass wood screws for hinges 2.5mm x 12mm £1.88 pounds
Brass hinges 25mm £0.89 a pair
The secondary glazing described above are very simple to build and the cost is as low as it can be. Good luck!