
Installing a loft floor
Installing a loft floor with 300mm of roof insulation
One of the big challenges that came along in consequence of the re-roofing project was that I needed to upgrade the ceiling insulation! As more than 50% of the roof was being replaced, local building control stipulated that I needed to upgrade the roof insulation to current standards - to quote:
"Following the publication of the EU’s Energy Performance of Buildings Directive, in April 2006, Part L of the Building Regulations was revised together with its Approved Document.Part L deals with the Conservation of Fuel and Power in Buildings. The revision of the Approved Document aims to reduce energy consumption by 20% in comparison with the 2002 level.These regulations affect your property if you intend to repair or replace more than 50% of the surface area of your roof, or more than 25% of the total area of the building envelope."
This means upgrading to 300mm of insulation. This may sound simple but it isn't if you already have a loft floor installed like I had.
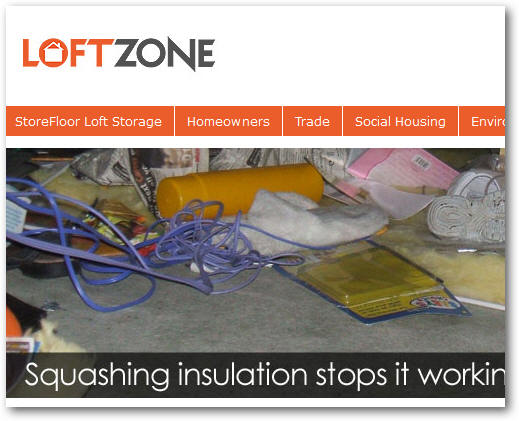
My floor covered the whole of the loft compressing existing insulation to only 100mm in thickness. This means that the insulation was not working in an optimal manner.
So the million Dollar question to be asked was:
"How can I have a loft floor AND still meet building regulations requirements?"
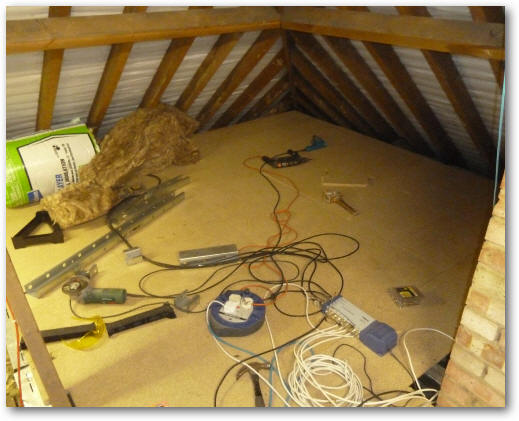
The old loft floor - cleaned up! After the re-roof the floor was deep in dirt, dust, bits of tiles, nails, wasps nests, spiders webs - a real mess in other words.
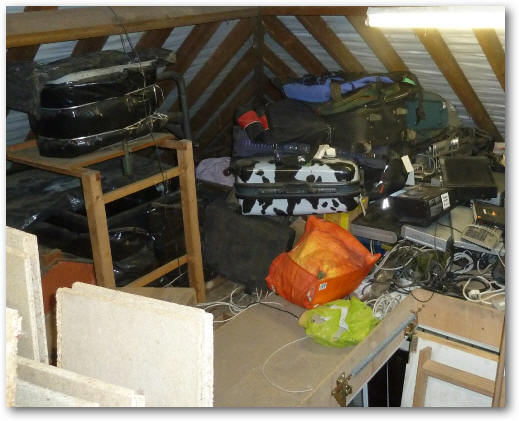
And so was the two garages of stuff taken down from the attic - what a mess!
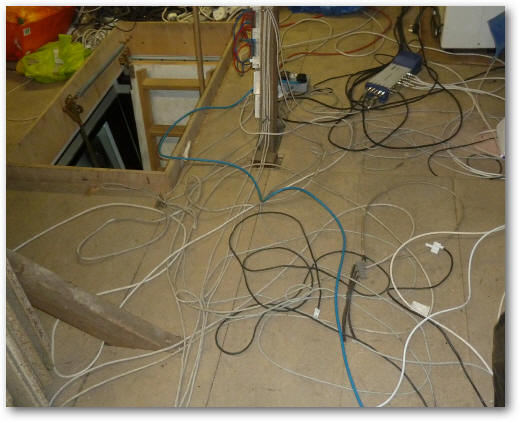
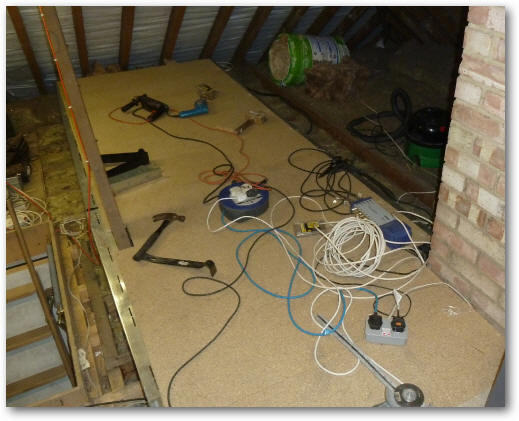
All the cables are mains, Ethernet, loudspeaker and satellite cables. Mixed in with old terrestrial UHF coaxial cable.
Then I discovered a magical solution in the form of a new product called 'Loftzone'.
Loftzone looks to be a unique way of raising a loft floor by a sufficient amount to install 300mm of insulation without compressing it AND have the benefit of a usable loft floor.
Even better, the system will even work in an old house where the ceiling joists are irregularly spaced.
I started by spending a day emptying the loft by taking all the contents downstairs to the garage - NOT an easy task.
Once I had cleared a corner, work could begin by stripping out the old flooring.
The boards could NOT be reused as the board lengths had been cut down to fit the old irregular joist spacings.
All these had to be taken down the ladder and taken to the tip as couldn't even give them away on FreeCycle.
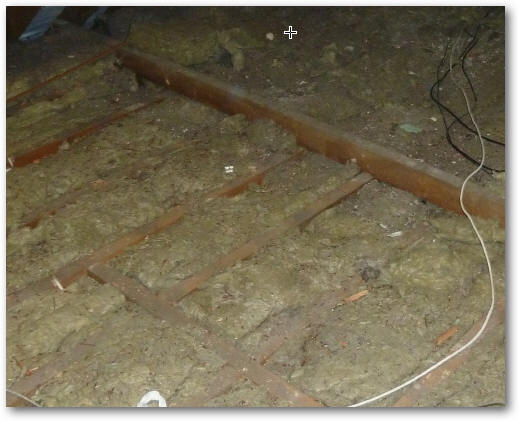
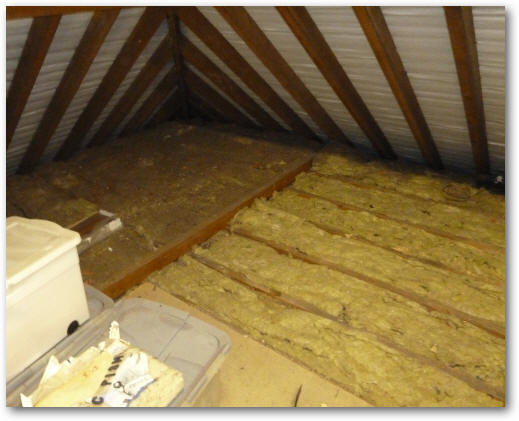
This is the old compressed insulation revealed when the old loft floor boards were taken up.
The other corner of the loft still had plenty of junk piled up in it. This will all have to be removed eventually.
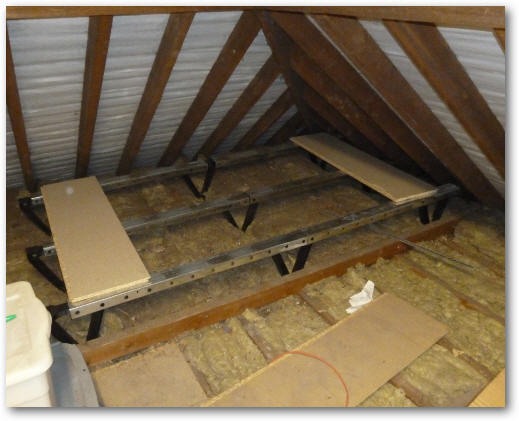
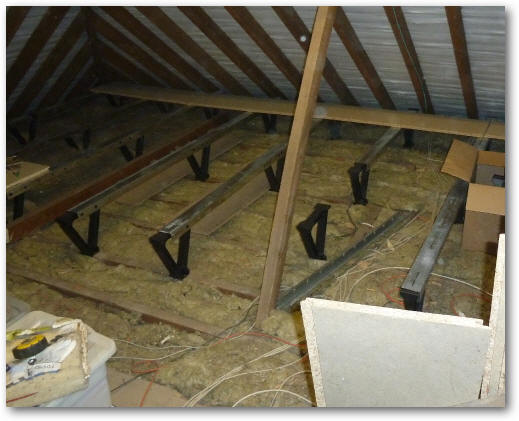
The Loftzone system consists of plastic legs and steel cross members. By spacing the cross members at 610mm standard Wickes or B&Q 1200 x 300mm loft floor panels WITHOUT cutting.
This makes fitting the floor panels a lot easier than having to cut them to fit joists.
The legs are screwed to the joists 4 x 40mm screws and the steel cross members screwed to the legs.
Just extend the floor across...
Some the steel cross members needed to be shortened because my irregular joist spacings but this was quite easy using an angle grinder.
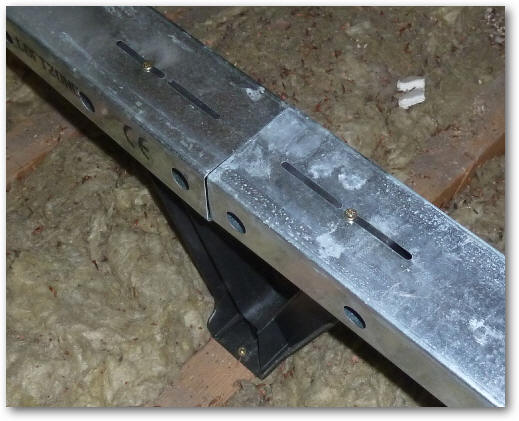
The legs are screwed to the steel cross members using 4 x 40mm crosshead screws.
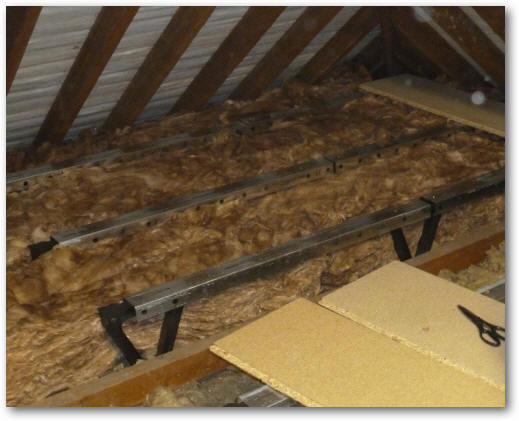
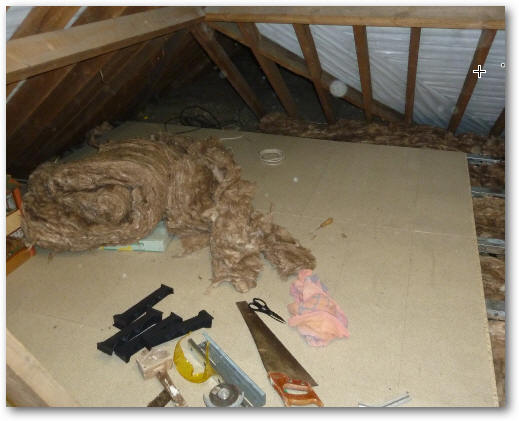
The gaps between the cross members are then filled with 200mm insulation to bring the thickness up to 300mm.
This is the easy bit!
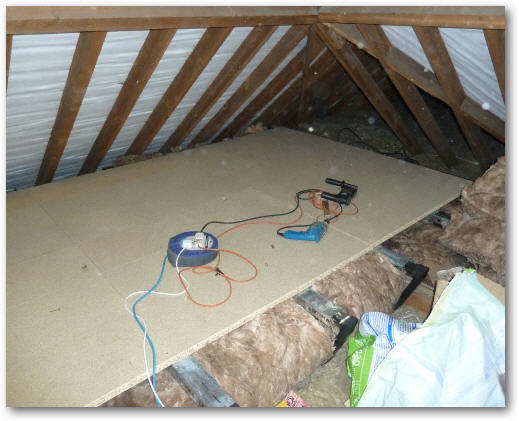
Using 1200 x 300mm loft boards, the floor was extended across the whole width of the loft. Each board is screwed to the cross members using 4 x 40mm screws.
I found I needed to drill pilot holes through the steel cross beams hence the use of two drills.
While I was doing this the loft was really hot as the outside temperatures hit 25 degrees Celsius.
Starting to look good now.
I
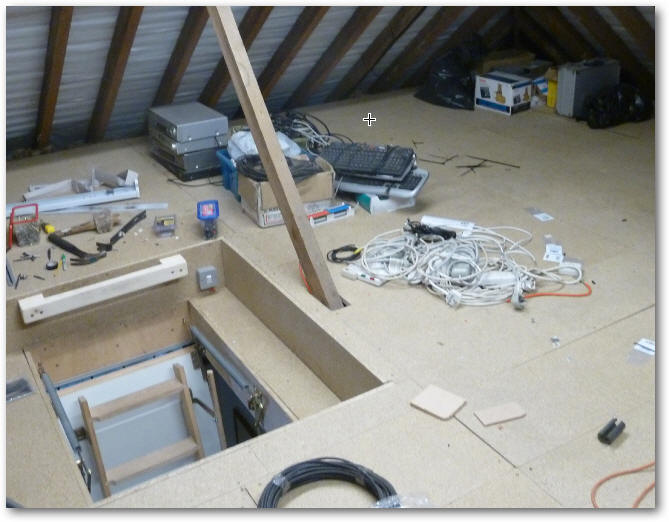
extended the floor towards the back of the attic space passing the chimney
stack on the right hand side and the loft hatch on the left.
Then I filled in the one of the back corners of the loft - a day's work.
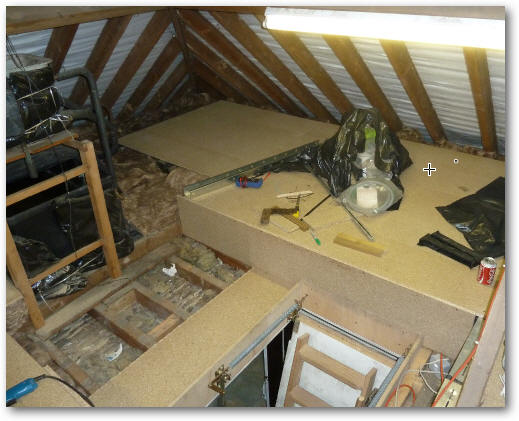
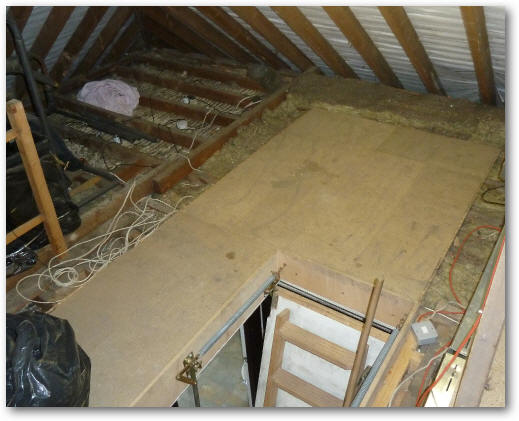
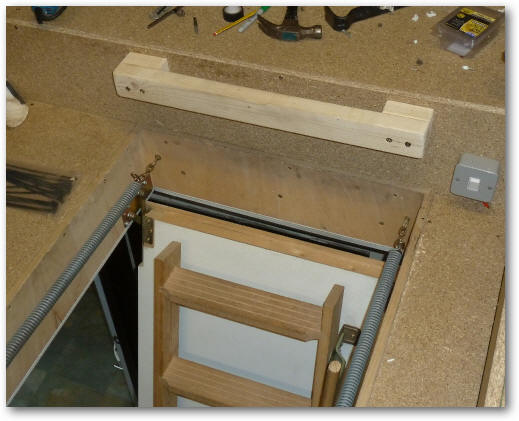
And then the other corner. The challenge now was the area around the loft access ladder.
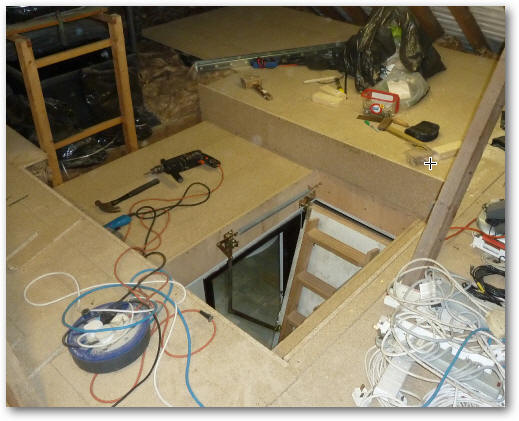
With a bit of chipboard magic I created a 'landing zone' that could be used when taking heavy boxes in and out of the loft.
It also makes a nice finishing touch to the loft space!
Job finished AND the building control were happy!
I added a handle that could be used when getting on and off the access ladder.
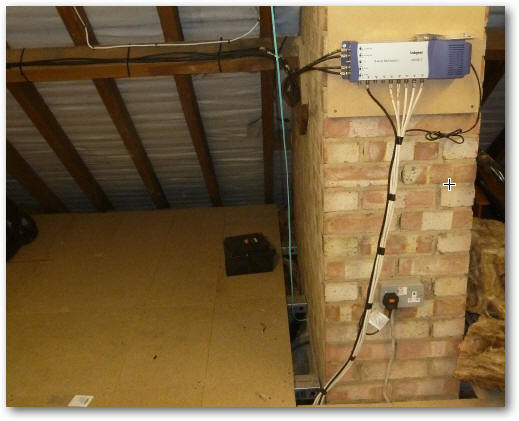
I tidied up all the satellite cables feeding the Multiswitch.
The quattro Multiswitch allows multiple digiboxes around the house to switch channels independently.
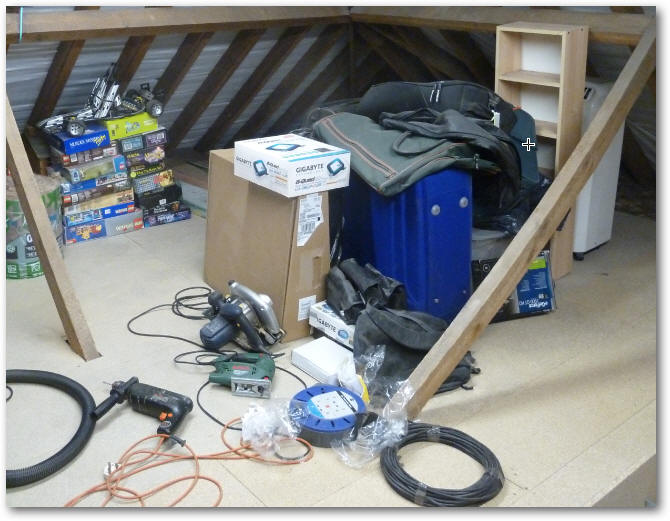
The loft floor is now completed and I can start filling it.
One main use is for it to be used as a 'Cosco lite' for the things I buy in bulk from Costco wholesalers!
Email me: