
Learning to plaster
Learning how to plaster wall and ceilings
As can be seen from the web pages on this site, I've been a keen DIYer for many years and I have even built a complete house extension from scratch. However, like most other DIYers I've always shied away from plastering complete walls and the thought of plastering a ceiling scared me to death!
However, I needed to redecorate a bathroom and a toilet that I had tiled way back in the 80s and I knew that as soon as take them off much of the plaster would come away with them leaving a real mess of all the walls.
I suppose I could have called in a local plasterer but I had been thinking for months that it might be a good idea to go on a plastering course and learn how to plaster and overcome my fears!
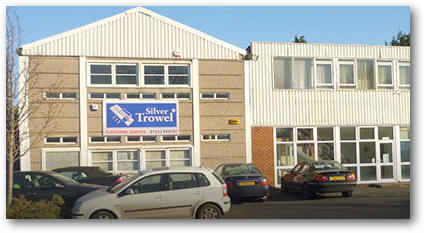
It was February 2013 and I started a Google search for a suitable plastering course. I soon found one at the local technical college, but my phone calls came to nothing as they messed me around somewhat. Then I came across Silver Trowel which was nearly in walking distance from my home! Wow! One of the courses they offered was for four days spread over two weekends. This sounded perfect for DIYer like myself. And they were running a course starting next weekend! So I paid by credit card and started wondering what the hell had I had let myself in for!
This was the first complete wall I had ever plastered and, if I say so myself, it looked pretty good when completed.
I'm sorry to let you down here but unlike my other websites, I do not plan to take you through all the steps we learned to produce perfect skim-plastered walls. Though I will say it is a very straightforward and achievable process if you are a practical individual.
The reason for this is that I really do recommend that you go on a course and practice. It's the only way to gain confidence.
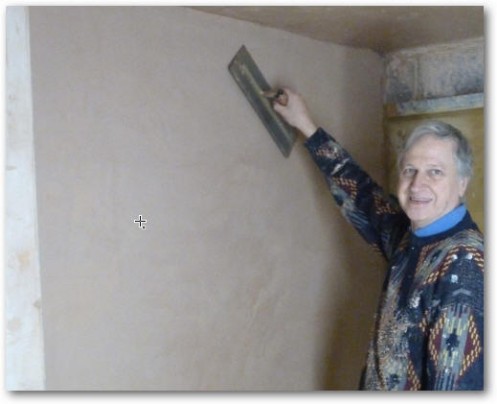
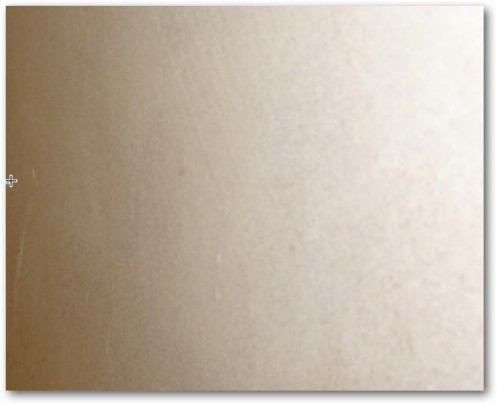
I'm afraid a photograph does not do my first wall justice but here it is - 'smooth as a babies bottom' (well nearly!)
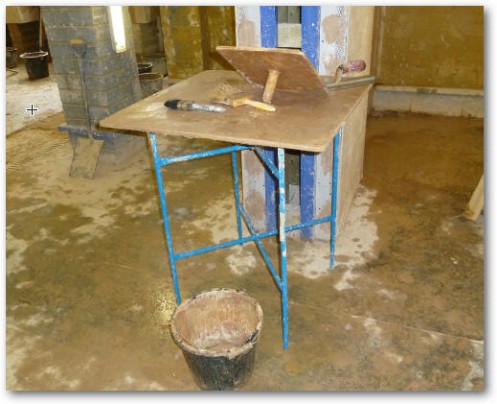
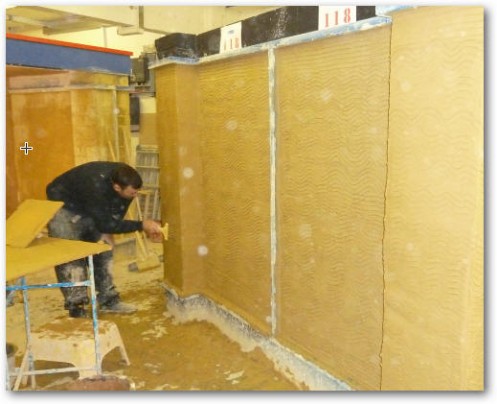
These are the tools used to plaster the wall - very few really. The secret lies in how to use them!
However, I will say that roughly the process involved the following stages (a) two coats of diluted PVA adhesive to the bare walls (b) first skim using the techniques taught with Thistle Multi-finish plaster and let dry to the right stage (c) second skim and and let dry to the right stage (d) three 'wet coats' to get that polished glass finish.
A good book to read is the Plastering NVQ Level 2 Student Book.
psssst... I'll let you into one secret - us a pre-broken Marshalltown trowel. You may ask what is a pre-broken [in] trowel?
A normal plastering trowel needs to be broken-in over many weeks by a plasterer. This means that the edges are worn down or 'feathered'. This is already done for you on a pre-broken in trowel and it REALLY helps you to create a good finish from the off. It's worth the extra cost.
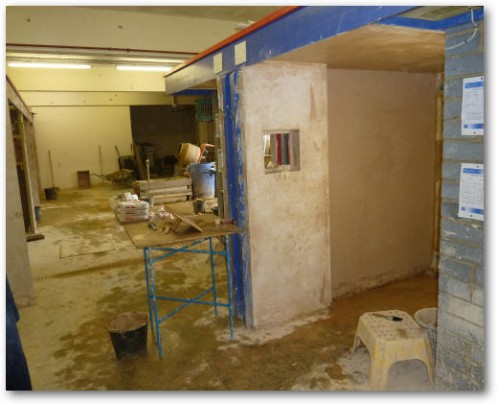
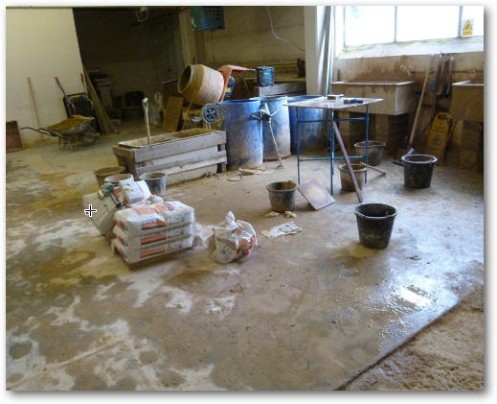
This is the area where you mix the plaster using a tub and a plastering wheel.
And, where it is drummed into you top keep the tools clean. One tiny piece of grit can destroy attempts to create a glass-like finish to the plaster skim.
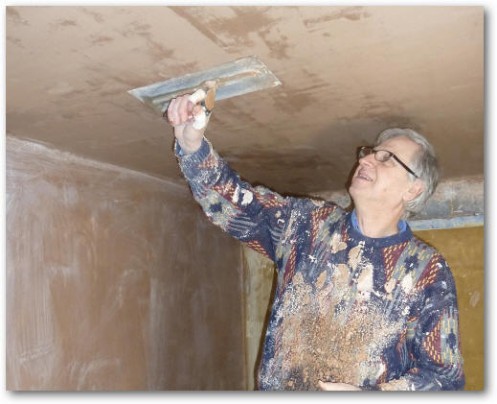
Once you had competed the wall in the morning, the afternoon was dedicated to THAT ceiling.
I have to say that I think I got more plaster on me than on the ceiling at times while standing on the step-up.
However, slow I may be but the ceiling looked pretty good for a first attempt.
You have to do things fast or the plaster goes off - technique and speed are all!
Not bad for a novice eh?
I really surprised myself how straightforward it actually was.
We then learnt how to lay a THistle bonding coat and using metal cornering to strengthen and improve the look of outside corners.
The base coat applied and still wet.

The base coat is scratched ready to apply the final skim (which is really two coats and five stages to finish).

The final skim coat looks really good while it is drying out.
As does the corner work.
Well, this is much of what you learn on the course and all you can do now is to practice, practice, practice to improve speed and finish.
This is Chris showing us how to apply a base coat for outside wall rendering using an aluminium featheredge to get an even finish before applying the finishing skim. However, learning properly how this is done is another course.
Another student working on a rendering base coat.
All I can say is that after the four days of training I felt confident enough to plaster my bathroom.
Gulp! The next task was to strip the tiles from my bathroom walls and start the re-plastering exercise - when I had plucked up the courage to do so. This was entirely different to plastering a wall on the training course wall.
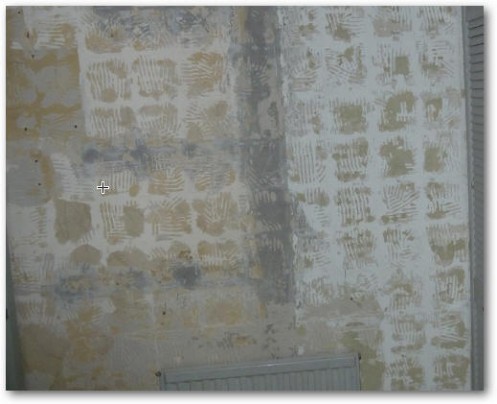
This is where I got to after stripping the tiles off one of the bathroom walls. As I suspected, I would have to repair the old plaster and apply a skim coat to get a good wall.
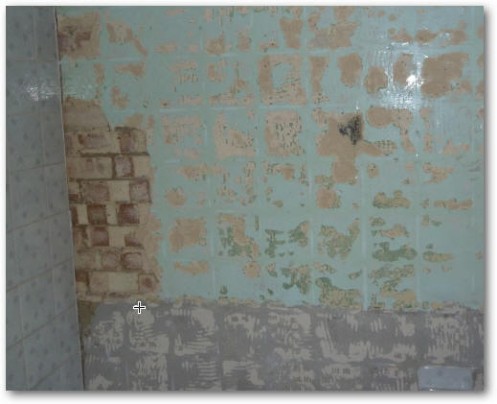
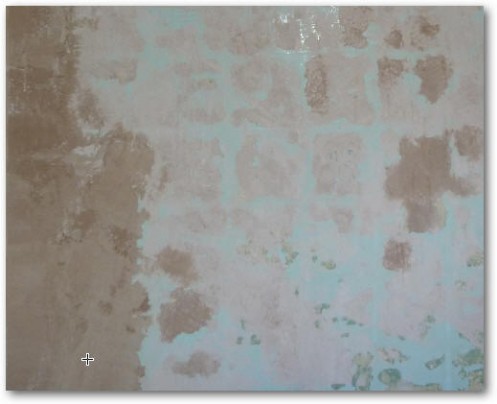
On another wall, big chunks of plaster came off with the tiles.
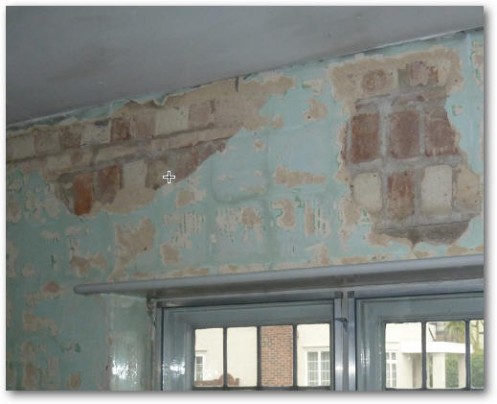
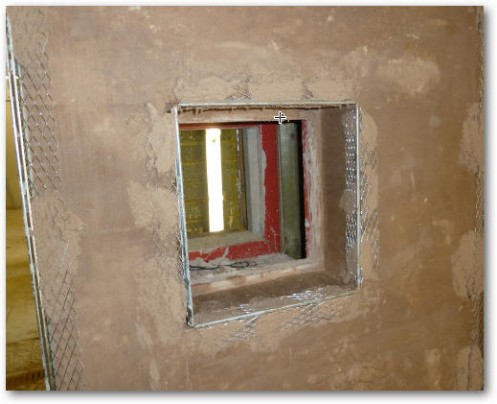
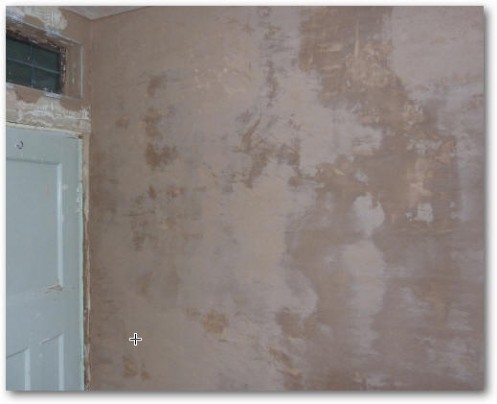
The same with the window wall - but worse.
These holes would have to be completely filled in before I could even contemplate a plaster skim.
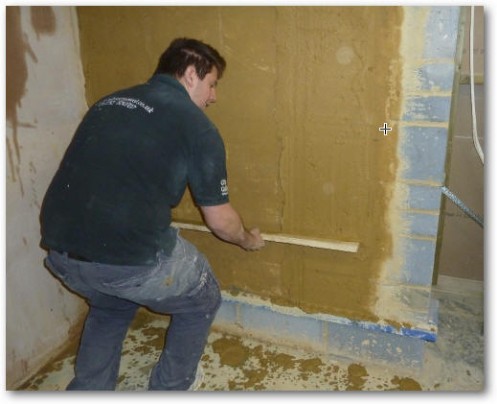
I used a base coating plaster and a feather edge to get as good a base coat as I could by repairing the old plaster.
I did wonder whether it would have been quicker to strip of all the old plaster but I decided not to and in retrospect I believe I was right in this decision.
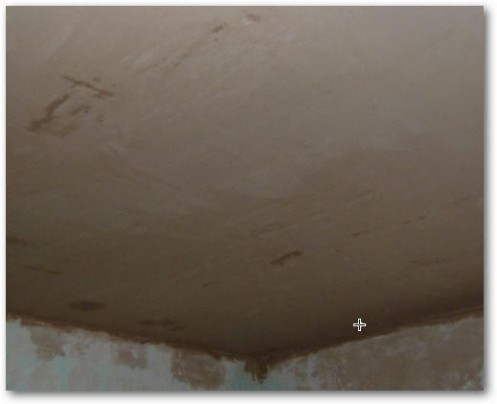
The ceiling was completed first.
Many years ago I put plasterboard over the old plaster and lathe ceiling. As I never plaster skimmed it, it was always a bit of a mess I have to admit.
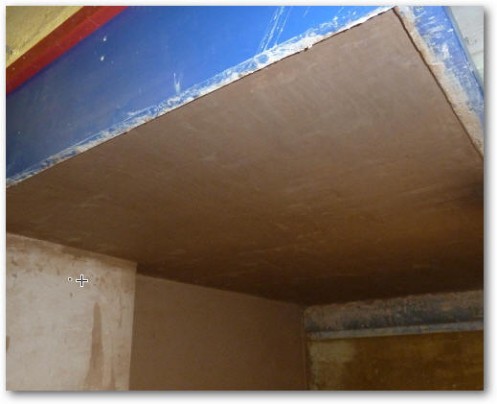
Now however, after skimming it it looked pretty good!
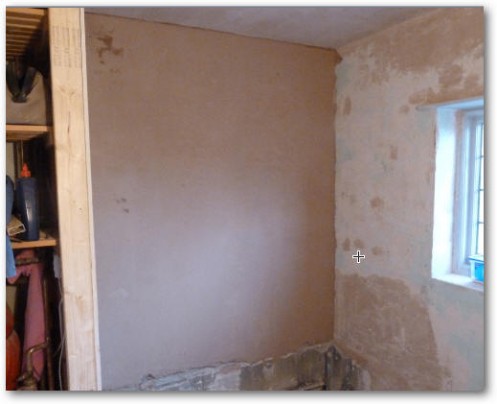
Then I completed the first wall, though I did not go down to the floor because that was where the bath was going.
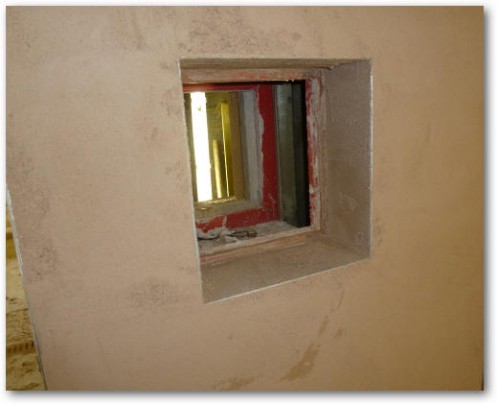
Then I completed the window wall.
Then the back wall.
I did not rush this and only did one wall a day. I thought it better to take things slowly.
It did take five whole days to complete the bathroom but I wasn't in a rush.
The plaster is still drying in this picture.
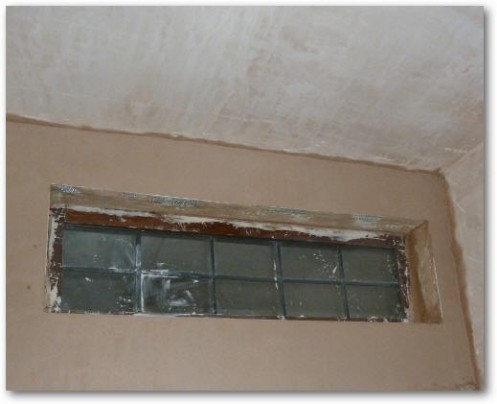
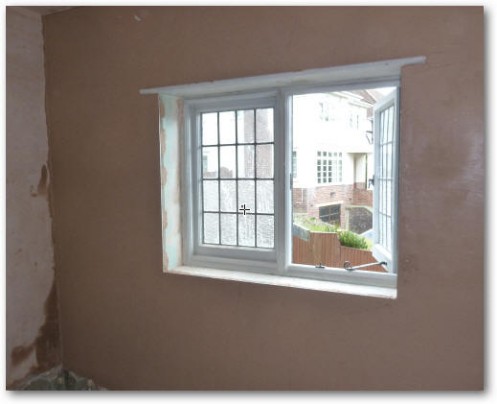
Plastering around the window light on the final wall. I used a corner trowel to get a neat and sharp corner between the wall and the ceiling.
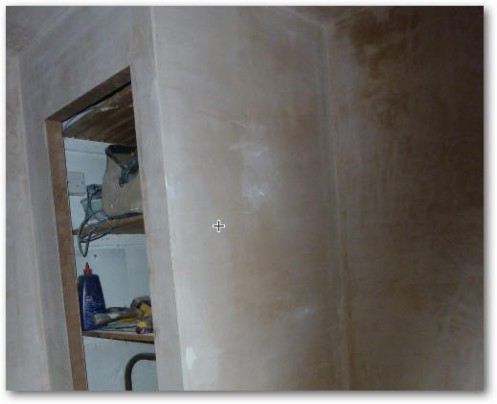
Finally, I plastered around the airing cupboard that I had built out of 4" by 2" wood, plasterboard and metal cornering as used on the course.
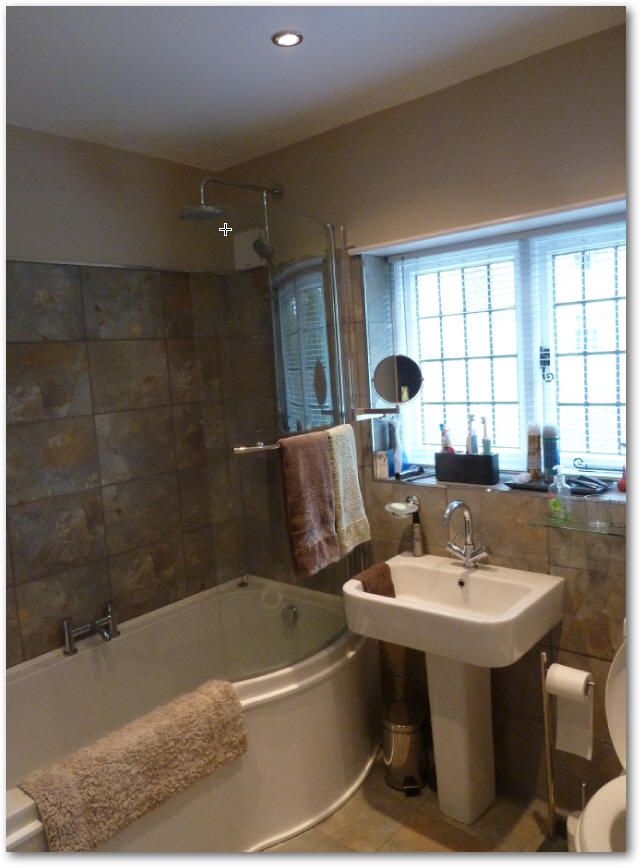
The completed plastering looks pretty good, even though I have tiled over parts of the walls I plastered!