
Tiling the roof
The day after the roof structure was completed the tilers arrived from Fleet Roofing. I had used Fleet Roofing to re-roof the main house so it was obvious that I would use them for the new extension. I have created a complete web site about reroofing the old house so I will not go into too much detail here.
Tiling only took three days in total!
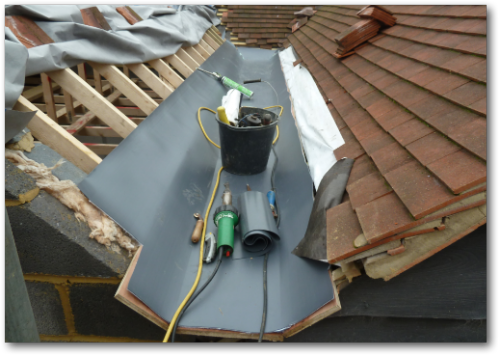
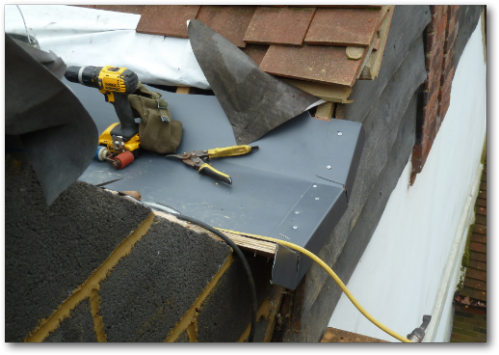
A major task was to line the valley to make it waterproof; of course this needed to be done before actual tiling could begin.
Because of its size and that I'm not an oligarch, I decided not to use lead but butyl rubber sheet instead - which is perfectly standard practice these days.
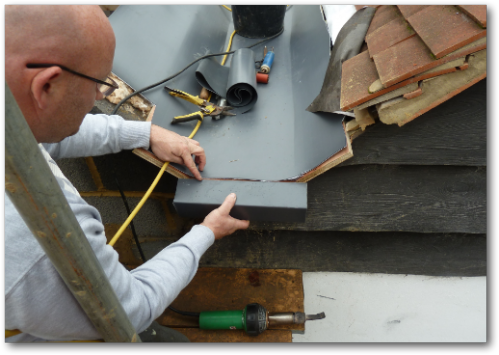
Fitting the support for the water outlet. I will use a downpipe cast iron hopper head to feed all the water into the down pipe.
Sealing the butyl membrane at the far end of valley.
Ready to be covered in the butyl membrane to finish off the waterproofing the valley.
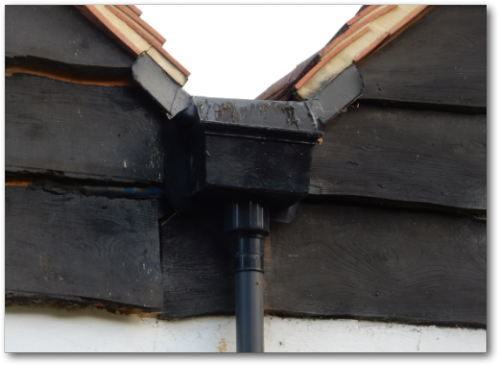
The cast iron rain water hopper was kindly donated by Fleet Roofing when I could not find one elsewhere.
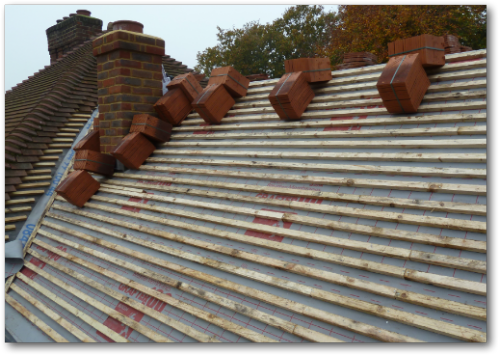
The roofers overlaid all the trusses with moisture resistant membrane and then started fixing the battons at a spacing of around 100mm.
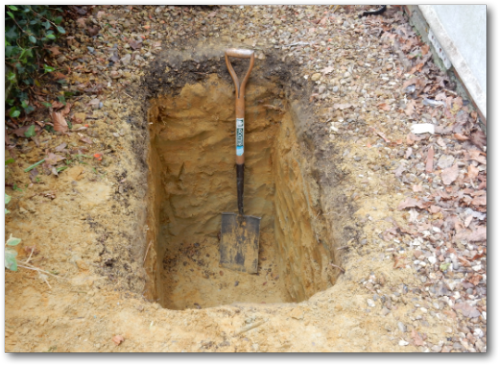
I needed to build a soakaway for the rain water coming from the valley. Undertaking calcualtions for the area of the roof I decided to use two crates.
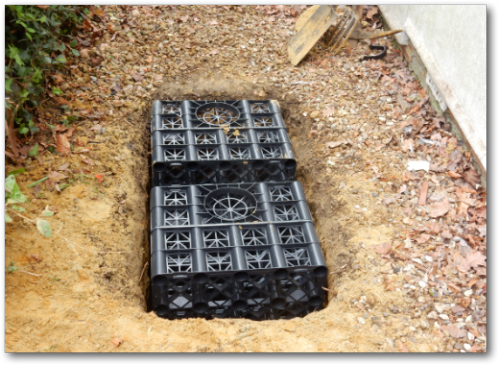
After digging a one metre deep hole the crates fitted nicely. Boy, was there a lot of spoil!
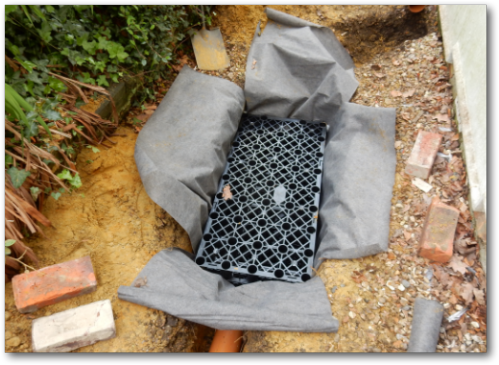
The crates were sealed from soil ingress with a special water permiable material.
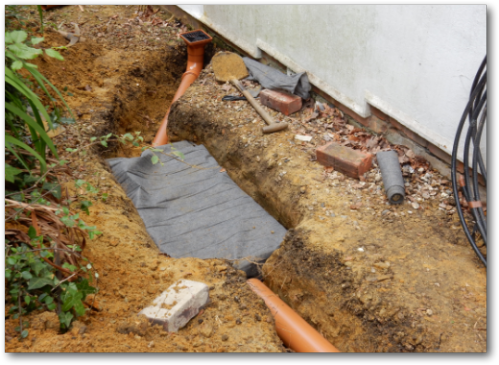
These were the pipes from drainpipe hopper and the garage.

The drainpipe coming from the garage.
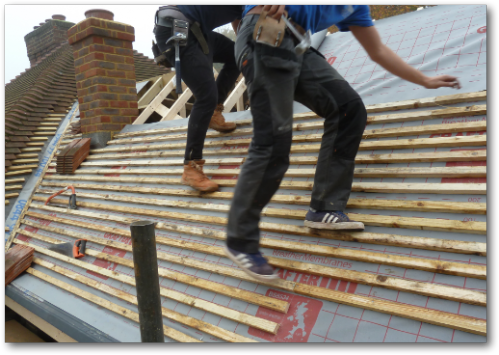
Once all the battons were fixed the hard job of taking the tiles up the scaffolding and placing them on the battons could begin.
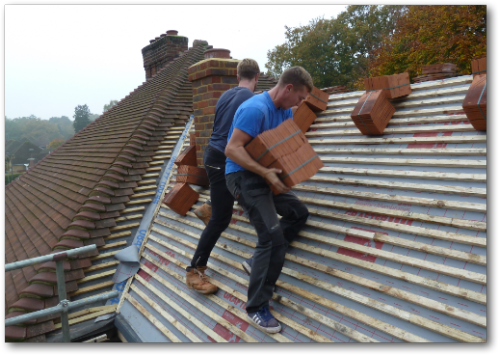
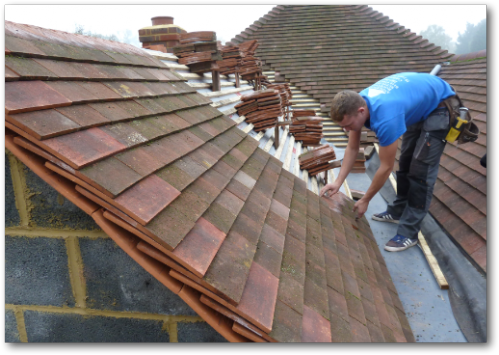
It's a hard job but someone had to do it!
The tiling can now start on the inside face of the new roof.
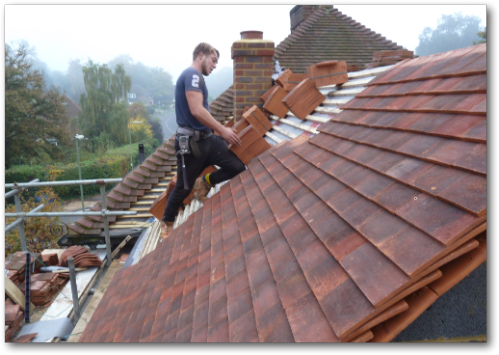
Progress is made on the outside face of the new roof.
Note that we used real tiles on the bottom edge of the verges. Nowadays just a thin plastic sheet is used but I wanted the roof to match the rest of the house. Doing it this way takes more time and is a specialist job, hence you do not often see it on new builds.
Once they get going laying tiles is a quick job!
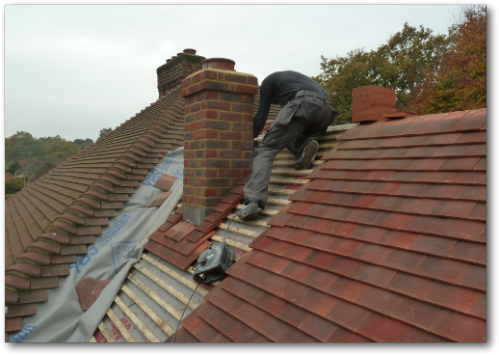
Laying the tiles around the chimney. They will have to be moved when fitting the lead flashing.
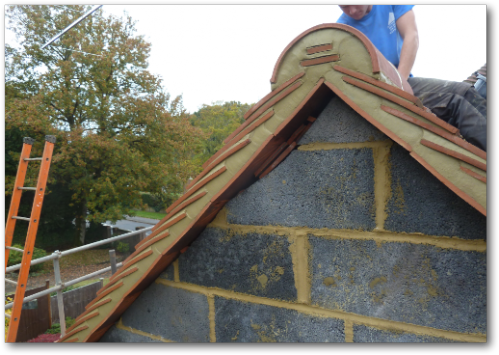
The mortared verge of the roof and the start of fitting the coving tiles.
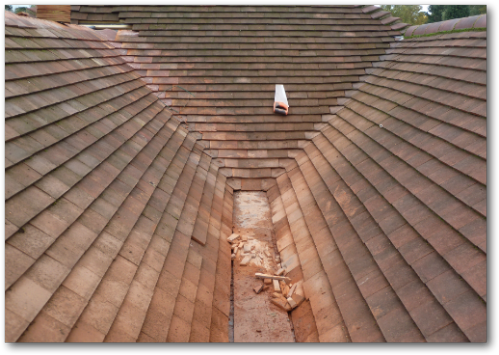
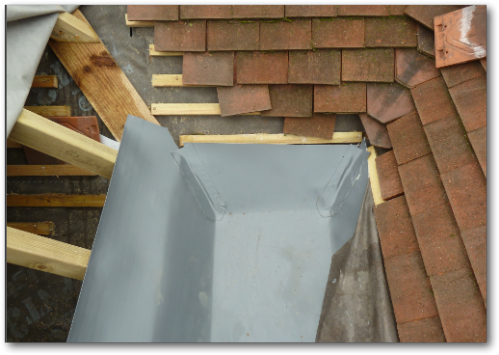
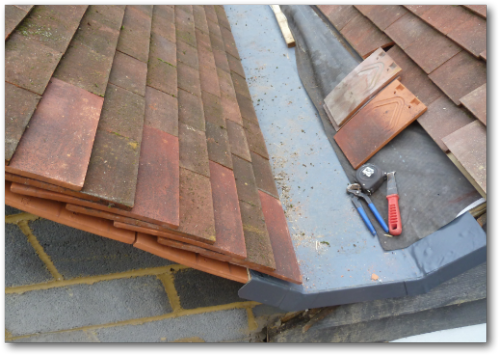
The finished valley.
I think it looks really great and I'm so pleased with the result.
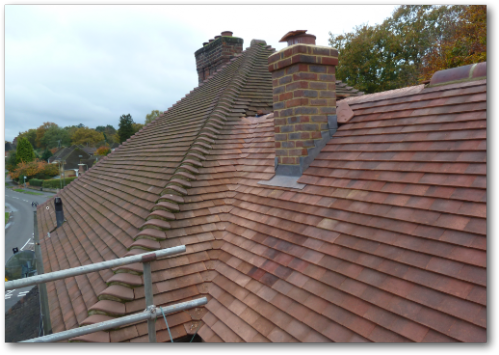
The tiling has been finished around the chimney and where is fits to the roof of the main house.
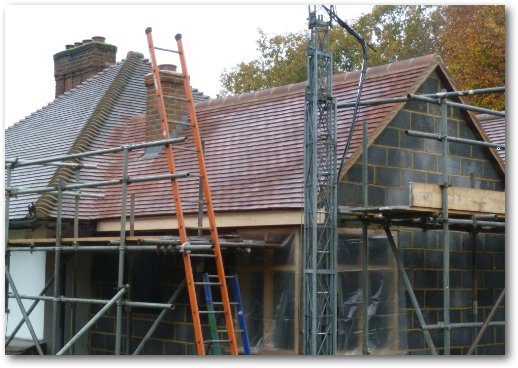
The completed roof - job done!